March 2022 Craft: Umbrella Holder for Towels or Flowers
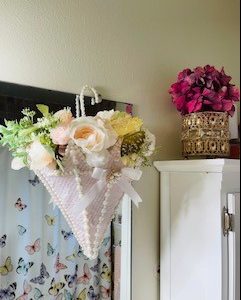
By Major Vicky VillaneaSanta Maria, CA Corps – California South Division NOTE: This craft is in both English and Spanish Materials/ Material: ⦁ 10 Palitos de Elote⦁ 1 Gancho de …
Salvation Army USA Western Territory Women's Ministries
By Major Vicky VillaneaSanta Maria, CA Corps – California South Division NOTE: This craft is in both English and Spanish Materials/ Material: ⦁ 10 Palitos de Elote⦁ 1 Gancho de …
By Captain Allison StruckNampa, ID Corps – Cascade Division Theme: Awakening to God’s Call This wreath is a fun, inexpensive craft that can freshen up a room, with soft, neutral …
Submitted by the Intermountain Division This craft is incredibly versatile in that it can be adapted for any age and as simple or complex as you would like it to …
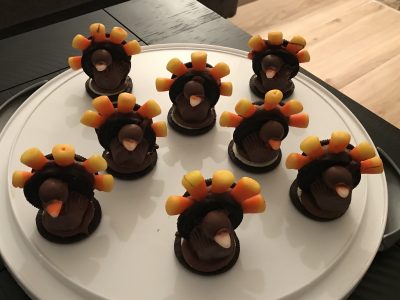
Submitted by the Southwest Division Ingredients1 cup of chocolate chips or premade chocolate frosting30 candy corn candies6 chocolate sandwich cookies6 mini peanut butter cups6 malt balls1 cup of red frosting6 …
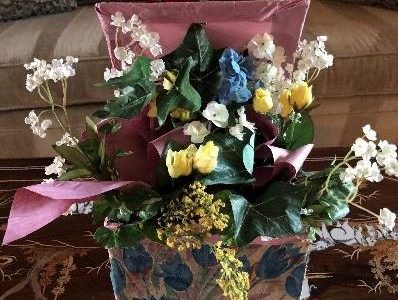
By Lt. Mony OregelStockton, CA Corps – Del Oro Division Supplies Needed: (You can find everything from your local dollar store) A container – glass or plastic with a wide …
By Major Ronda GilgerCoeur d’Alene Kroc Center, ID – Northwest Division Pure inspiration! Learn a simple technique with so many applications. We’ve added everything you need to make sure that …
By Major Ronda GilgerCoeur d’Alene Kroc Center, ID – Northwest Division Our women need to hear about how God is working in our lives. It encourages them to look at …
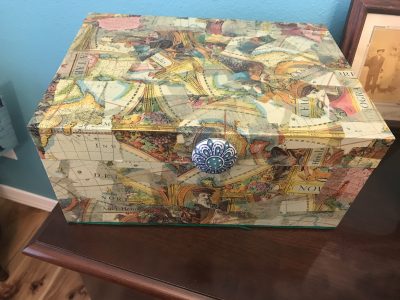
By Major Gaylene YardleyMetro Phoenix Resource Officer – Southwest Division Supplies Boxes of any shape or sizeModge Podge MatteOld picturesPaintSpray gloss Modge PodgePaint brushes Instructions Paint your box with any …
[av_textblock size=” font_color=” color=” admin_preview_bg=”] Dress Shirt Apron By Lt. Sara Evans Pocatello, ID – Cascade Division Materials Button up collared shirt Scissors Sewing method of your choice ( needle …
[av_textblock size=” font_color=” color=” admin_preview_bg=”] DOUGH SEASONAL ORNAMENTS By Major Nancy Helms College For Officer Training Salt dough recipe supplies 2 cups of plain flour (all-purpose flour) 1 cup of …
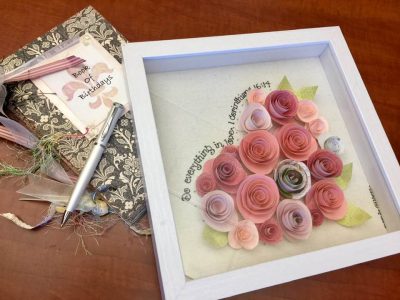
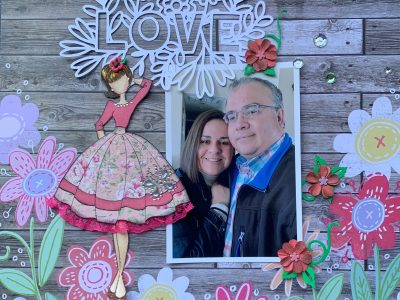
[av_textblock size=” font_color=” color=” admin_preview_bg=”] Layers – A Scrapbooking Project By Major Rebeca Sibaja Grass Valley, CA Corps – Del Oro Division Supplies: Scrapbooking paper Glue Craft jewels Stamps Your …
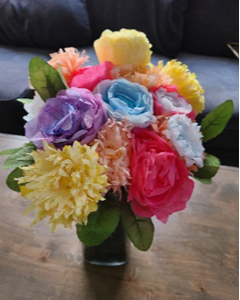
[av_textblock size=” font_color=” color=” admin_preview_bg=”] Coffee Filter Flowers By Captain Allison Struck Anaheim, CA Corps – California South Division Theme: Love These coffee filter flowers are inexpensive, require no special …
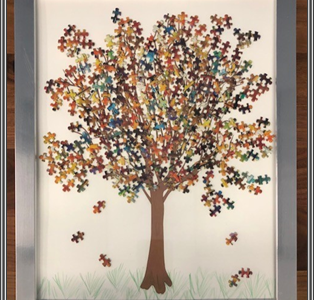
[av_textblock size=” font_color=” color=” admin_preview_bg=”] The Best Time for New Beginnings: DIY Puzzle Piece Wall Décor By Margaret Grieco Territorial Women’s Ministries Department Supplies Needed: Tree Graphic (or if you …
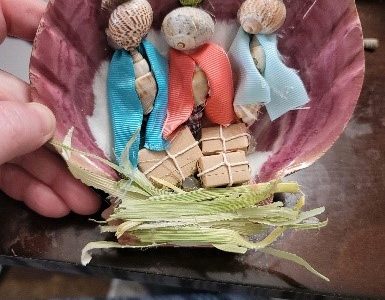
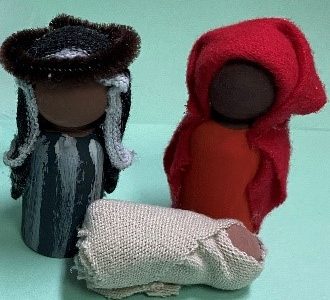
[av_textblock size=” font_color=” color=” admin_preview_bg=”] Immanuel: God With Us Nativity Craft By Captain Christin Fankhauser Everett WA, Corps – Northwest Division Supplies: (A majority of the supplies can be purchased …
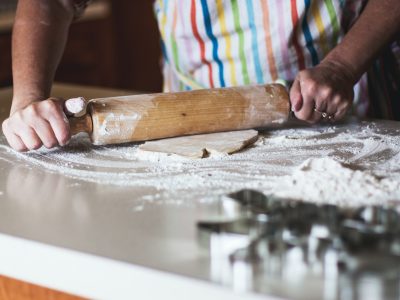
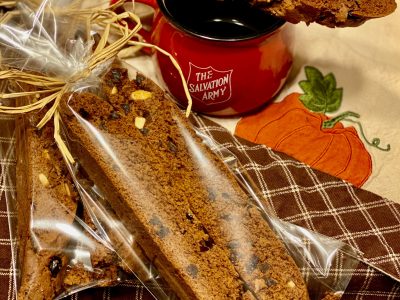
[av_textblock size=” font_color=” color=” admin_preview_bg=”] Homemade Biscotti Using Cake Mix By Anna Stone Pathway of Hope Director, Hawaiian & Pacific Islands Division Note: This recipe is Anna’s version of the …
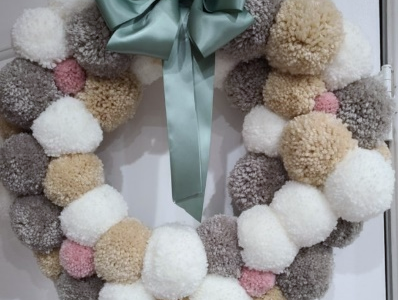
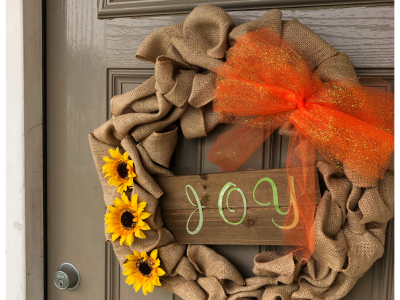
[av_textblock size=” font_color=” color=” admin_preview_bg=”] Joyful Fall Wreath By Captain Jan Pemberton Divisional Women’s Ministries Secretary, Alaska Division Fall is a beautiful time of year. We have leaves falling, the …
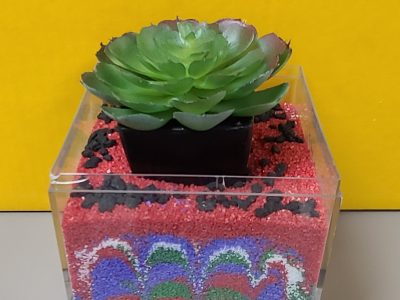
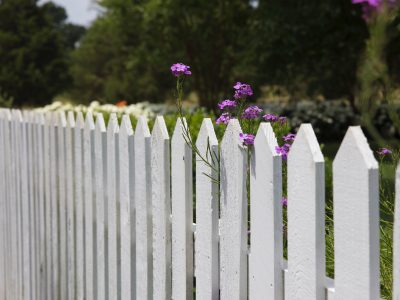
[av_textblock size=” font_color=” color=” admin_preview_bg=”] The Grass is Not Always Greener By Captain Kristy Church Roseburg, OR Corps – Cascade Division Note: This is not just a craft, but is …
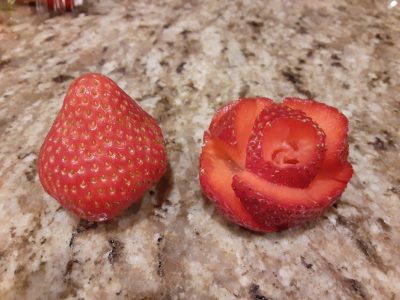
[av_textblock size=” font_color=” color=” admin_preview_bg=”] Strawberry Roses By Major Laura Sullivan Garden Street Campus Coordinator – Del Oro Division We are going to change Strawberries into flowers. It’s super simple! …
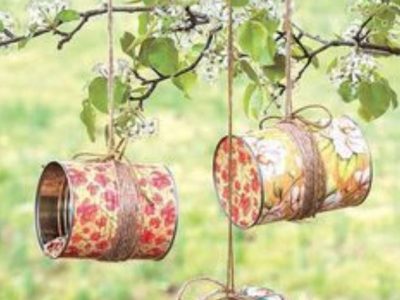
[av_textblock size=” font_color=” color=” admin_preview_bg=”] Crafts Made From Recycled Items (Repurposing them from Trash to Treasure) By Commissioner Debi Bell Sun Cities West Valley, AZ Corps Note: This craft coordinates with …
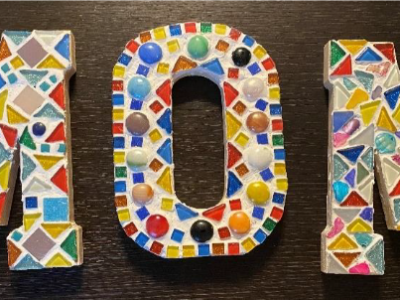
[av_textblock size=” font_color=” color=” admin_preview_bg=”] Mother’s Day Mosaic Craft Lt. Mandy Hall Denver Red Shield, Intermountain Division Materials: Wood Letters (or shape) Glue Mosaic Tiles (or broken tile, broken pottery) …
[av_textblock size=” font_color=” color=” admin_preview_bg=”] Mother’s Day is always celebrated on the second Sunday in May, in the United States (May 10, 2020). Below are some easy favor ideas that …
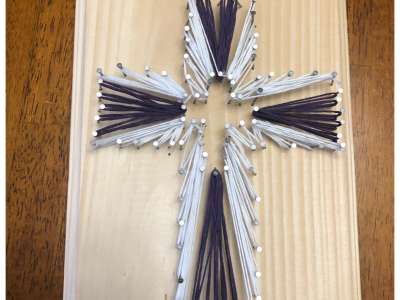
[av_textblock size=” font_color=” color=” admin_preview_bg=”] His Greatest Gift Craft: Cross String Art By Captain Jan Pemberton Divisional Women’s Ministries Secretary, Alaska Division This is a fun craft for anyone. This …
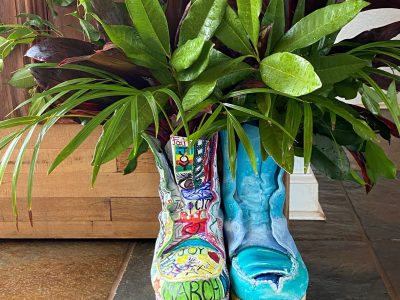
[av_textblock size=” font_color=” color=” admin_preview_bg=”] March Forward Craft By Maria White, Kroc Center Hawaii, Ewa Beach, HI Enjoy upcycling an old pair of worn out boots, giving them a new perspective …
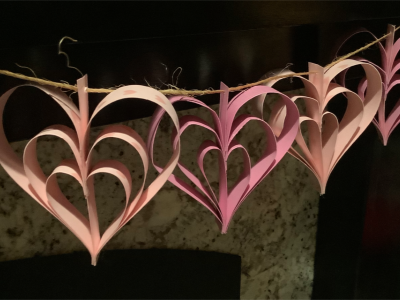
[av_textblock size=” font_color=” color=” admin_preview_bg=”] Valentine Heart Garland By Robbyn Laliberte Territorial Women’s Ministries Department Supplies to make Heart Garland: · Valentine colored construction patterned paper · Scissors, or paper …