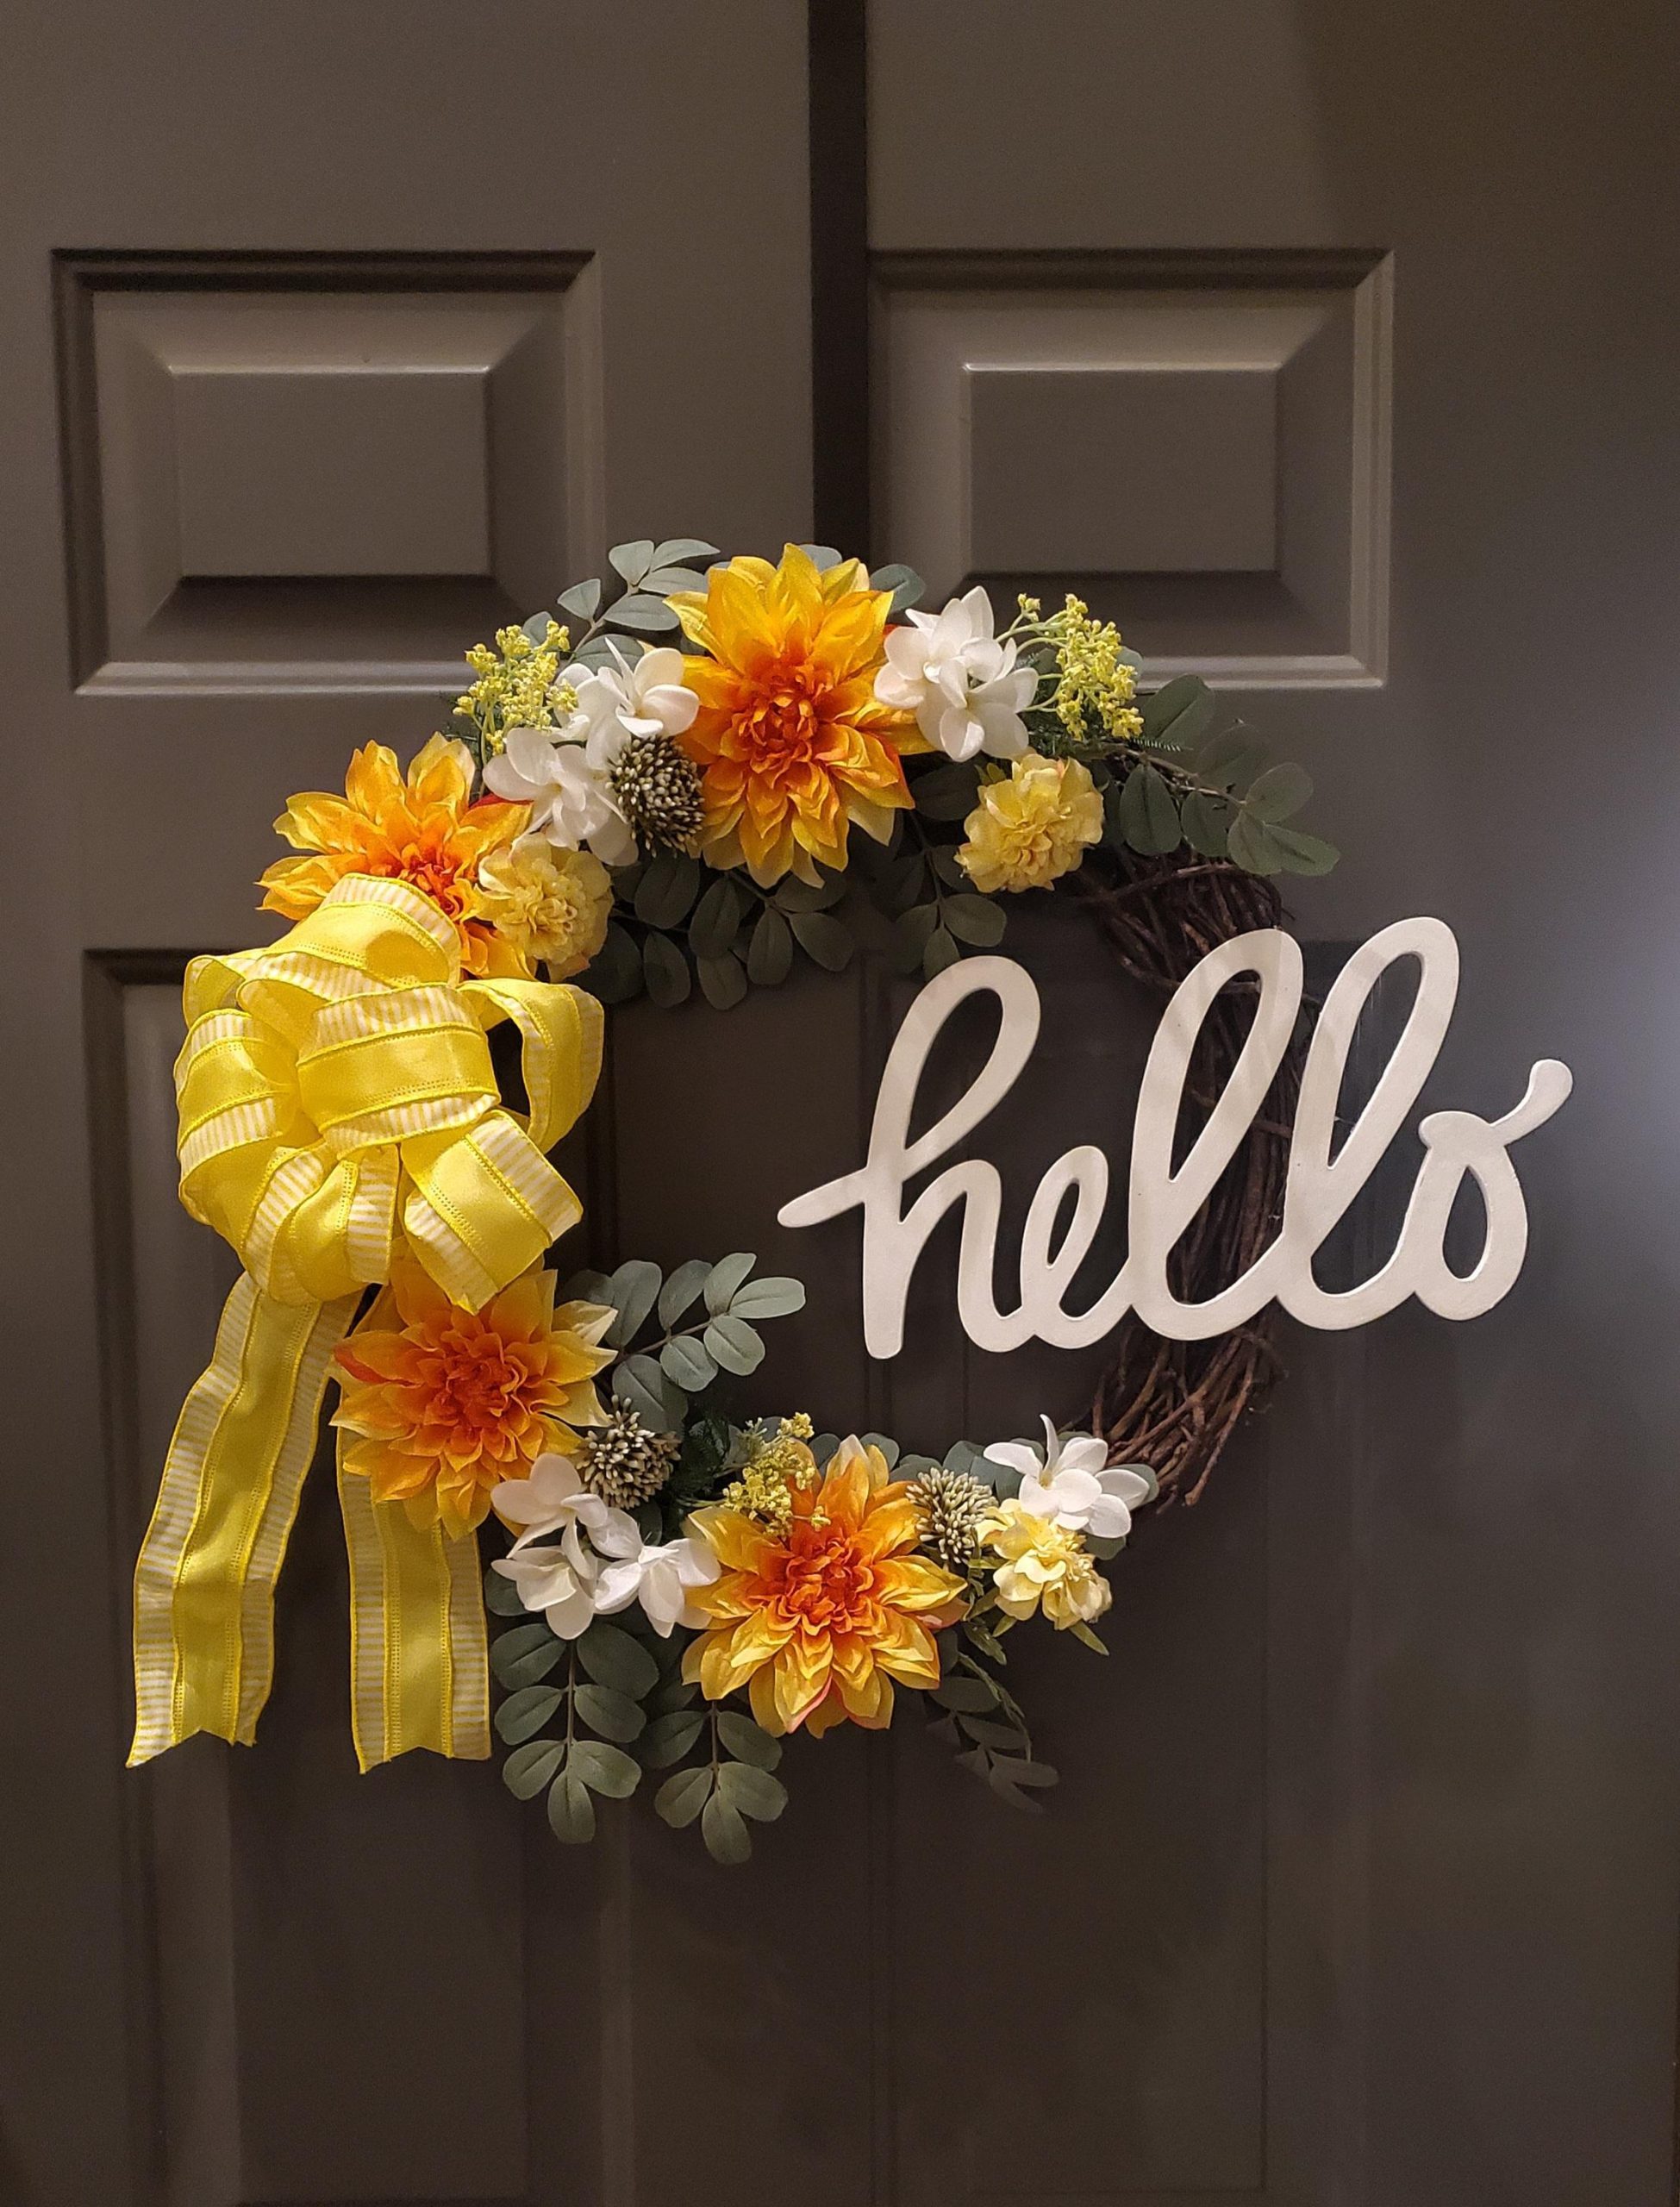
May 2024 Craft: Door Hanging Wreath
By Lt. Katherine HernandezSalinas, CA Corps – Golden State Division As we discover the power our tongues have and identify ways in which we can better control it, let us …
Salvation Army USA Western Territory Women's Ministries
By Lt. Katherine HernandezSalinas, CA Corps – Golden State Division As we discover the power our tongues have and identify ways in which we can better control it, let us …
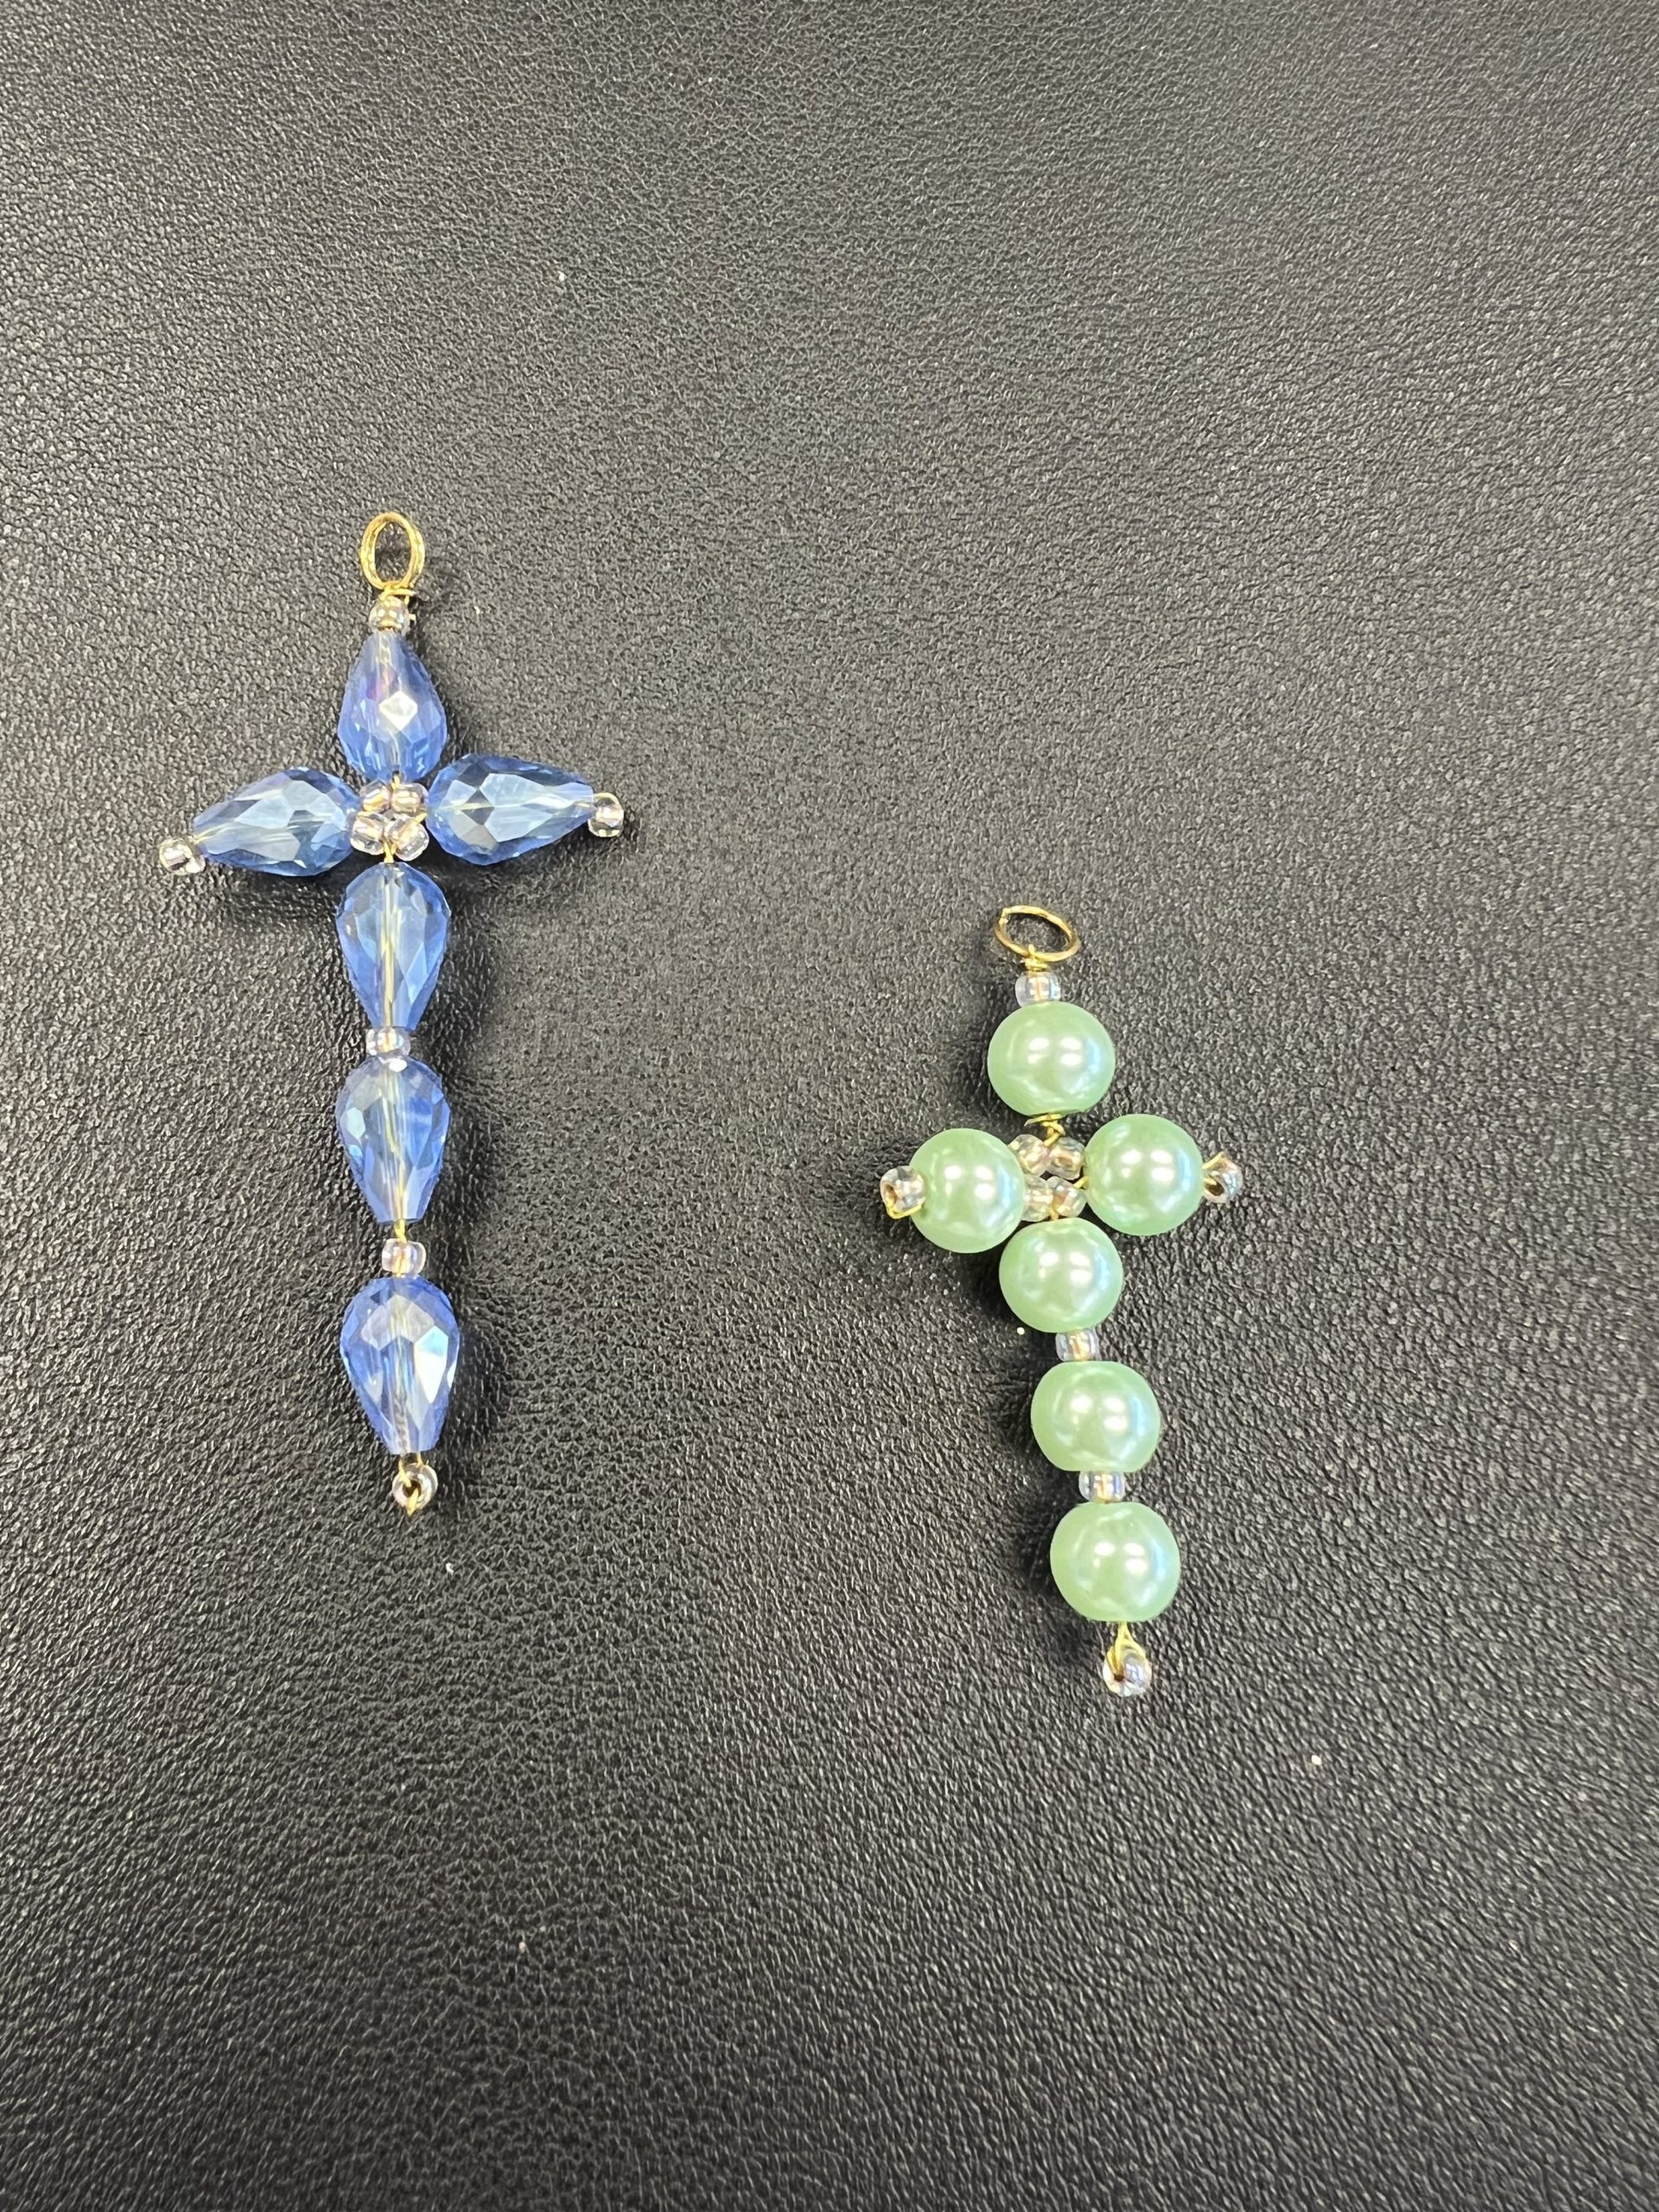
By Major Harryette RaihlDivisional Women’s Ministries SecretarySouthern California Division Supplies Needed:(6) 6 mm beads (smaller beads or larger beads vary the size of the cross)(10) spacer seed beadsGold/silver jump ring …
By Margaret GriecoTerritorial Women’s Ministries Department “That I may know Christ, and the power of His resurrection, and the fellowship of His sufferings…being conformed to His death.” Philippians 3:10 Beauty …
By Captain Hilda ParksRenton, WA CorpsNorthwest Division A great way to unplug is to craft. Here is an easy craft that you can make and enjoy during your “unplugged” times. …
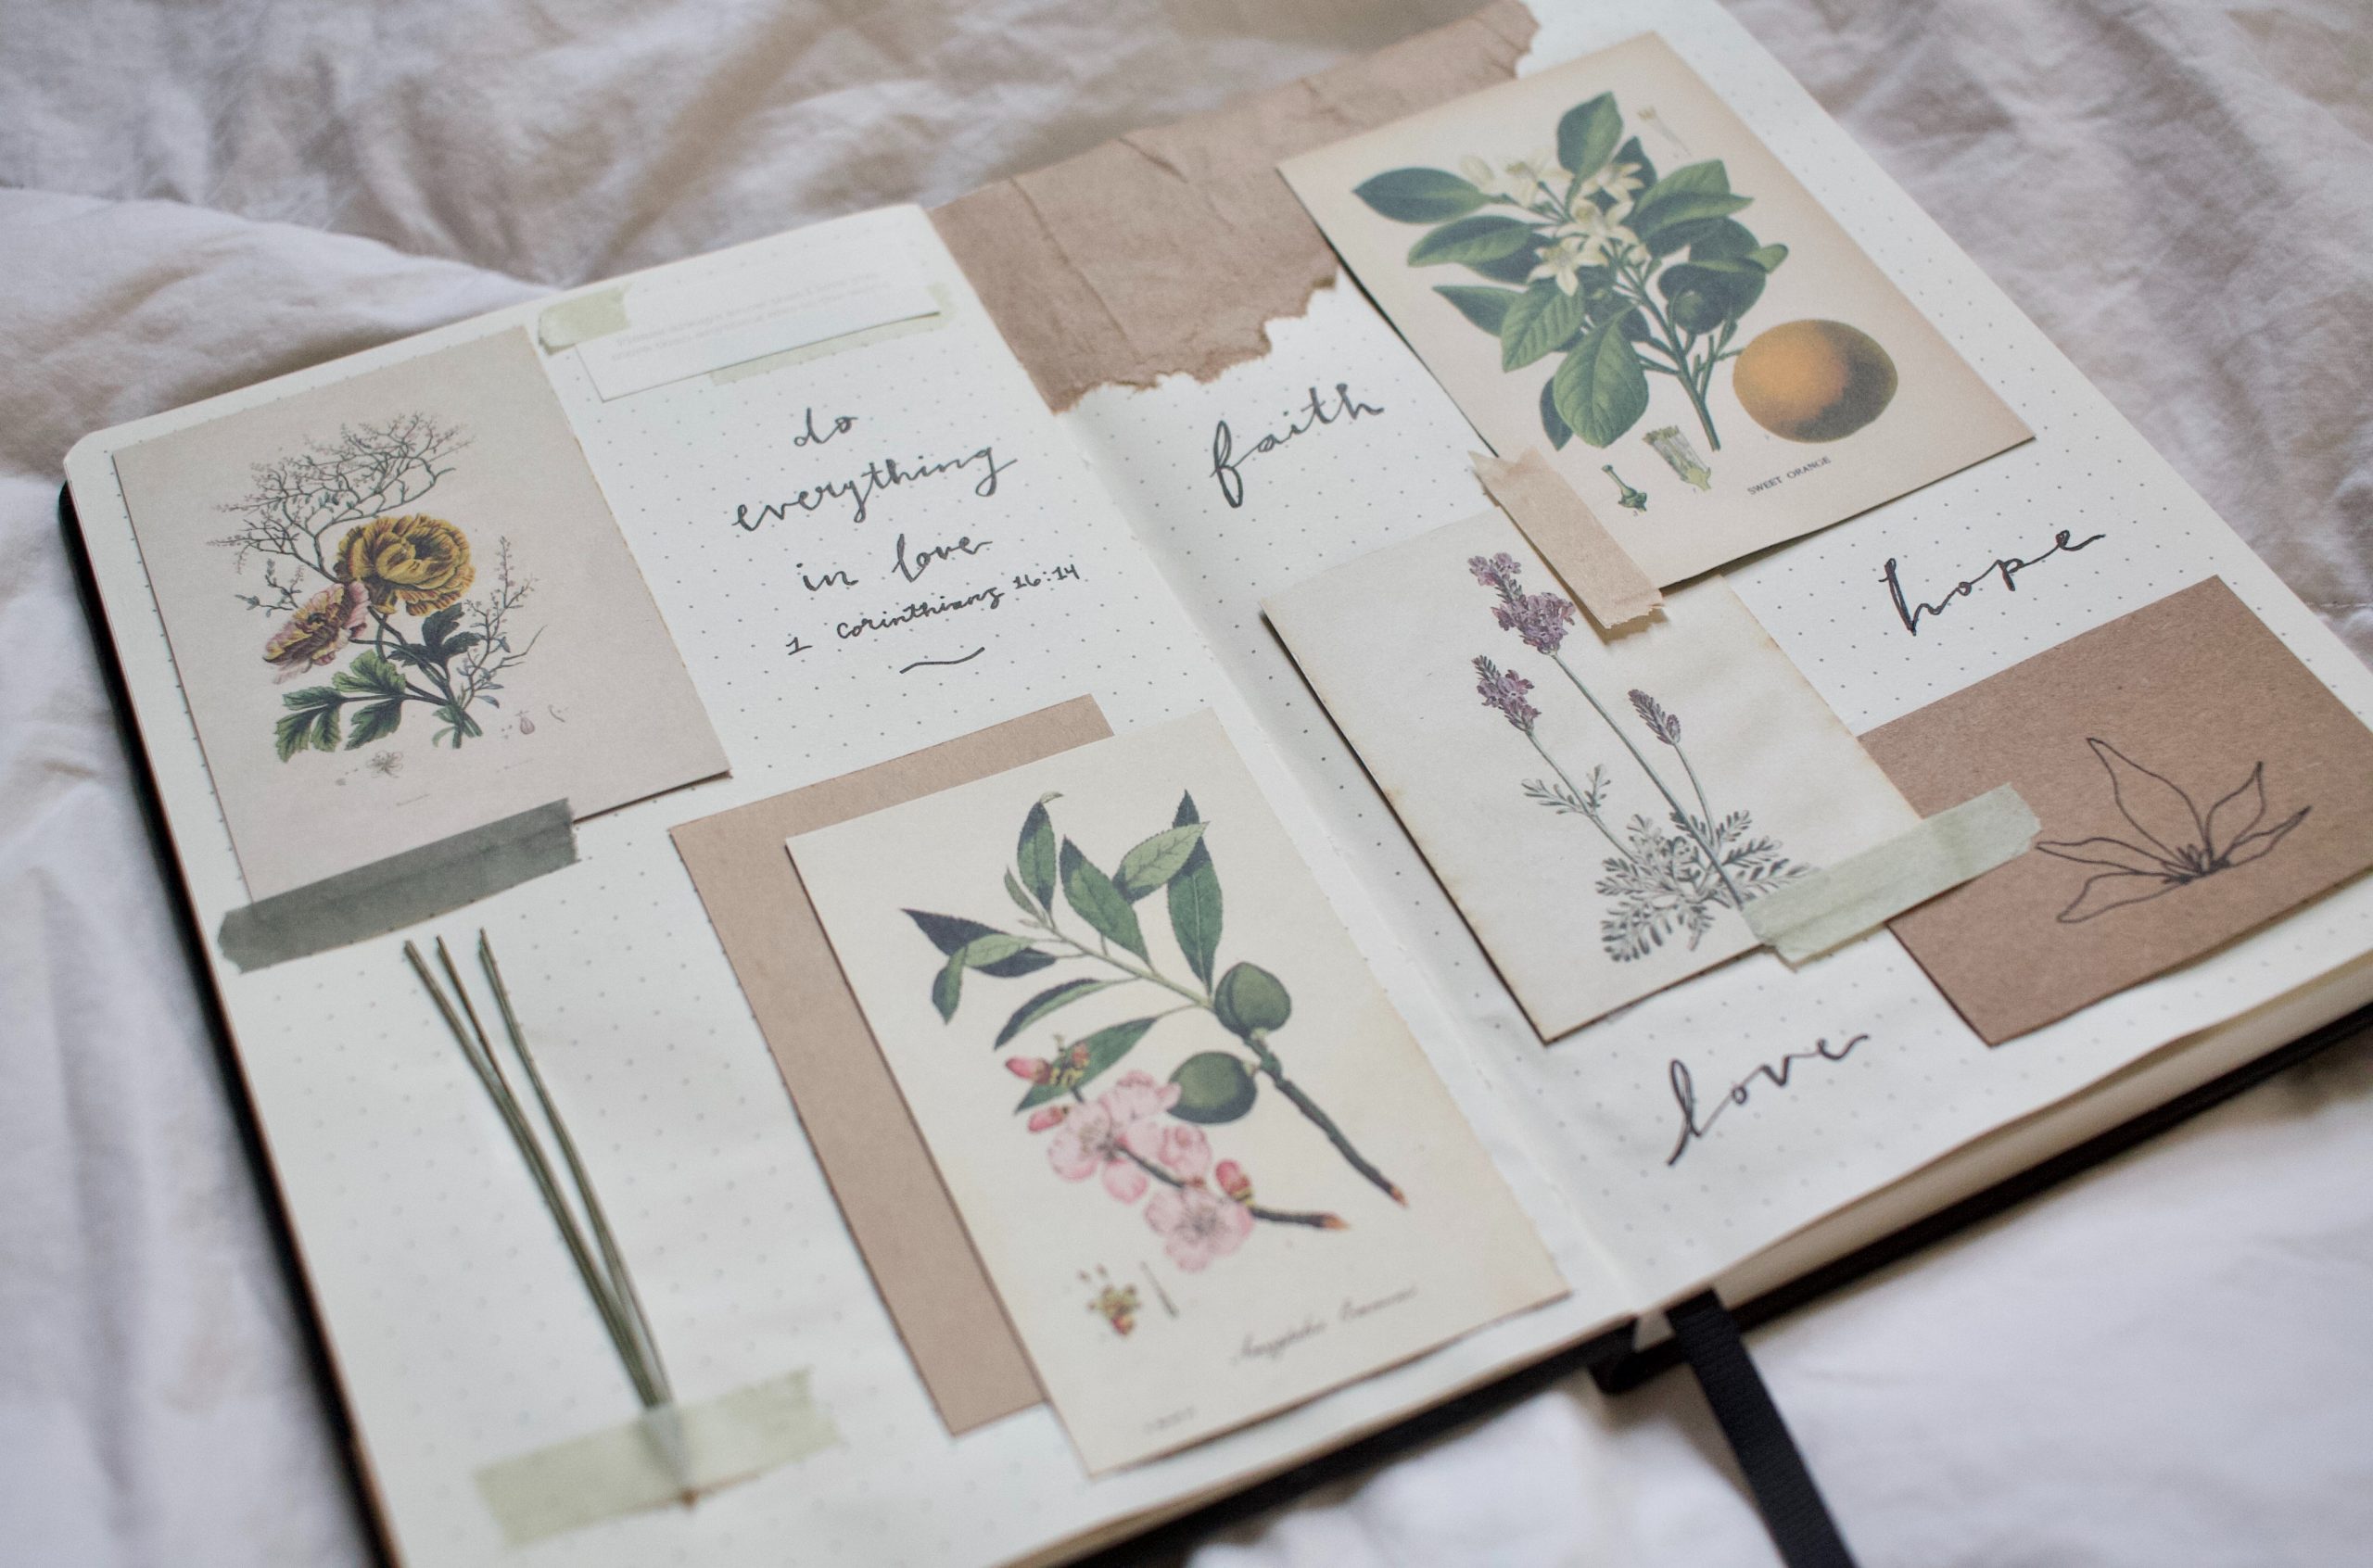
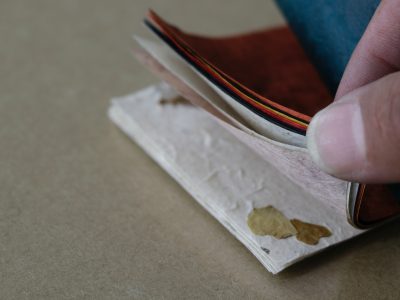
By Major Stacy CrossDirector of Education & Continuing EducationCollege for Officer Training Journal Pages Journal Cover Use scrapbook paper or any heavy weight decorative paper to make cover. Be creative! …
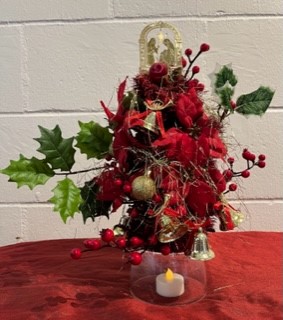
By Major Jasiel TumaleGuam CorpsHawaiian & Pacific Islands Division Materials: Directions:1. Glue the pinecone in a clear bowl.2. Decorate the pinecone with assorted Christmas ornaments.3. Turn on the tea light …
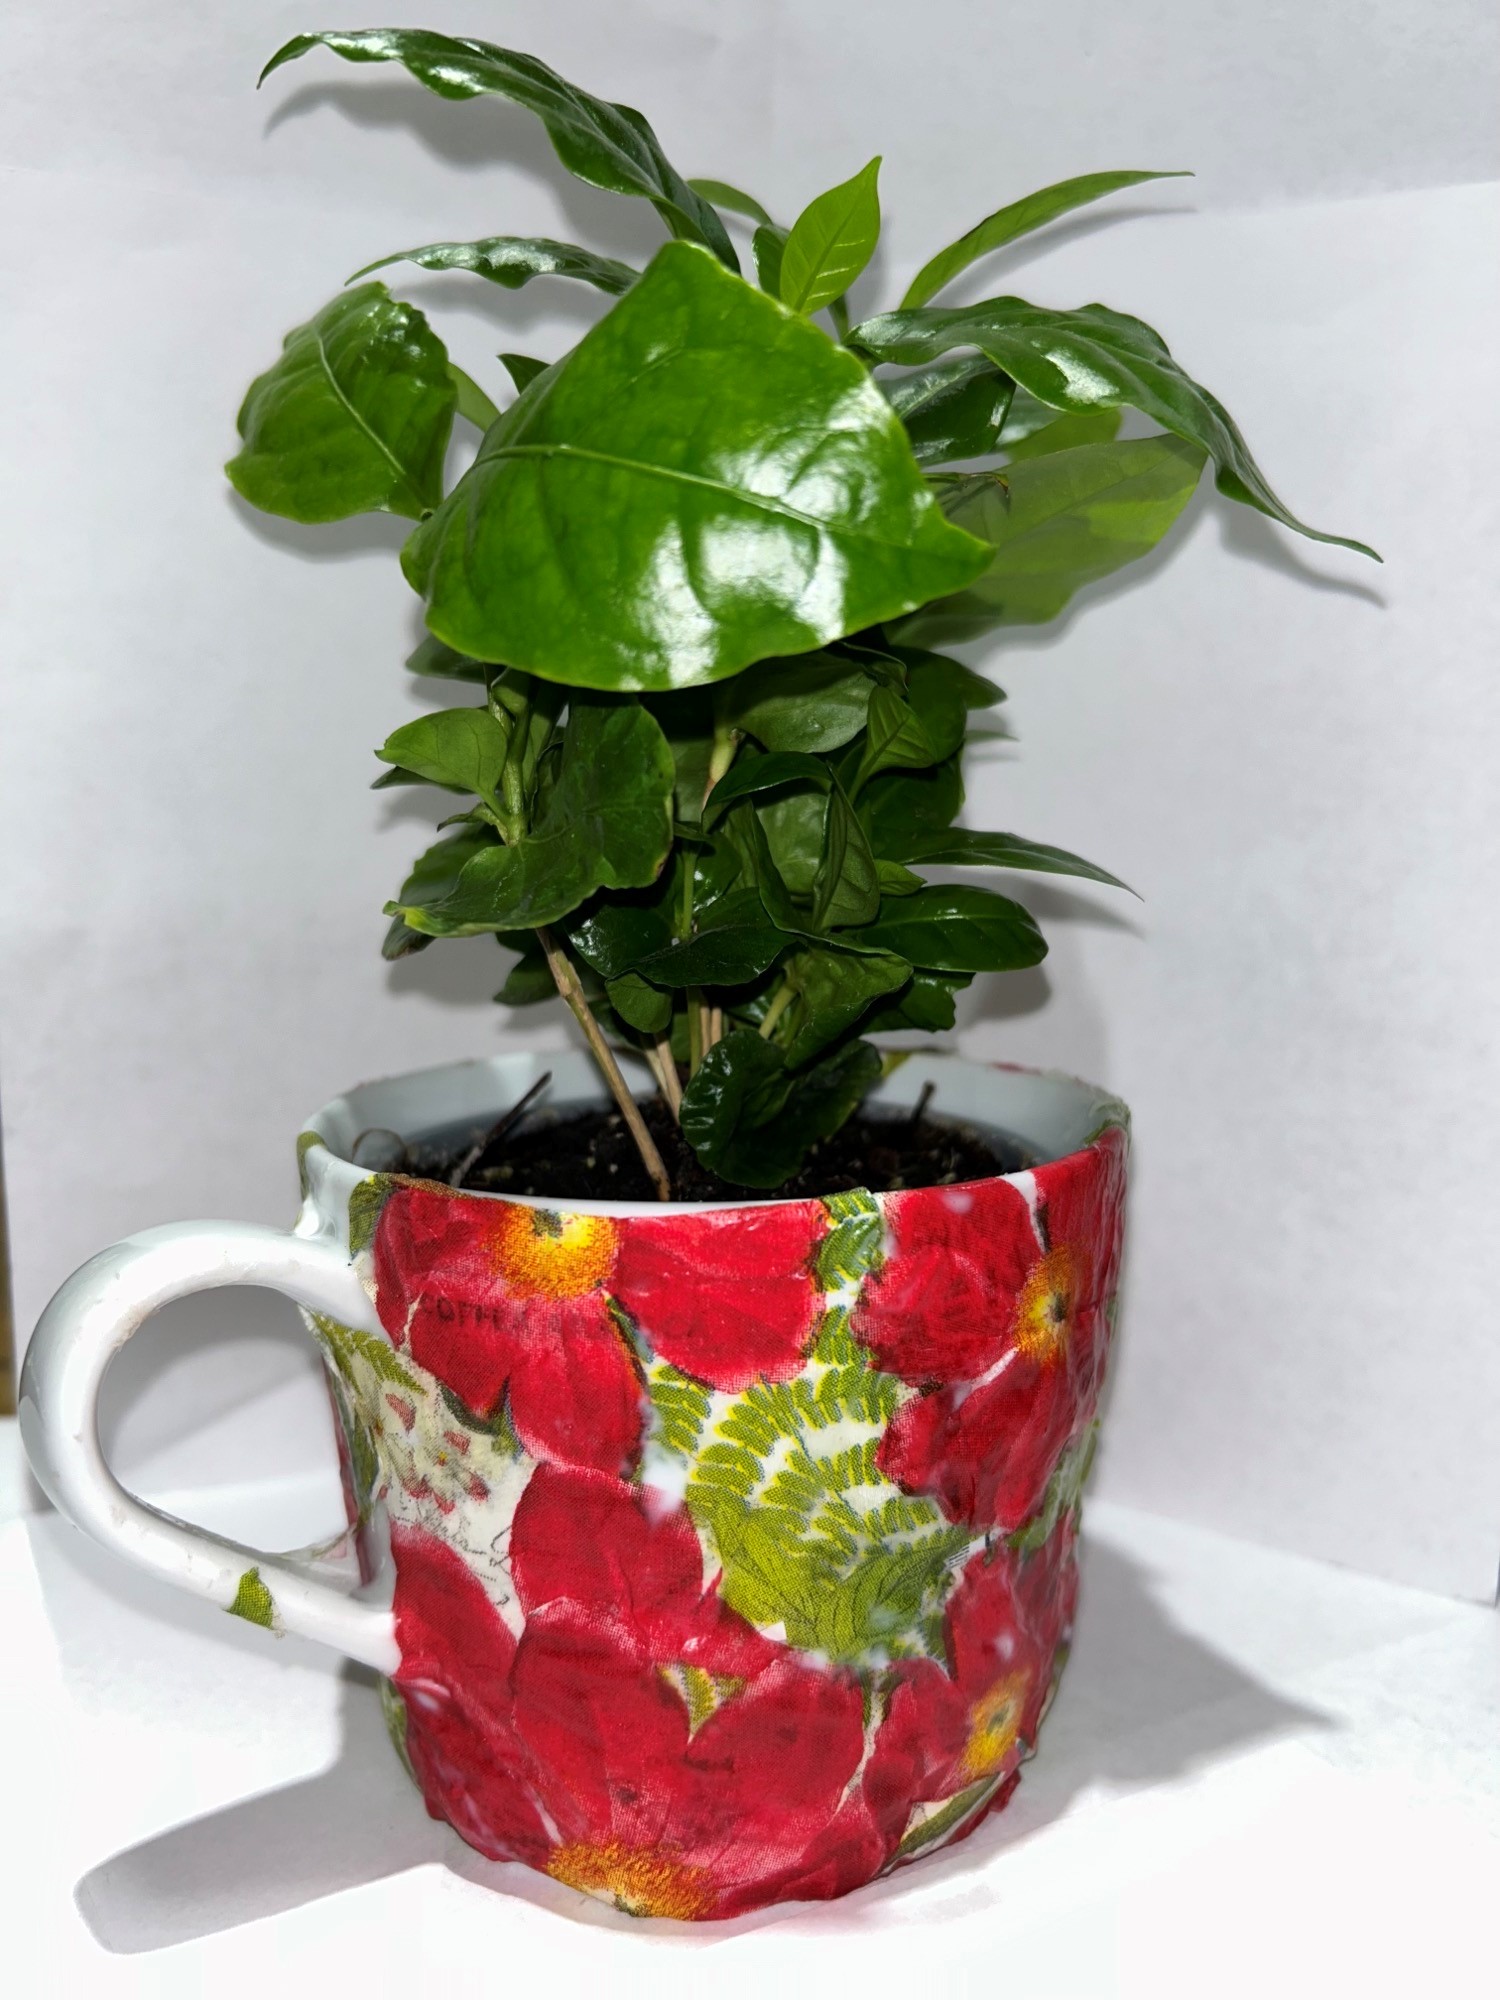
By Captain Jennifer SwainAdministrator of ProgramSan Diego, CA Adult Rehabilitation Program Supplies*: *Most supplies can be purchased inexpensively at Amazon or the Dollar Tree! How to… Cover your surface with …
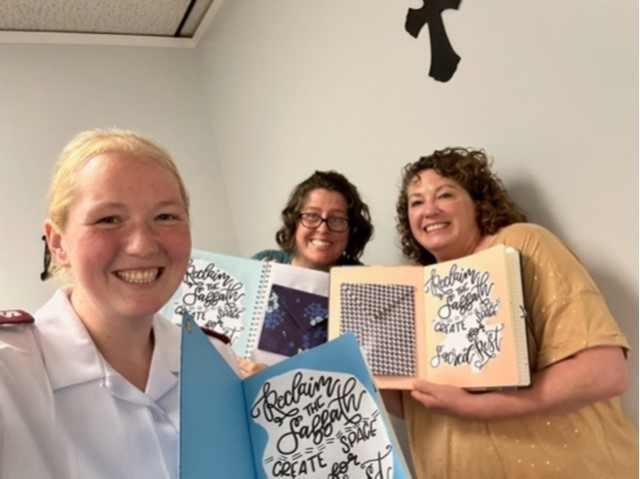
By Captain Amber OhlBozeman, MT Corps – Intermountain Division For me Smash Books are just a more beautiful journal. I think of it as a doodle pad, journal, maybe even …
By Major Gaylene YardleyDivisional Women’s Ministries Secretary – Southwest Division This month’s craft is a little different. No written directions, but Major Gaylene has created a video of how you …
By Major Noelle NelsonDivisional Women’s Ministries Secretary – Golden State Division The desert has a lot of beauty. The shades of red and orange, the cliffs, cactus, various trees, plant …
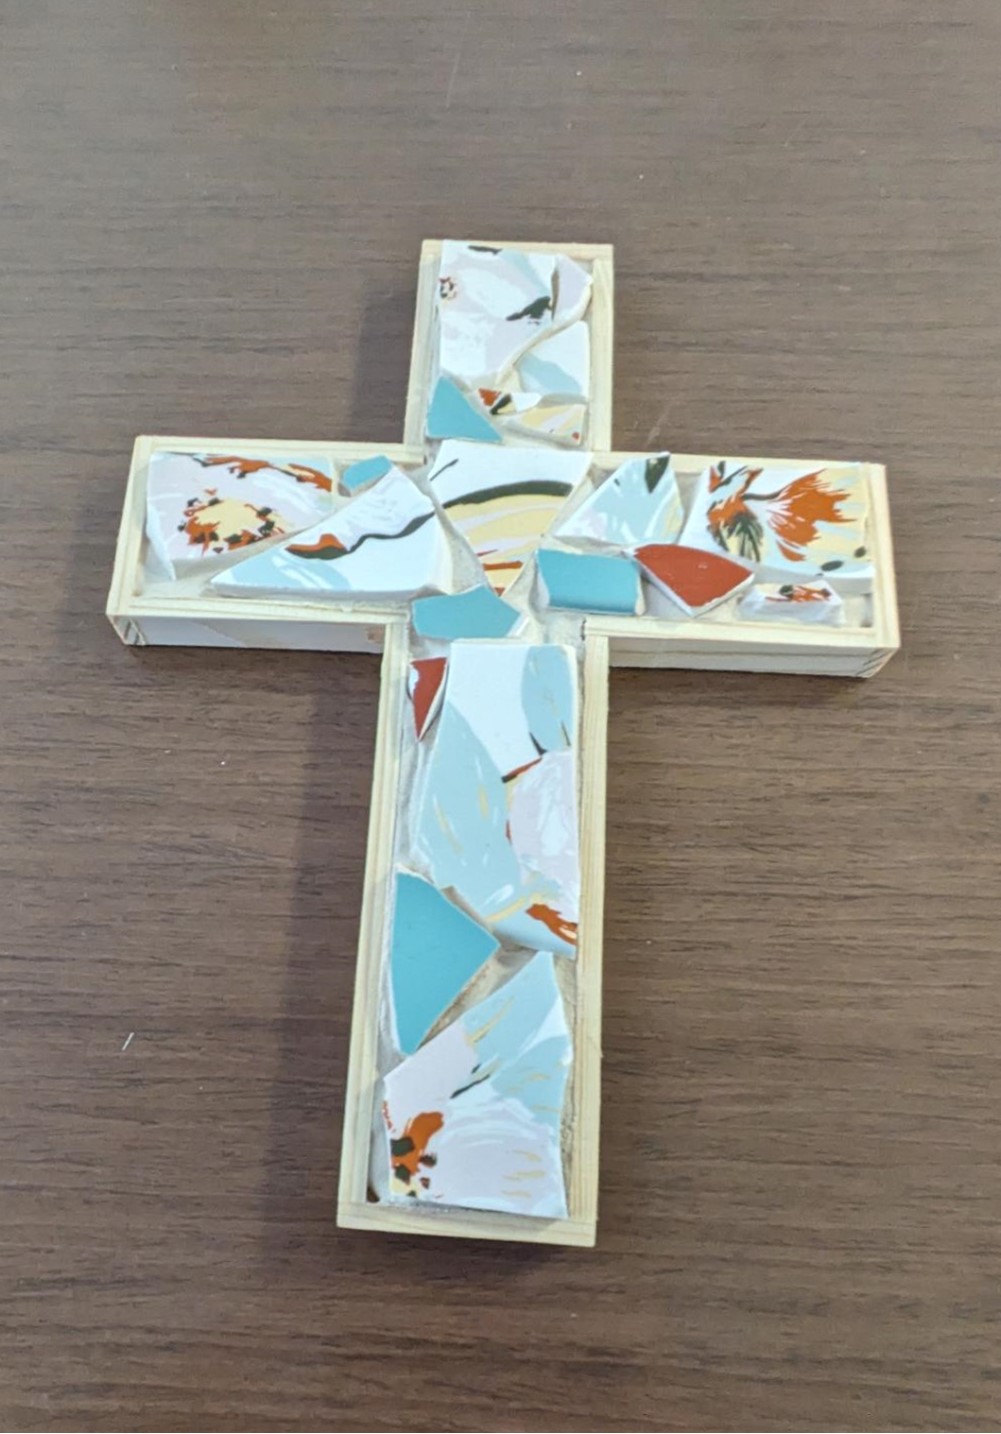
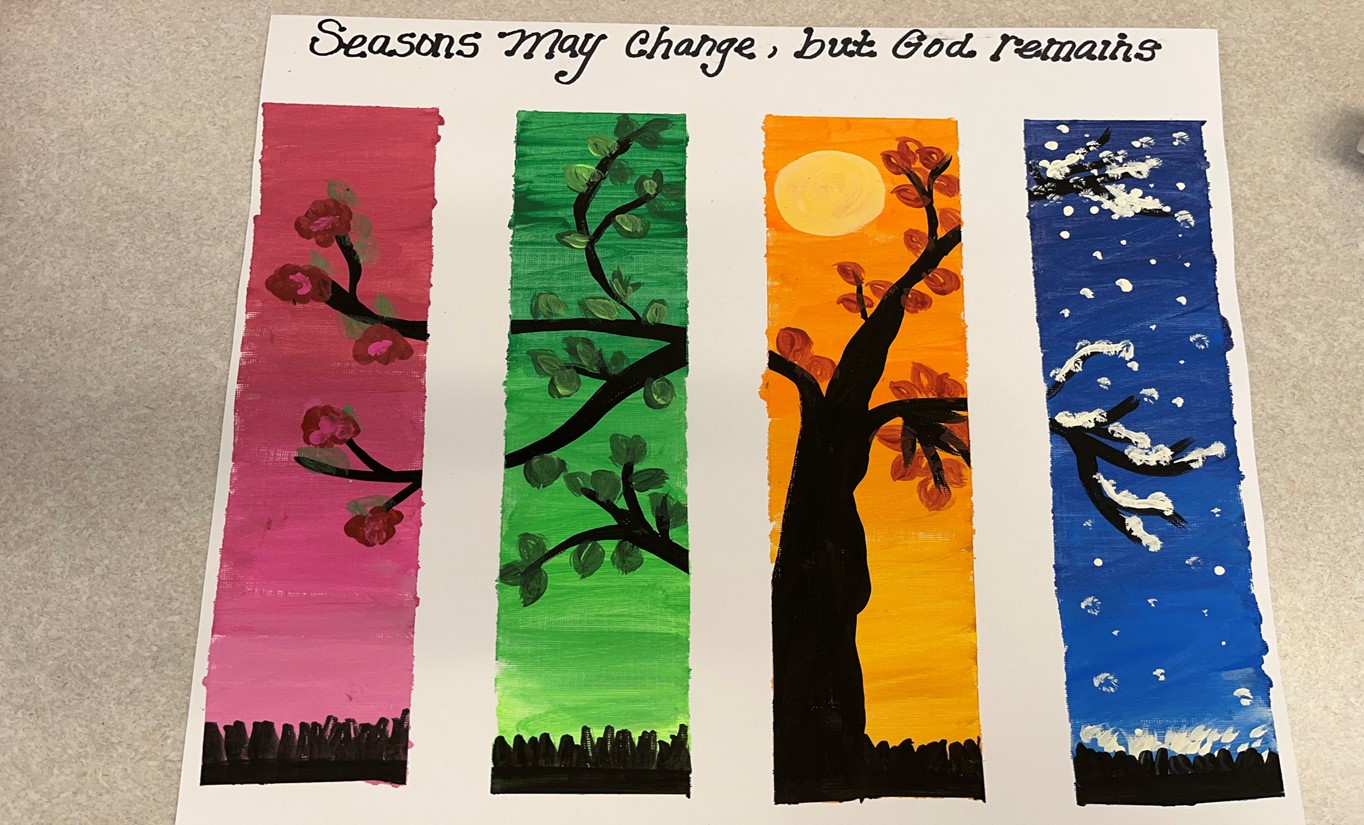
By Captain Heather PopeDivisional Women’s Ministries Secretary – Alaska Division This is the perfect project to remind us that even though things around us may change, God’s love is steadfast …
By Commissioner Debi Bell (Retired)North West Valley, AZ Corps – Southwest Division Note: This can be used as a Mother’s Day or Women’s Tea Craft. You turned my mourning into …
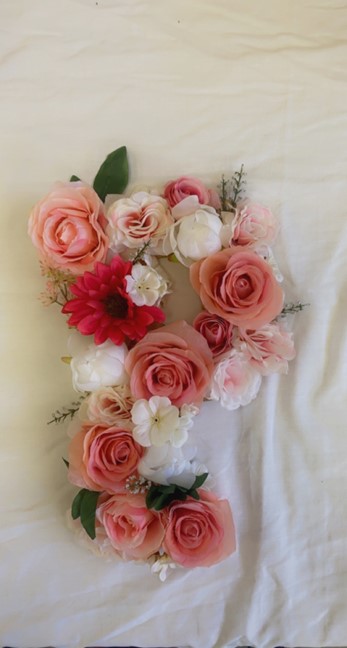
By Lt. Stephanie PhilpotInglewood, CA Corps – Southern California Division Spring is near, and it is almost time to bring out the spring décor. Floral letters are a great way …
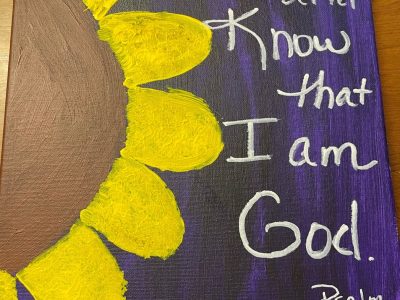
By Major Beth PaughIntermountain Division When I think of “Flourishing in the tests and trials season” two things came to mind, the first was a flower breaking through the winter …
By Major Nancy BallDivisional Secretary for Program – Hawaiian & Pacific Islands Division Tools & Supplies: Directions: Download printable craft directions:
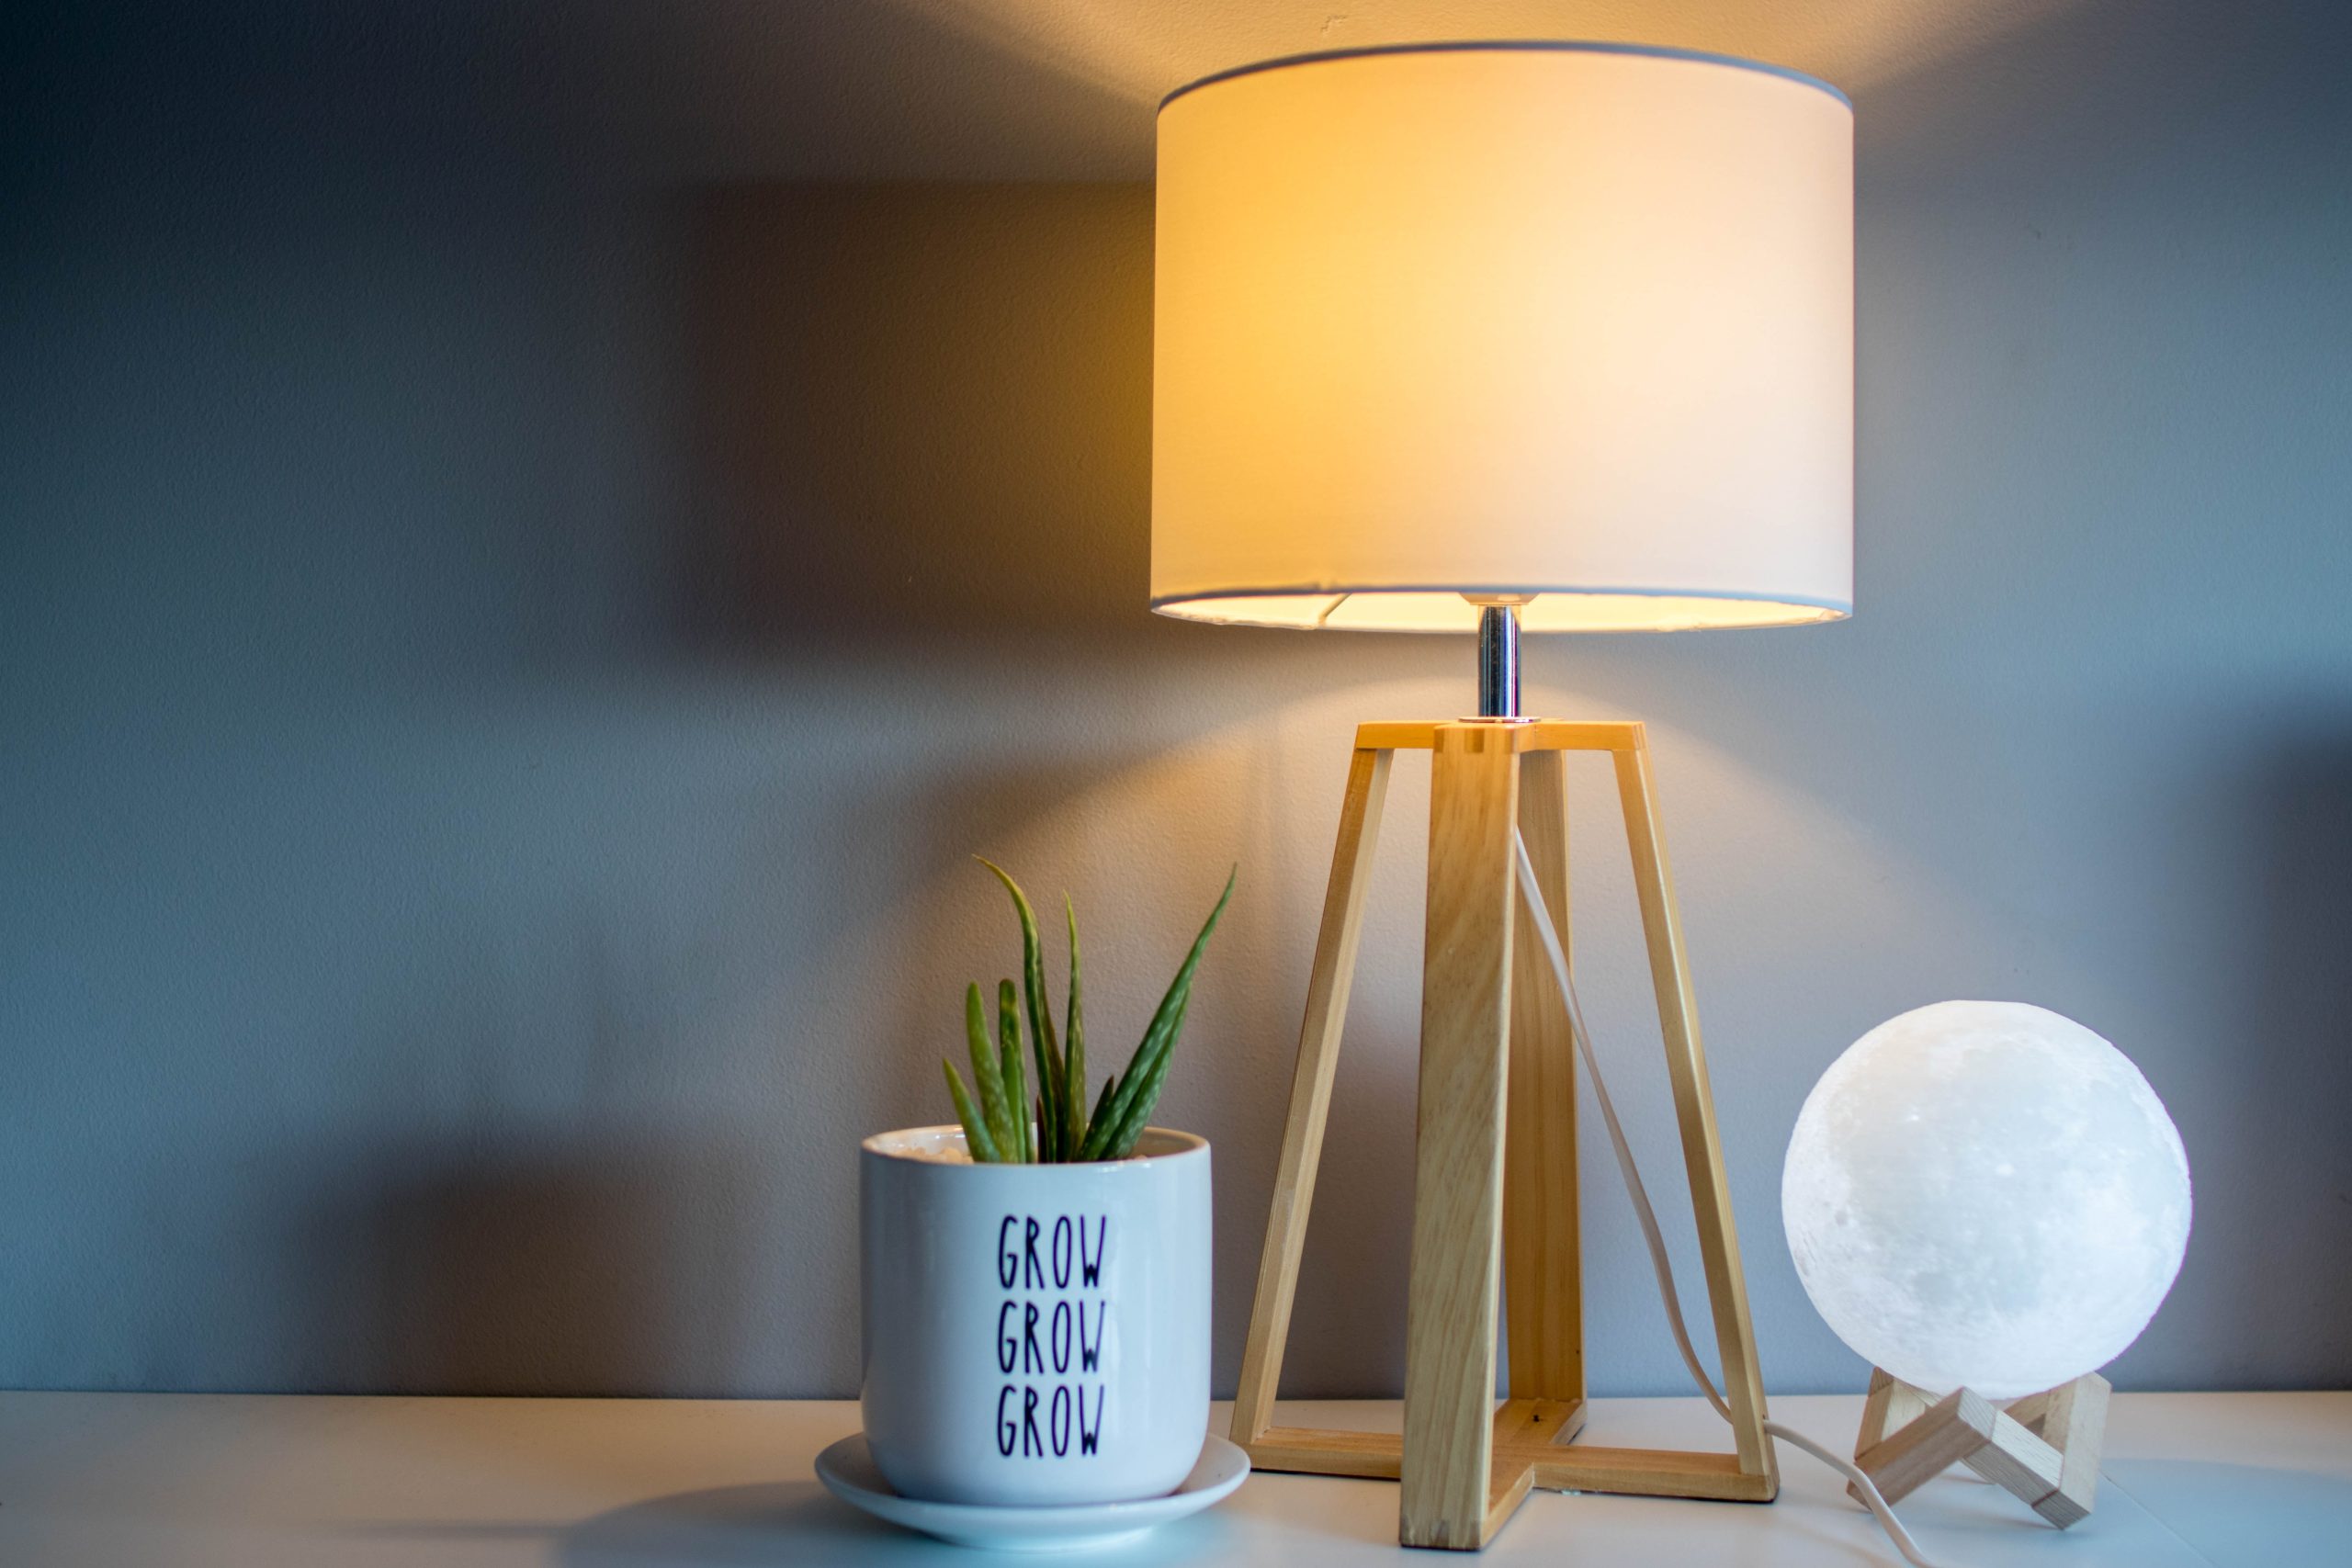
By Captain Jan PembertonDivisional Women’s Ministries Secretary – Cascade Division When we are looking for peace or a break from the ordinary in our lives, we often gravitate to a …
By Captain Gin PackCentralia, WA Corps – Northwest Division There are so many things I love about the Christmas season. For me, it feels like an all-senses adventure; there are …
By Captain Jennifer SwainAdministrator for Program for the San Diego, CA Adult Rehabilitation Center Supplies* recycled paper large bowl towels sponge seed packets 2 small wooden frames grease splatter screen …
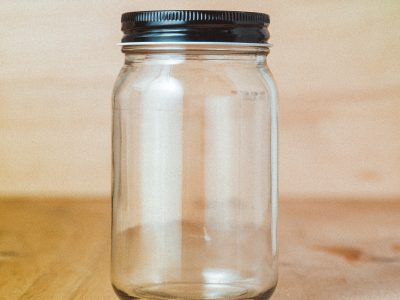
By Captain Jessica StevensFamily Care Director – College For Officer Training Materials: One set of affirmation cards per person. Download the affirmation cards One ordinary container (mason jar, Tupperware, takeout …
By Jacqui Larsson, Territorial Social Justice Ministries DirectorTerritorial Social Justice Department “The King will reply, ‘Truly I tell you, whatever you did for one of the least of these brothers …
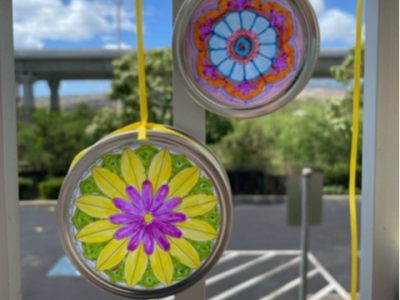
By Becky LukeCorps Program CoordinatorRay & Joan Kroc Center, HI – Hawaiian & Pacific Islands Division Supplies Needed: Coloring pages printed on basic white printer paper. Picture needs to fit …
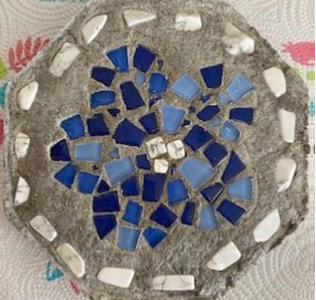
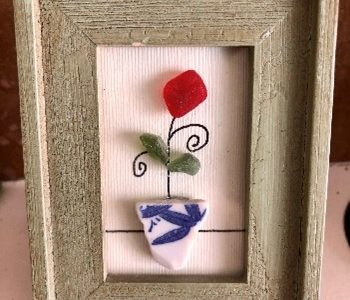
By Major Nancy HelmsSpiritual Care Director – College for Officer Training Any of the ideas below can easily be made from sea glass/pottery. If you can’t get to the beach …
By Major Noelle NelsonDivisional Women’s Ministries Secretary – Golden State Division Note: This is a group activity with craft and Biblical application. This activity works well for one group, several …
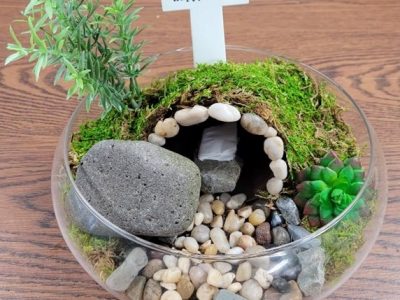
By Lt. Faith HarttKlawock, AK Corps – Alaska Division As Easter approaches my thoughts wander to the garden that early Sunday morning when Mary Magdalene was overjoyed to see her …