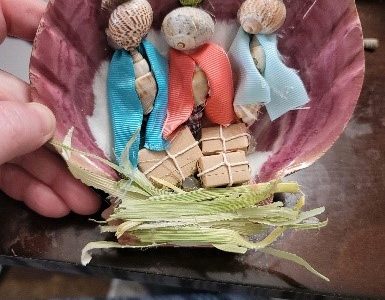
December 2021 Craft: Wise Men Seashell Ornament
Submitted by the Intermountain Division This craft is incredibly versatile in that it can be adapted for any age and as simple or complex as you would like it to …
Salvation Army USA Western Territory Women's Ministries
Submitted by the Intermountain Division This craft is incredibly versatile in that it can be adapted for any age and as simple or complex as you would like it to …
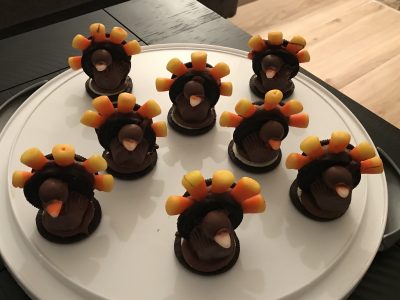
Submitted by the Southwest Division Ingredients1 cup of chocolate chips or premade chocolate frosting30 candy corn candies6 chocolate sandwich cookies6 mini peanut butter cups6 malt balls1 cup of red frosting6 …
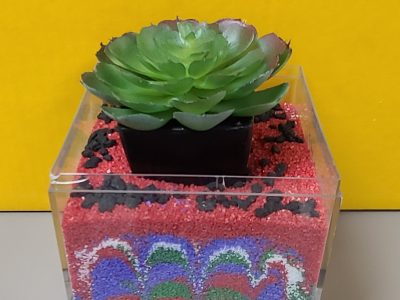
By Lt. Mony OregelStockton, CA Corps – Del Oro Division Supplies Needed: (You can find everything from your local dollar store) A container – glass or plastic with a wide …
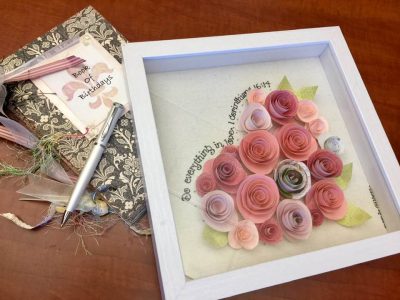
By Major Ronda GilgerCoeur d’Alene Kroc Center, ID – Northwest Division Pure inspiration! Learn a simple technique with so many applications. We’ve added everything you need to make sure that …
By Major Ronda GilgerCoeur d’Alene Kroc Center, ID – Northwest Division Our women need to hear about how God is working in our lives. It encourages them to look at …
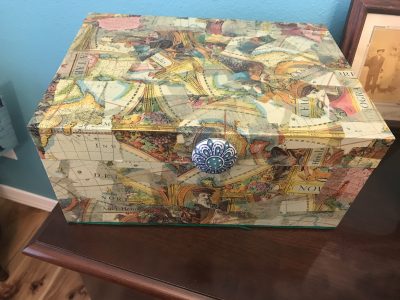
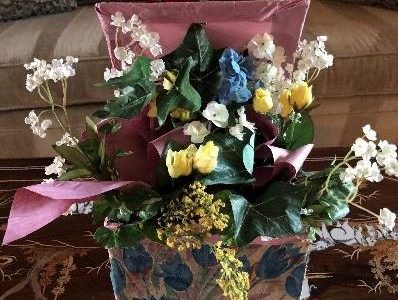
By Major Gaylene YardleyMetro Phoenix Resource Officer – Southwest Division Supplies Boxes of any shape or sizeModge Podge MatteOld picturesPaintSpray gloss Modge PodgePaint brushes Instructions Paint your box with any …
[av_textblock size=” font_color=” color=” admin_preview_bg=”] Dress Shirt Apron By Lt. Sara Evans Pocatello, ID – Cascade Division Materials Button up collared shirt Scissors Sewing method of your choice ( needle …
[av_textblock size=” font_color=” color=” admin_preview_bg=”] DOUGH SEASONAL ORNAMENTS By Major Nancy Helms College For Officer Training Salt dough recipe supplies 2 cups of plain flour (all-purpose flour) 1 cup of …
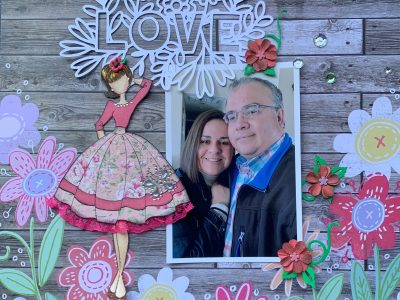
[av_textblock size=” font_color=” color=” admin_preview_bg=”] Layers – A Scrapbooking Project By Major Rebeca Sibaja Grass Valley, CA Corps – Del Oro Division Supplies: Scrapbooking paper Glue Craft jewels Stamps Your …
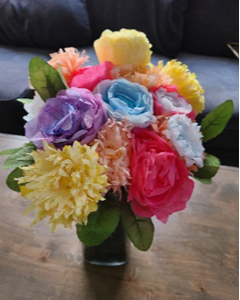
[av_textblock size=” font_color=” color=” admin_preview_bg=”] Coffee Filter Flowers By Captain Allison Struck Anaheim, CA Corps – California South Division Theme: Love These coffee filter flowers are inexpensive, require no special …
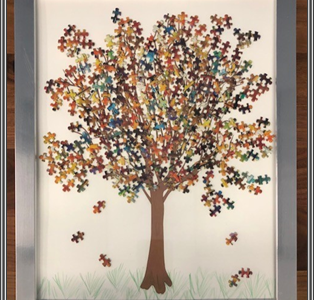
[av_textblock size=” font_color=” color=” admin_preview_bg=”] The Best Time for New Beginnings: DIY Puzzle Piece Wall Décor By Margaret Grieco Territorial Women’s Ministries Department Supplies Needed: Tree Graphic (or if you …
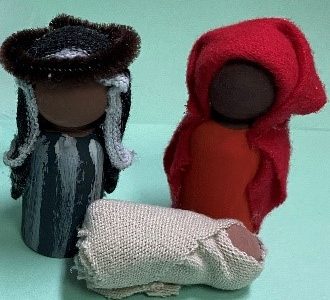
[av_textblock size=” font_color=” color=” admin_preview_bg=”] Immanuel: God With Us Nativity Craft By Captain Christin Fankhauser Everett WA, Corps – Northwest Division Supplies: (A majority of the supplies can be purchased …
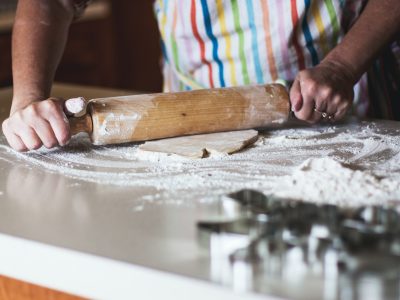
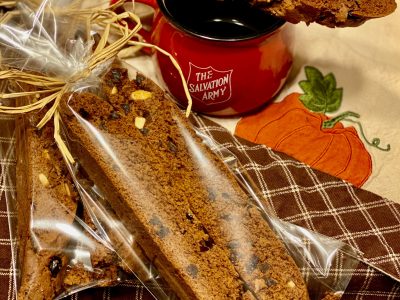
[av_textblock size=” font_color=” color=” admin_preview_bg=”] Homemade Biscotti Using Cake Mix By Anna Stone Pathway of Hope Director, Hawaiian & Pacific Islands Division Note: This recipe is Anna’s version of the …
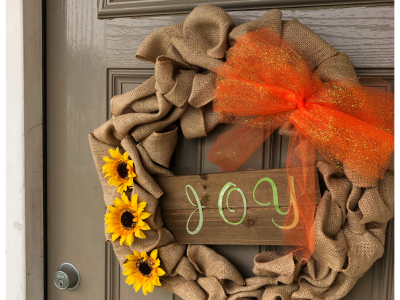
[av_textblock size=” font_color=” color=” admin_preview_bg=”] Joyful Fall Wreath By Captain Jan Pemberton Divisional Women’s Ministries Secretary, Alaska Division Fall is a beautiful time of year. We have leaves falling, the …
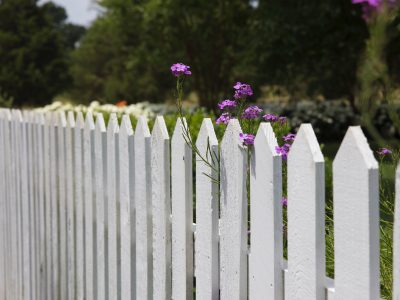
[av_textblock size=” font_color=” color=” admin_preview_bg=”] The Grass is Not Always Greener By Captain Kristy Church Roseburg, OR Corps – Cascade Division Note: This is not just a craft, but is …
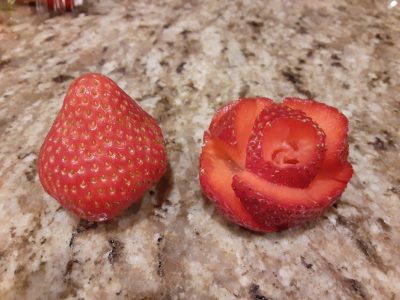
[av_textblock size=” font_color=” color=” admin_preview_bg=”] Strawberry Roses By Major Laura Sullivan Garden Street Campus Coordinator – Del Oro Division We are going to change Strawberries into flowers. It’s super simple! …
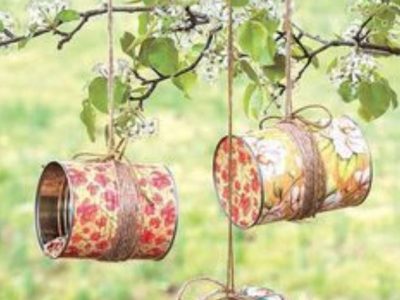
[av_textblock size=” font_color=” color=” admin_preview_bg=”] Crafts Made From Recycled Items (Repurposing them from Trash to Treasure) By Commissioner Debi Bell Sun Cities West Valley, AZ Corps Note: This craft coordinates with …
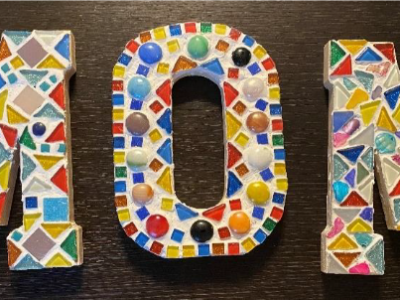
[av_textblock size=” font_color=” color=” admin_preview_bg=”] Mother’s Day Mosaic Craft Lt. Mandy Hall Denver Red Shield, Intermountain Division Materials: Wood Letters (or shape) Glue Mosaic Tiles (or broken tile, broken pottery) …
[av_textblock size=” font_color=” color=” admin_preview_bg=”] Mother’s Day is always celebrated on the second Sunday in May, in the United States (May 10, 2020). Below are some easy favor ideas that …
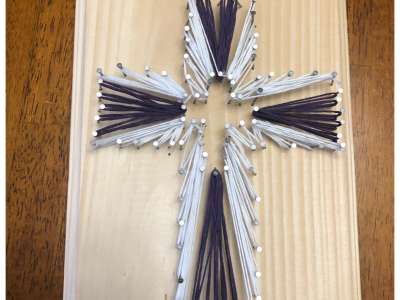
[av_textblock size=” font_color=” color=” admin_preview_bg=”] His Greatest Gift Craft: Cross String Art By Captain Jan Pemberton Divisional Women’s Ministries Secretary, Alaska Division This is a fun craft for anyone. This …
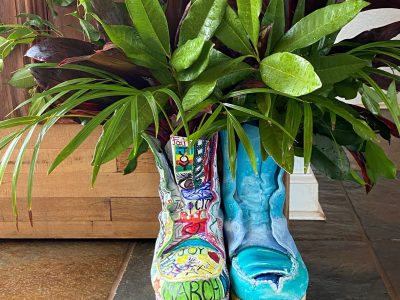
[av_textblock size=” font_color=” color=” admin_preview_bg=”] March Forward Craft By Maria White, Kroc Center Hawaii, Ewa Beach, HI Enjoy upcycling an old pair of worn out boots, giving them a new perspective …
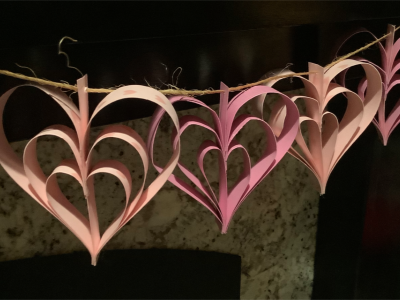
[av_textblock size=” font_color=” color=” admin_preview_bg=”] Valentine Heart Garland By Robbyn Laliberte Territorial Women’s Ministries Department Supplies to make Heart Garland: · Valentine colored construction patterned paper · Scissors, or paper …
[av_textblock size=” font_color=” color=” admin_preview_bg=”] For God so loved the world that he gave his one an only Son, that whoever believes in him shall not perish but have eternal …
[av_textblock size=” font_color=” color=” admin_preview_bg=”] Snowy Winter Day Layered Hot Cocoa Mix Craft By Major Dina Graciani ARC Command West There’s yumminess in every jar you make of your snowy …