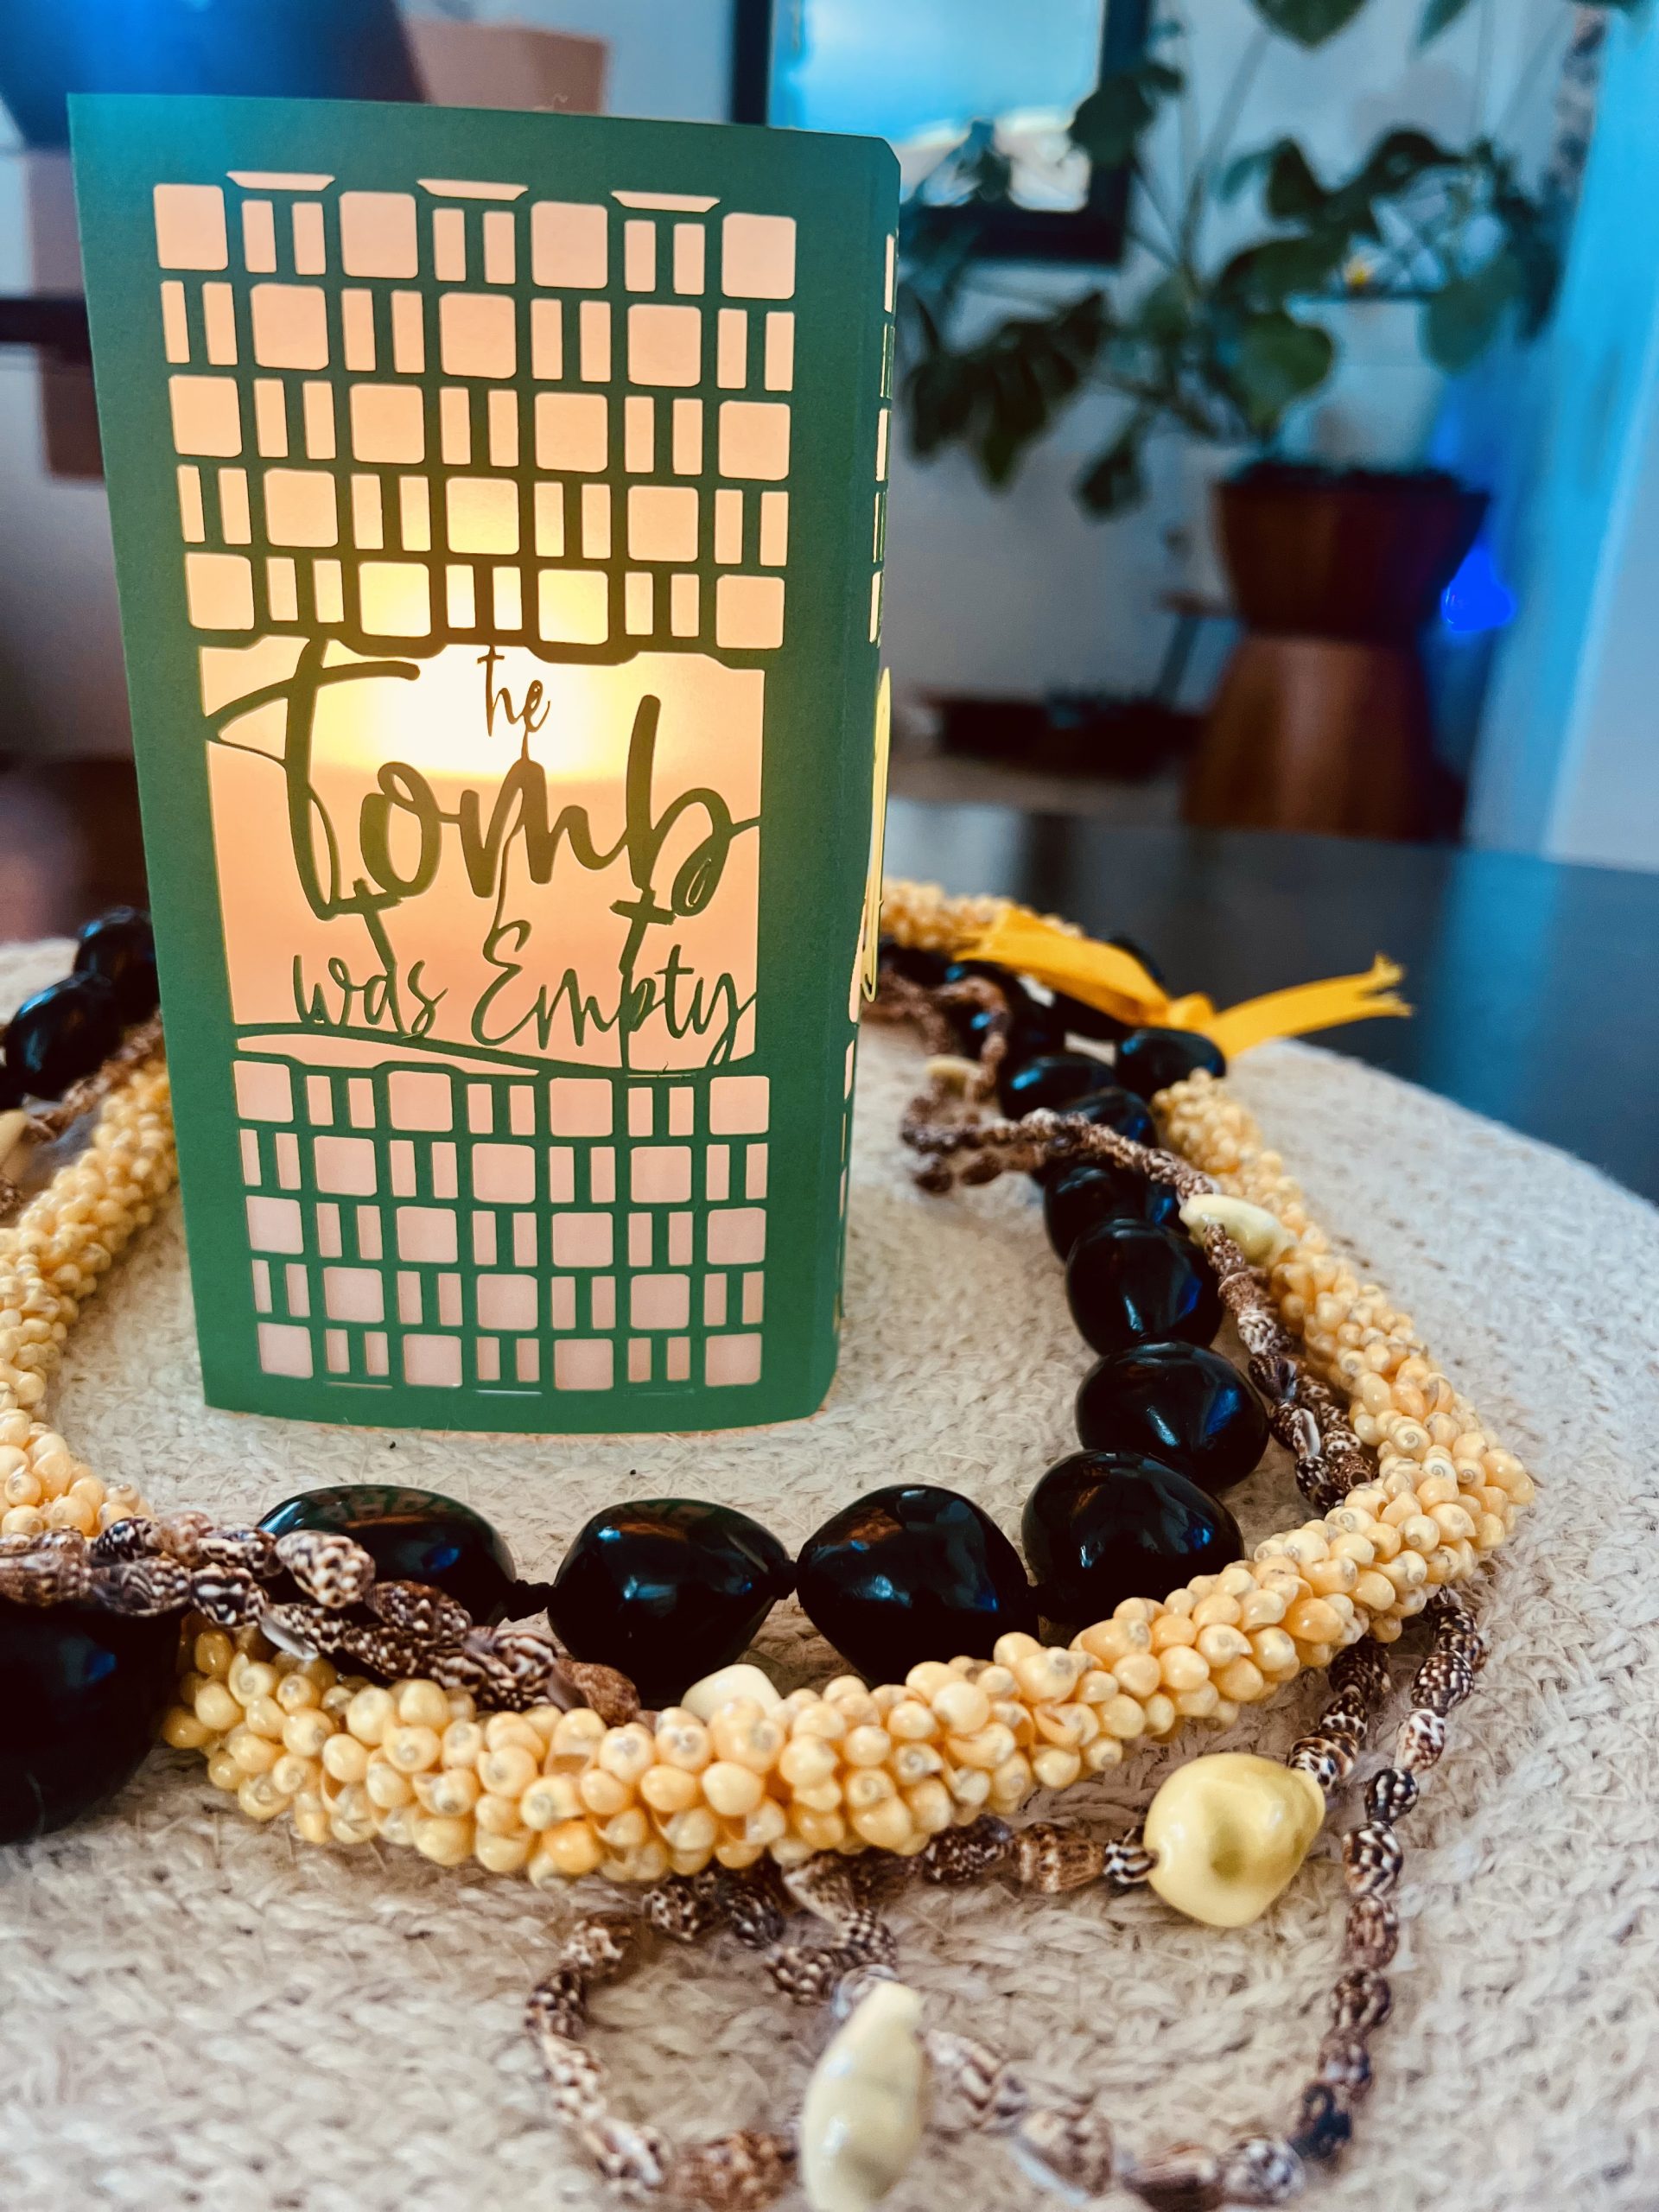
April 2025 Craft: Resurrection Easter Craft
By Major Lynn StewartKapolei Kroc, HI – Hawaiian and Pacific Islands Division This Easter craft is not only a beautiful centerpiece, but it’s also a perfect visual for devotional purposes. …
Salvation Army USA Western Territory Women's Ministries
By Major Lynn StewartKapolei Kroc, HI – Hawaiian and Pacific Islands Division This Easter craft is not only a beautiful centerpiece, but it’s also a perfect visual for devotional purposes. …
In honor of International Women’s Day (which was March 8, 2025), the USA Western Territory held its second annual “Woman Preach Day” on Sunday, March 2. The goal was to …
You are Priceless! You are a Masterpiece! That is the theme of this month’s newsletter. For we are God’s masterpiece. He has created us anew in Christ Jesus, so we …
By Captain Aimee DochertyIntermountain Division For we are God’s masterpiece. He has created us anew in Christ Jesus, so we can do the good things he planned for us long …
You are Priceless! You are Loved! That is the theme of this month’s newsletter. And may you have the power to understand, as all God’s people should, how wide, how …
By Captain Serina WoodsHaines, AK Corps – Alaska Division Supplies Needed: Directions: Before craft preparation Step 1: Print out hearts – one large and one small for each person (Pattern …
By Major Peggy Helms, Riverside, CA Corps& Major Angela Strickland, Divisional Women’s Ministries Secretary – Golden State Division For you created my inmost being; you knit me together in my mother’s …
You are Priceless! You are Beautiful! That is the theme of this month’s newsletter. You are altogether beautiful, my darling; there is no flaw in you. Song of Songs 4:7 …
You are Priceless! You are Saved! That is the theme of this month’s newsletter. For the wages of sin is death, but the gift of God is eternal life in …
By Major Jessyca CarrEducation OfficerCollege for Officer Training There are so many different combinations of fabric or ribbon and lights; you can check out YouTube for other options. Using fabric …
By Margaret GriecoTerritorial Women’s Ministries Department Philemon 1:4-5 – “I always thank my God as I remember you in my prayers, because I hear about your love for all his …
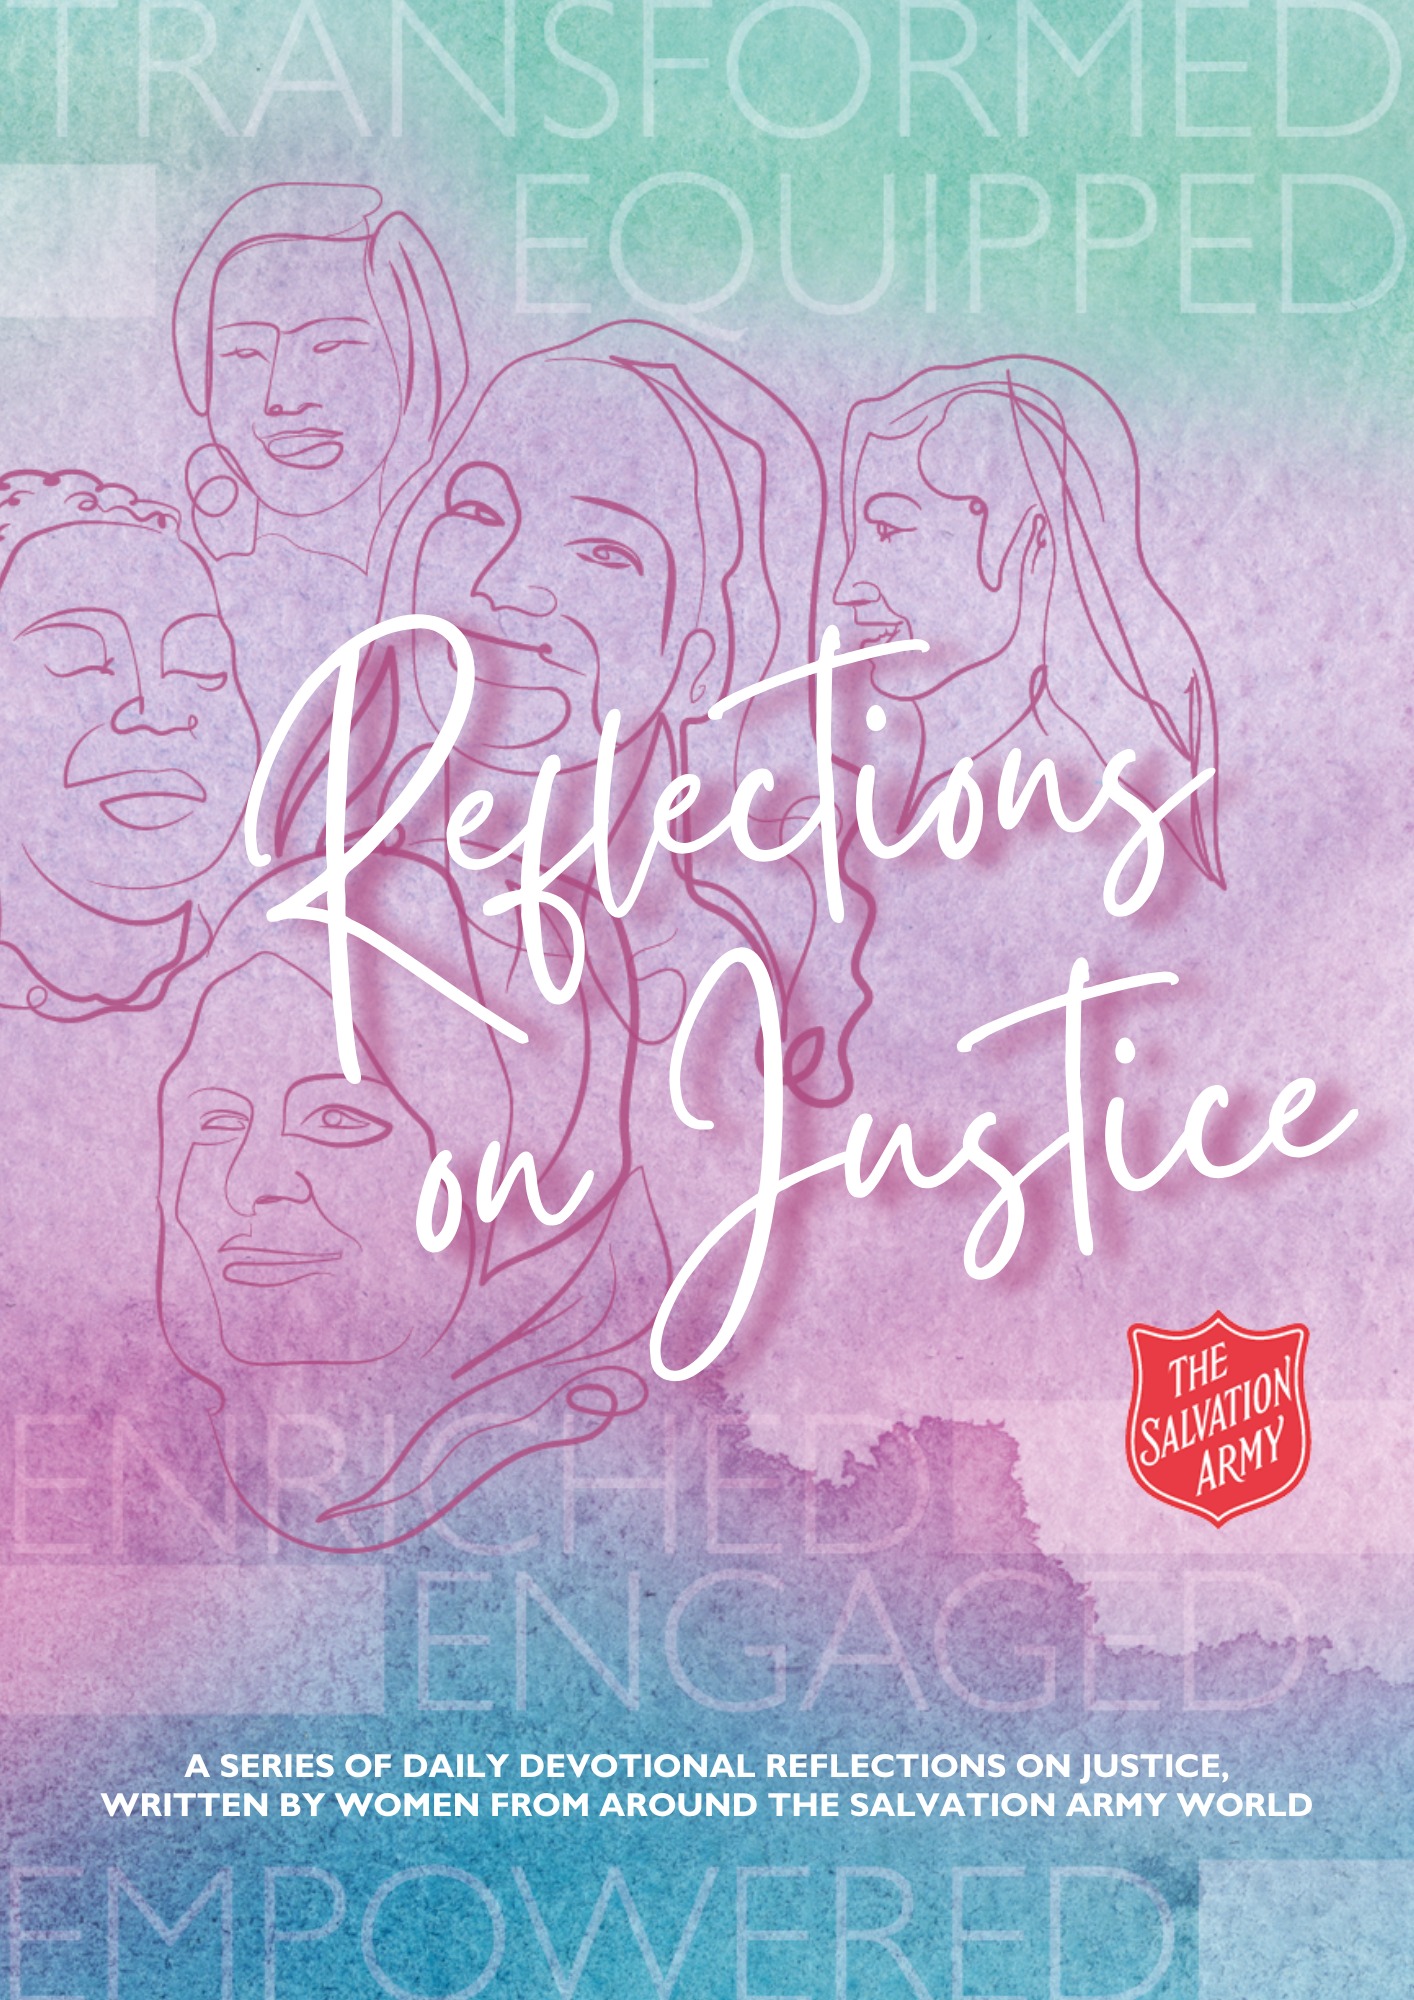
We are excited to announce a brand-new series of daily devotionals produced by the IHQ Women’s Ministries Department, “Reflections on Justice.” The series contains 31 devotionals, written by women of …
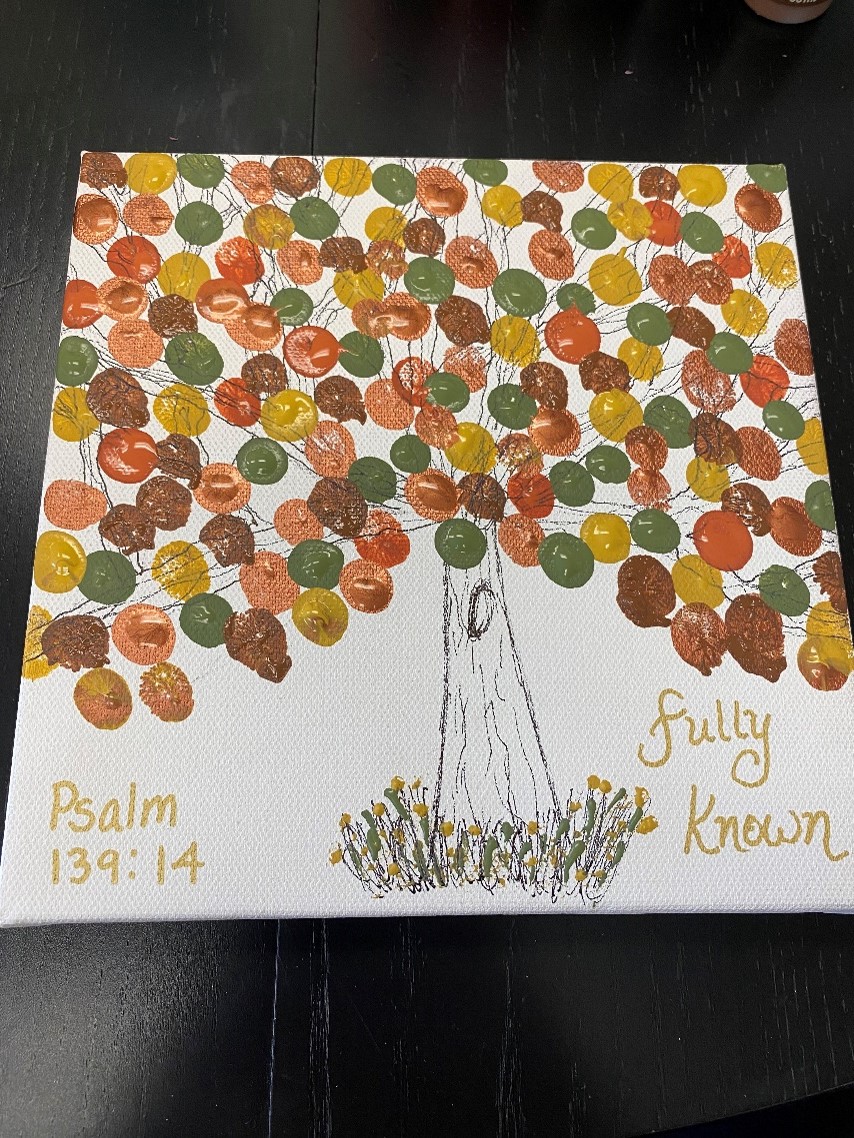
You are Priceless! You are Fully Known by God! That is the theme of this month’s newsletter. O Eternal One, You have explored my heart and know exactly who I …
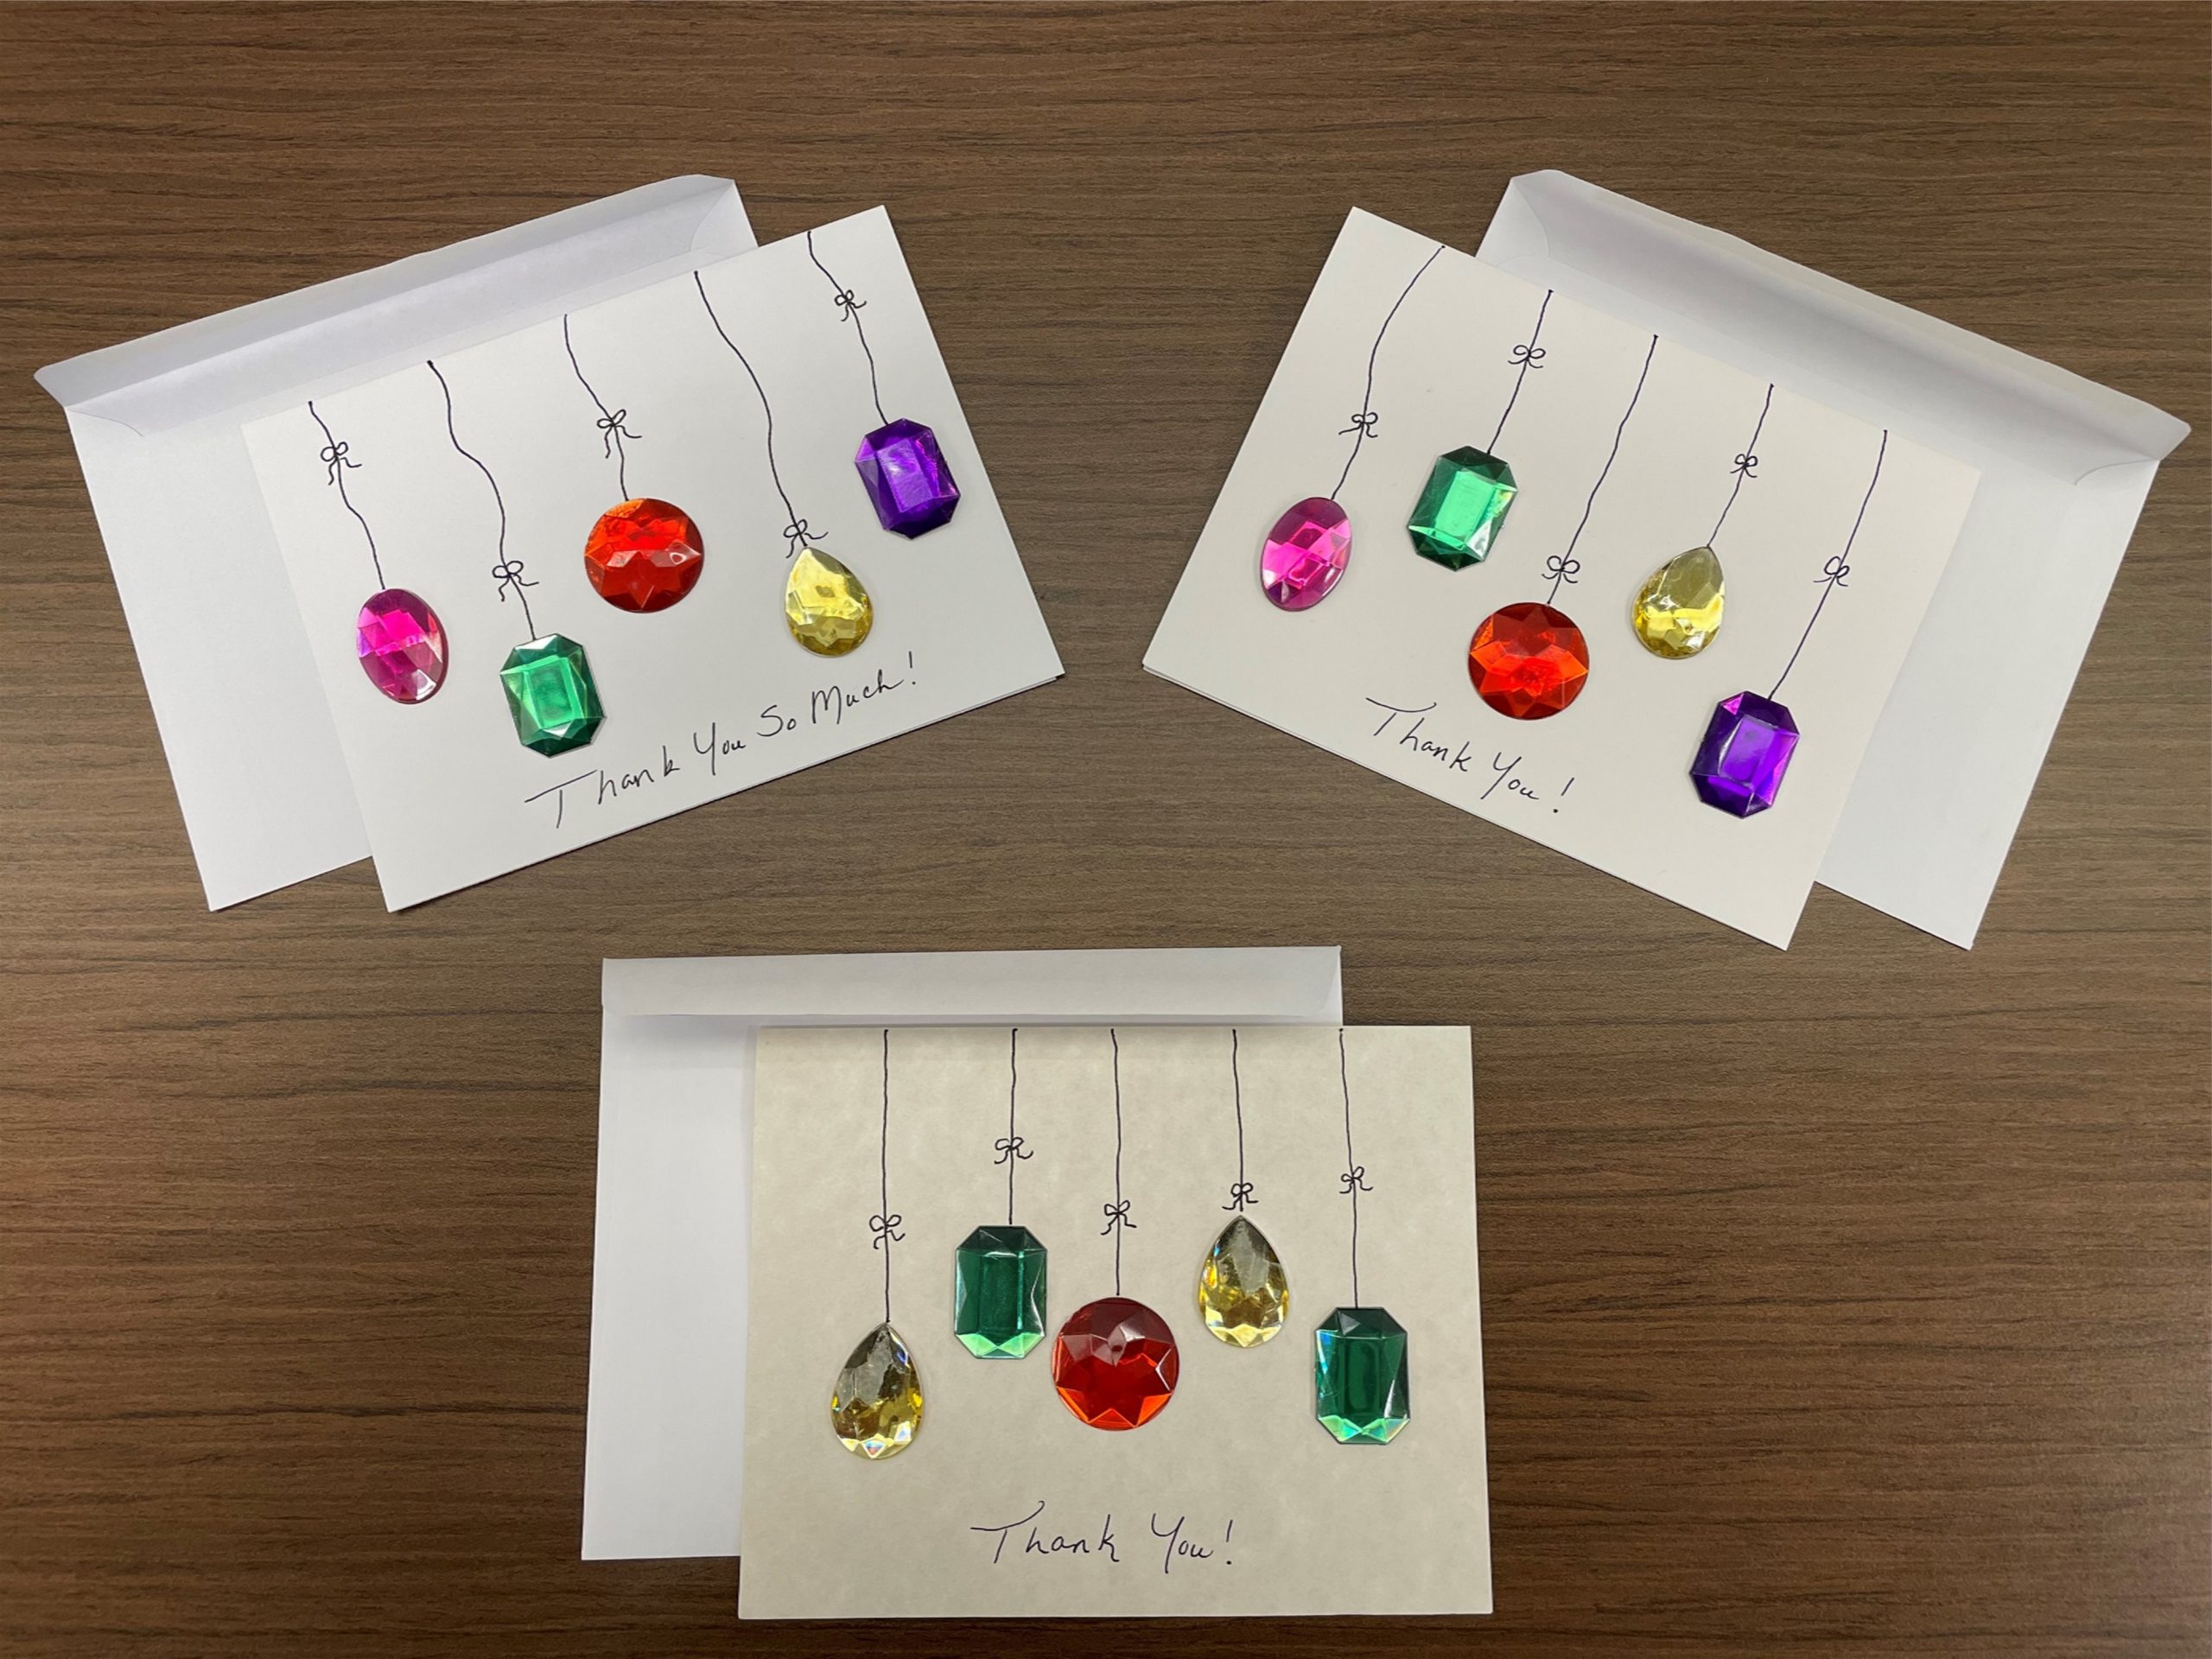
By Major Gaylene YardleyDivisional Women’s Ministries Secretary – Southwest Division This craft is a tree with all the lady’s fingerprints as leaves in fall colors. You can make one print …
Commissioner Bronwyn Buckingham, World President of Women’s Ministries shares this letter: As followers of Jesus, we are called to be salt and light in our communities, bringing hope, healing and …
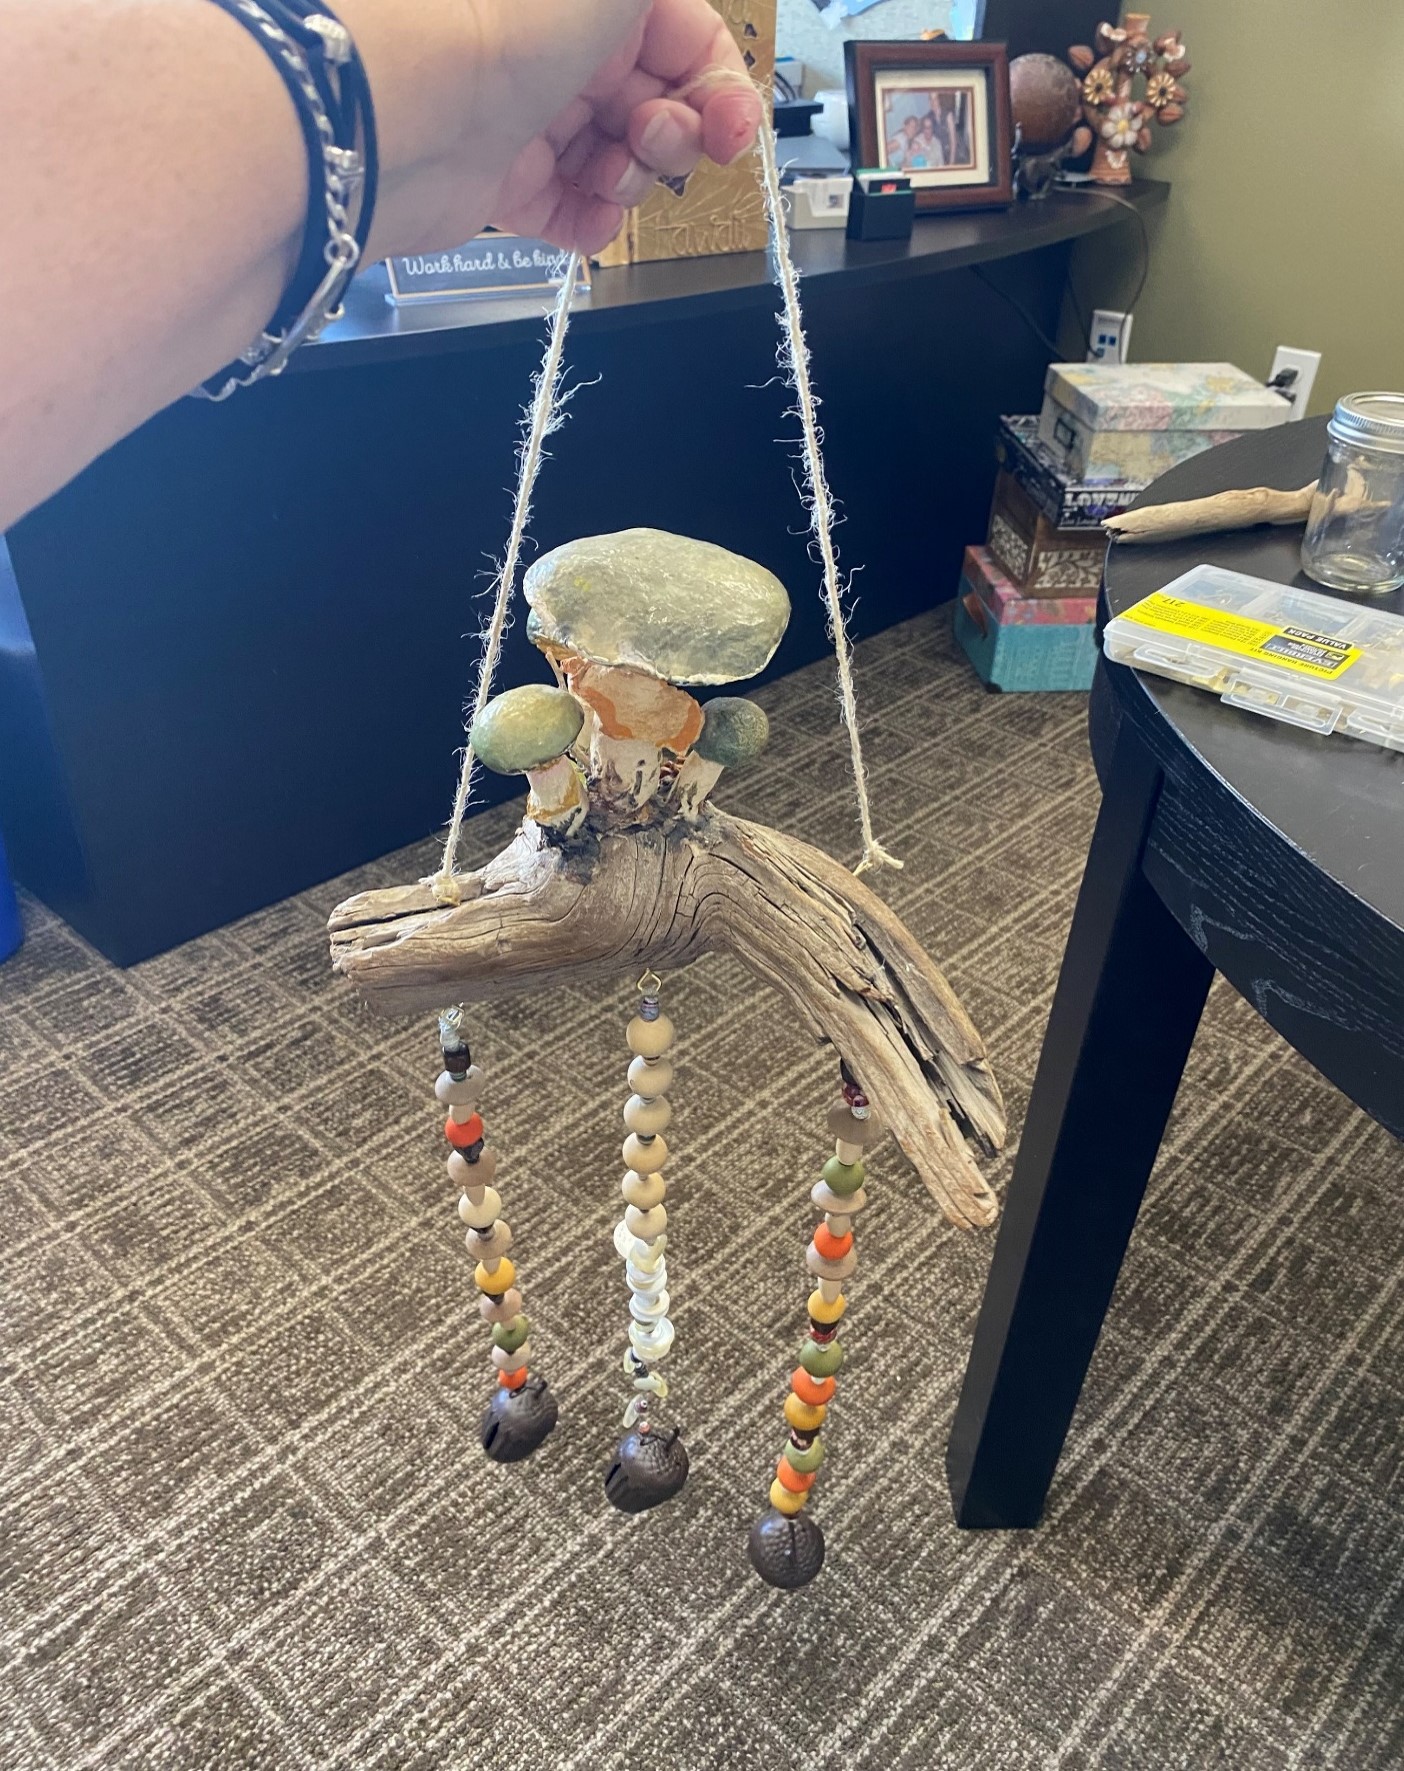
By Major Gaylene YardleyDivisional Women’s Ministries Secretary – Southwest Division From Trash to Treasure – Acts 3:1-26It was, is, and will be only through Jesus that… Illustration: Many years ago, I …
Welcome to the third year of the Flourish Newsletter. This year we are going to focus on flourishing in our identity in Christ. You are priceless to God! What is …
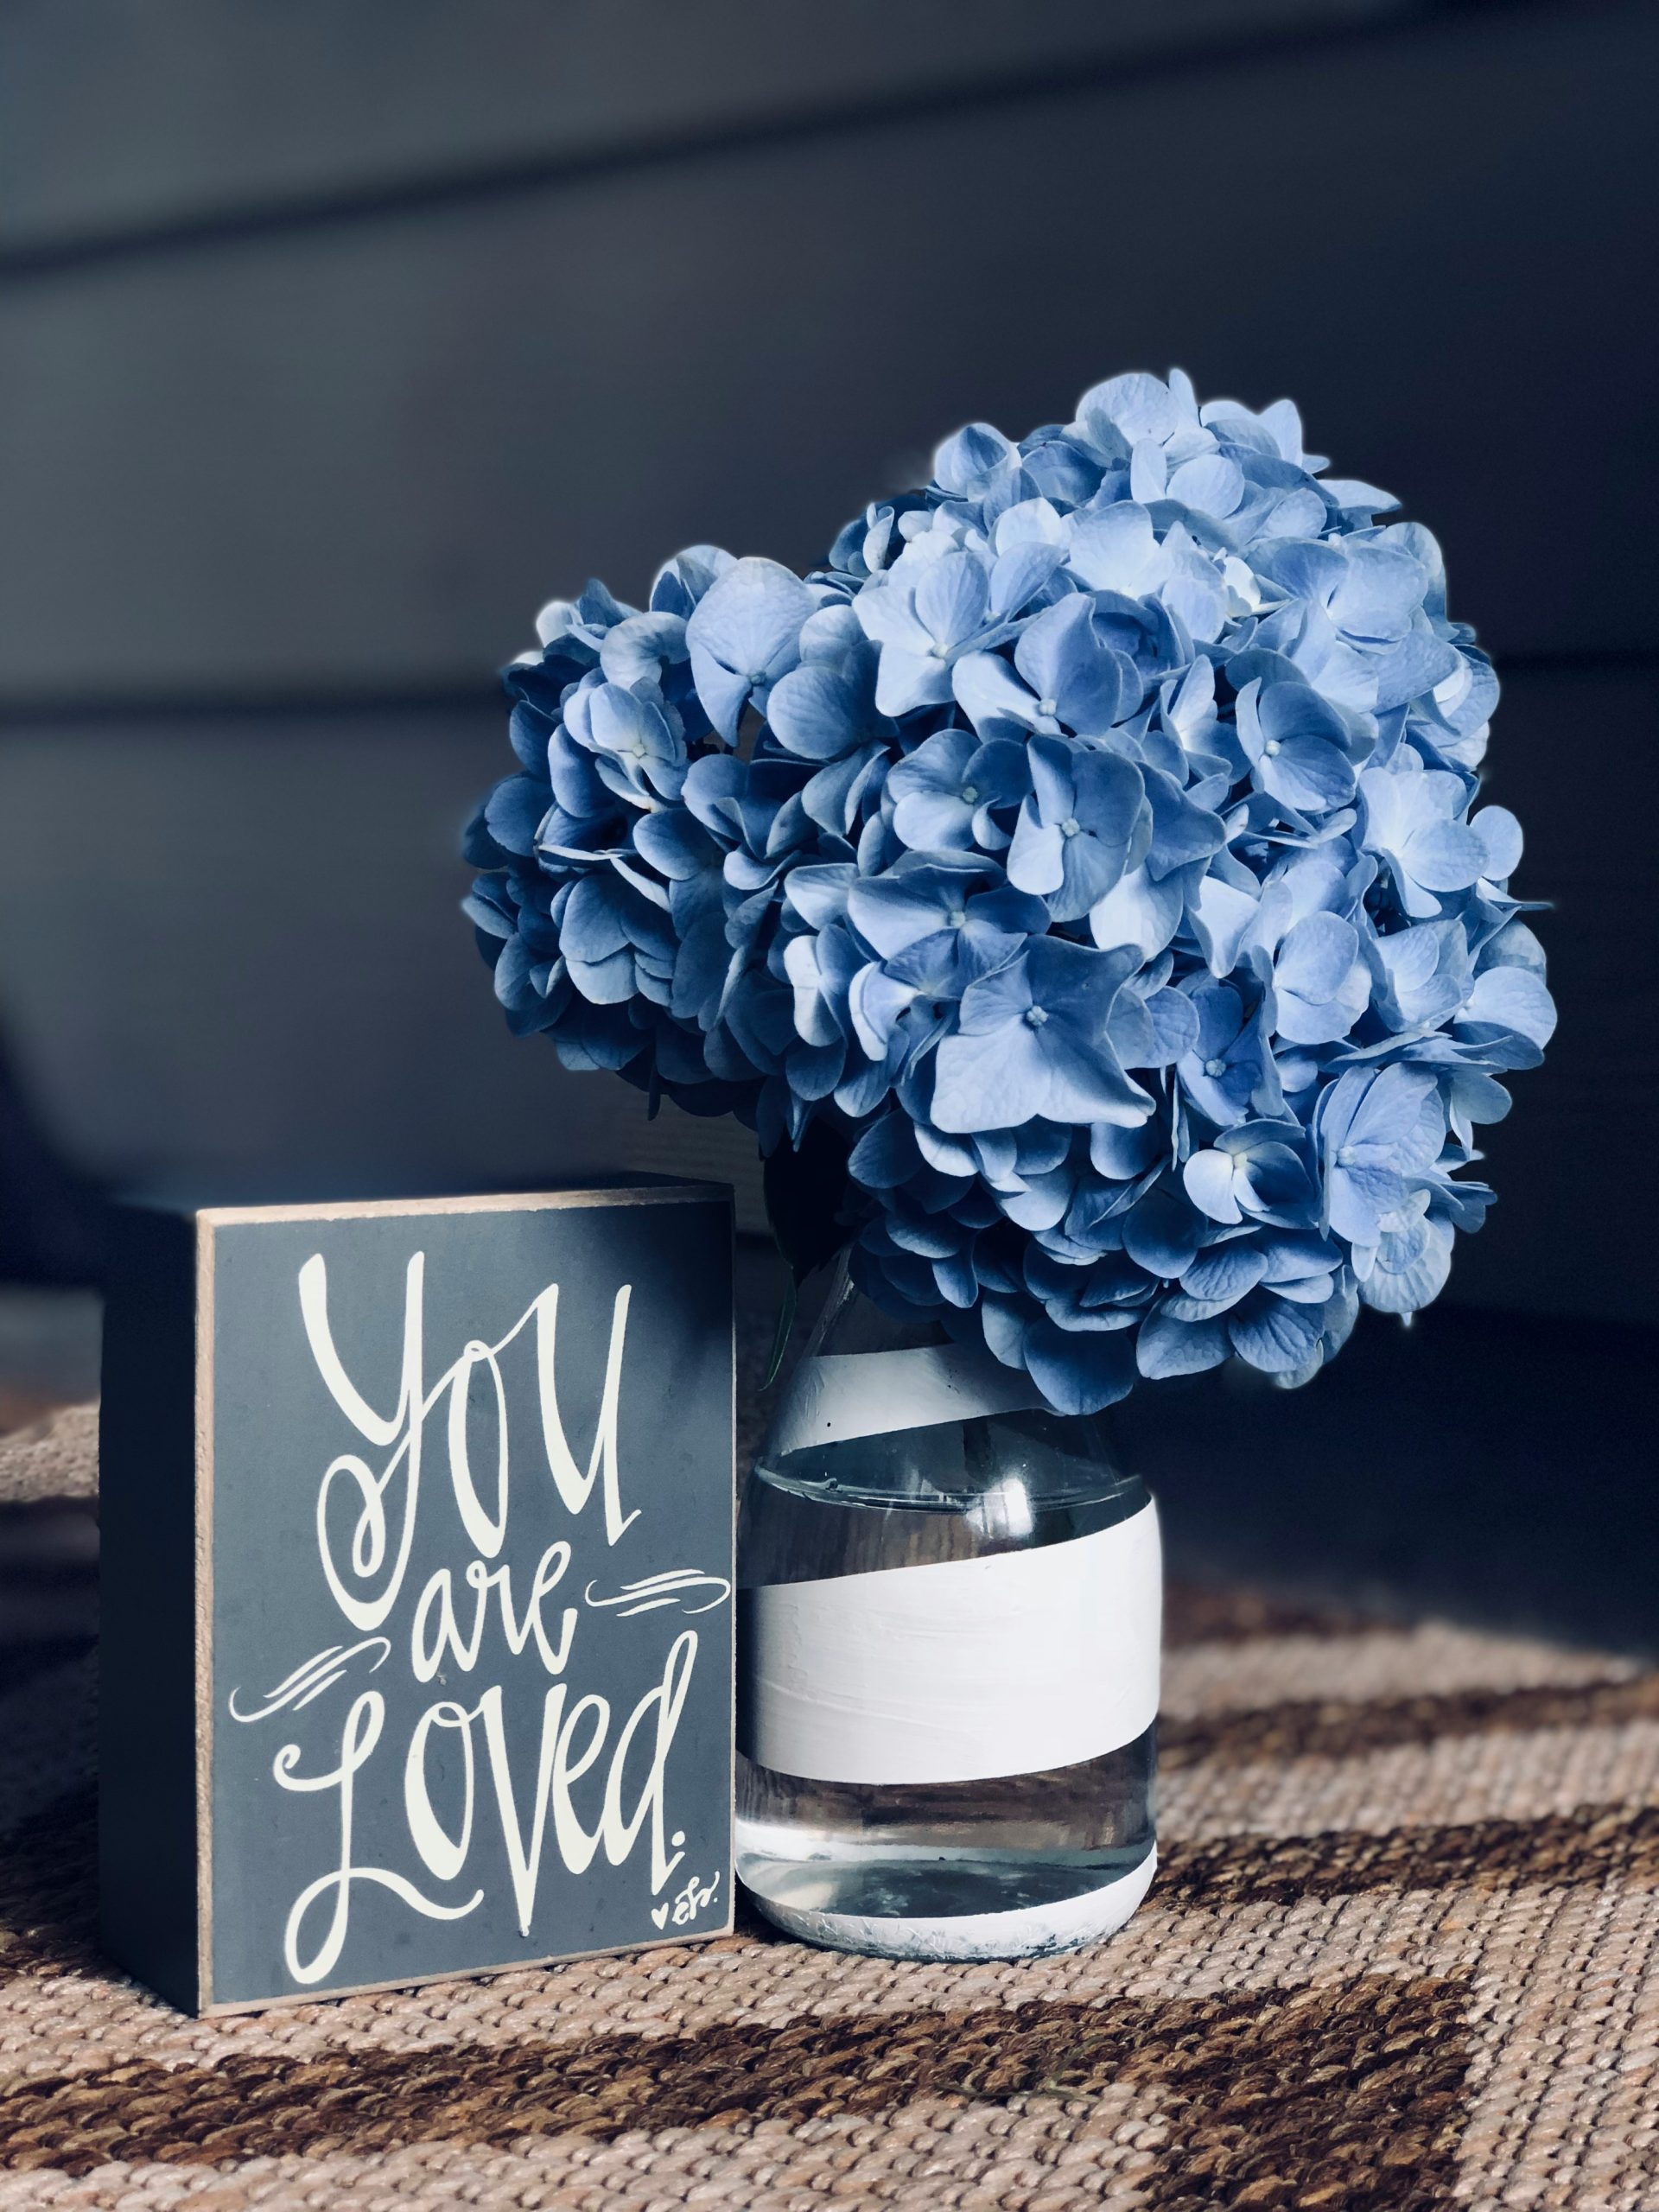
By Captain Leilani ArmendarizHemet, CA Corps – Southern California Division This craft coordinates with this month’s devotional: His Precious Child. Directions: While you are crafting, enjoy these songs, reminding you …
This month we are focusing on being deeply rooted in the spiritual discipline of Listening Prayer. Prayer is a dialogue between us and God. Often we view prayer as a …
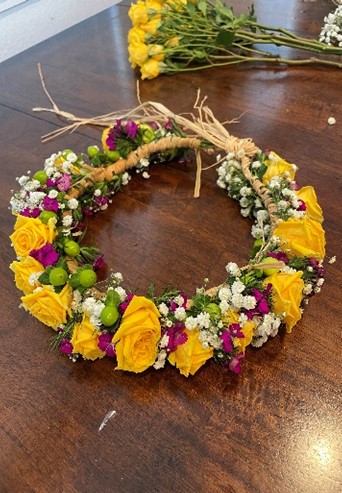
By Lt. Helen ReyesWomen’s Ministries Executive Assistant – Del Oro Division Haku Lei Making – A Hawaiian Crown of Flowers A haku lei, or lei po’o is a lei made …
This month we are focusing on being deeply rooted in the spiritual disciplines of meditation on and the memorization of God’s Word. In her book, Spiritual Disciplines: Practices That Transform …
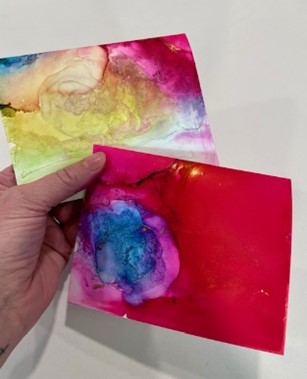
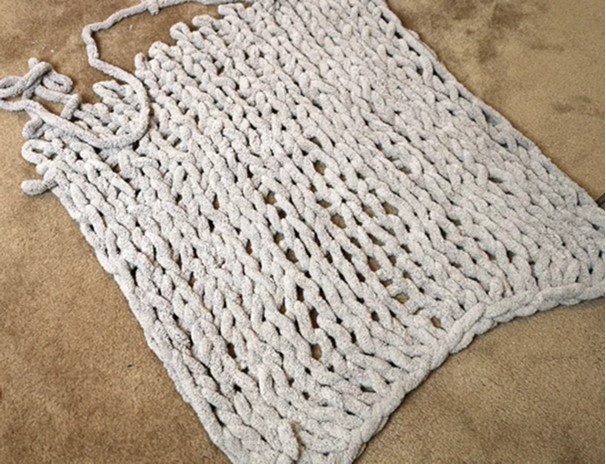
By Captain Jan PembertonDivisional Women’s Ministries Secretary – Cascade Division This is a perfect craft for those like me who have trouble with traditional crocheting or knitting. This project is …
This month we are focusing on being deeply rooted in the spiritual discipline of hospitality. In her book, Spiritual Disciplines: Practices That Transform Us, Adele Ahlberg Calhoun writes, “Hospitality creates …
By Major Tina BottjenMat-Su Valley, AK Corps – Alaska Division “Welcome one another, therefore, just as Christ has welcomed you, for the glory of God.” Romans 15:7 (NRSV) Materials needed. …