

International Prayer Focus
This initiative of turning our thoughts and prayers towards the same part of the world during the same week is a beautiful way to unite us as a global Army …


November 2025 Craft
Stepping out in Faith Stones by Captain Mysti Birks

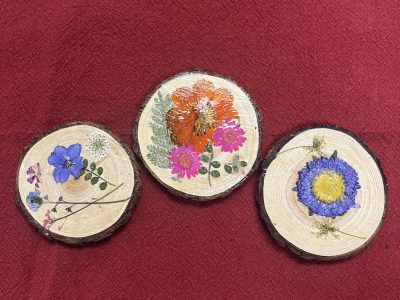
October 2025 Craft: Pressed Flower Coaster
Each flower tells a story of God's creativity...

September 2025 Newsletter
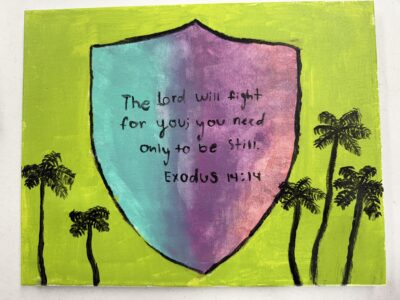
"You don’t stumble into victory—you step into it intentionally." Commissioner Colleen Riley shares with us that we are Victorious.
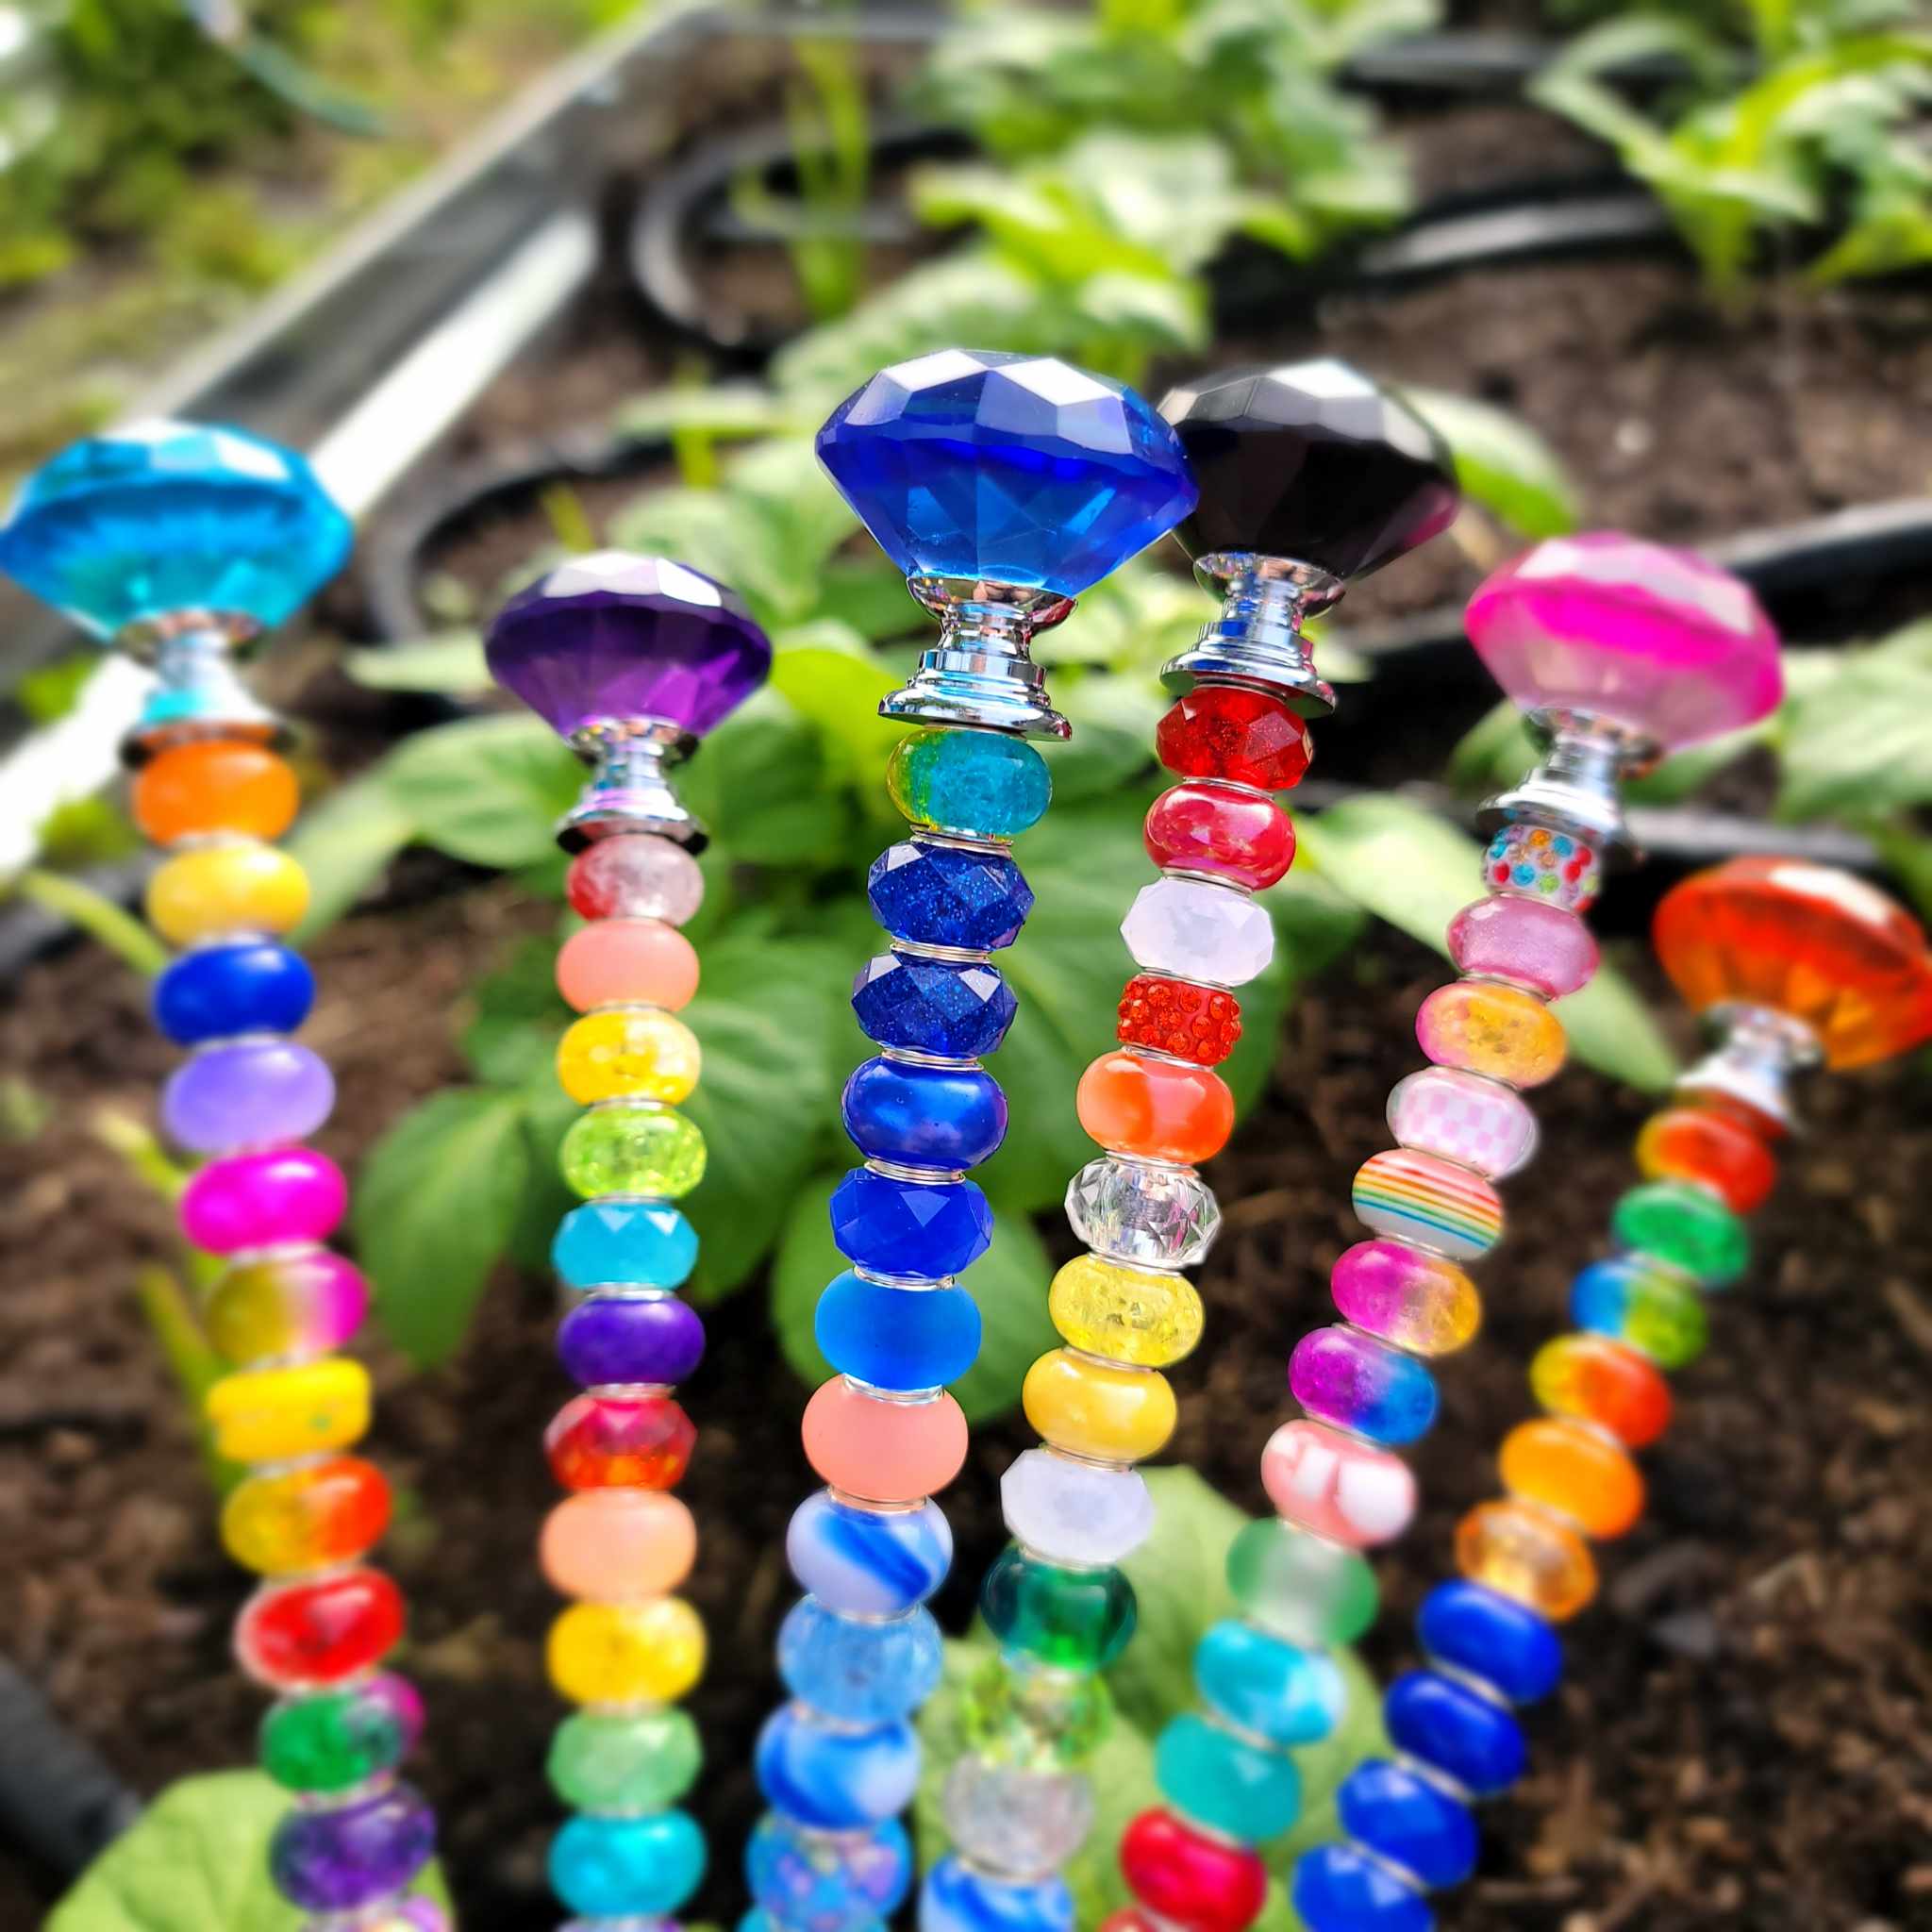
September 2025 Craft: Beaded Victory Garden Wands
By Captain Gin PackCentralia, WA Corps – Northwest Division Although the primary focus of Victory Gardens was to produce food. They were also a place to showcase deep pride for …
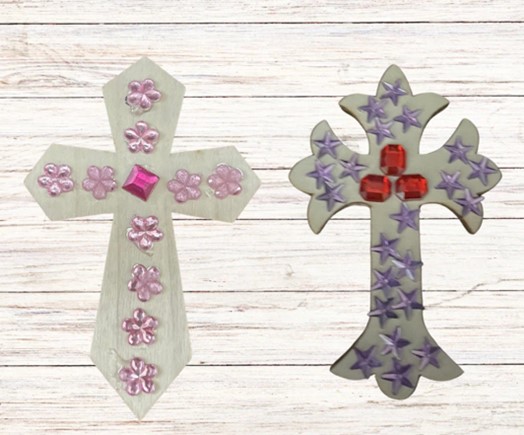
August 2025 Craft: Mosaic Cross
By Captain Jan PembertonDivisional Women’s Ministries Secretary – Cascade Division Materials Needed: Instructions: Step 1: Use either your Cricut, Exacto knife or sheers to cut out a predetermined pattern. This …
August 2025 Newsletter
Priceless! You are Transformed. "For we are God's masterpiece. He has created us anew in Christ Jesus, so we can do the good things he planned for us long ago." Ephesians 2:10

July 2025 Newsletter
You are Priceless! You are Free! That is the theme of this month’s newsletter. “You, my brothers and sisters, were called to be free. But do not use yourfreedom to …
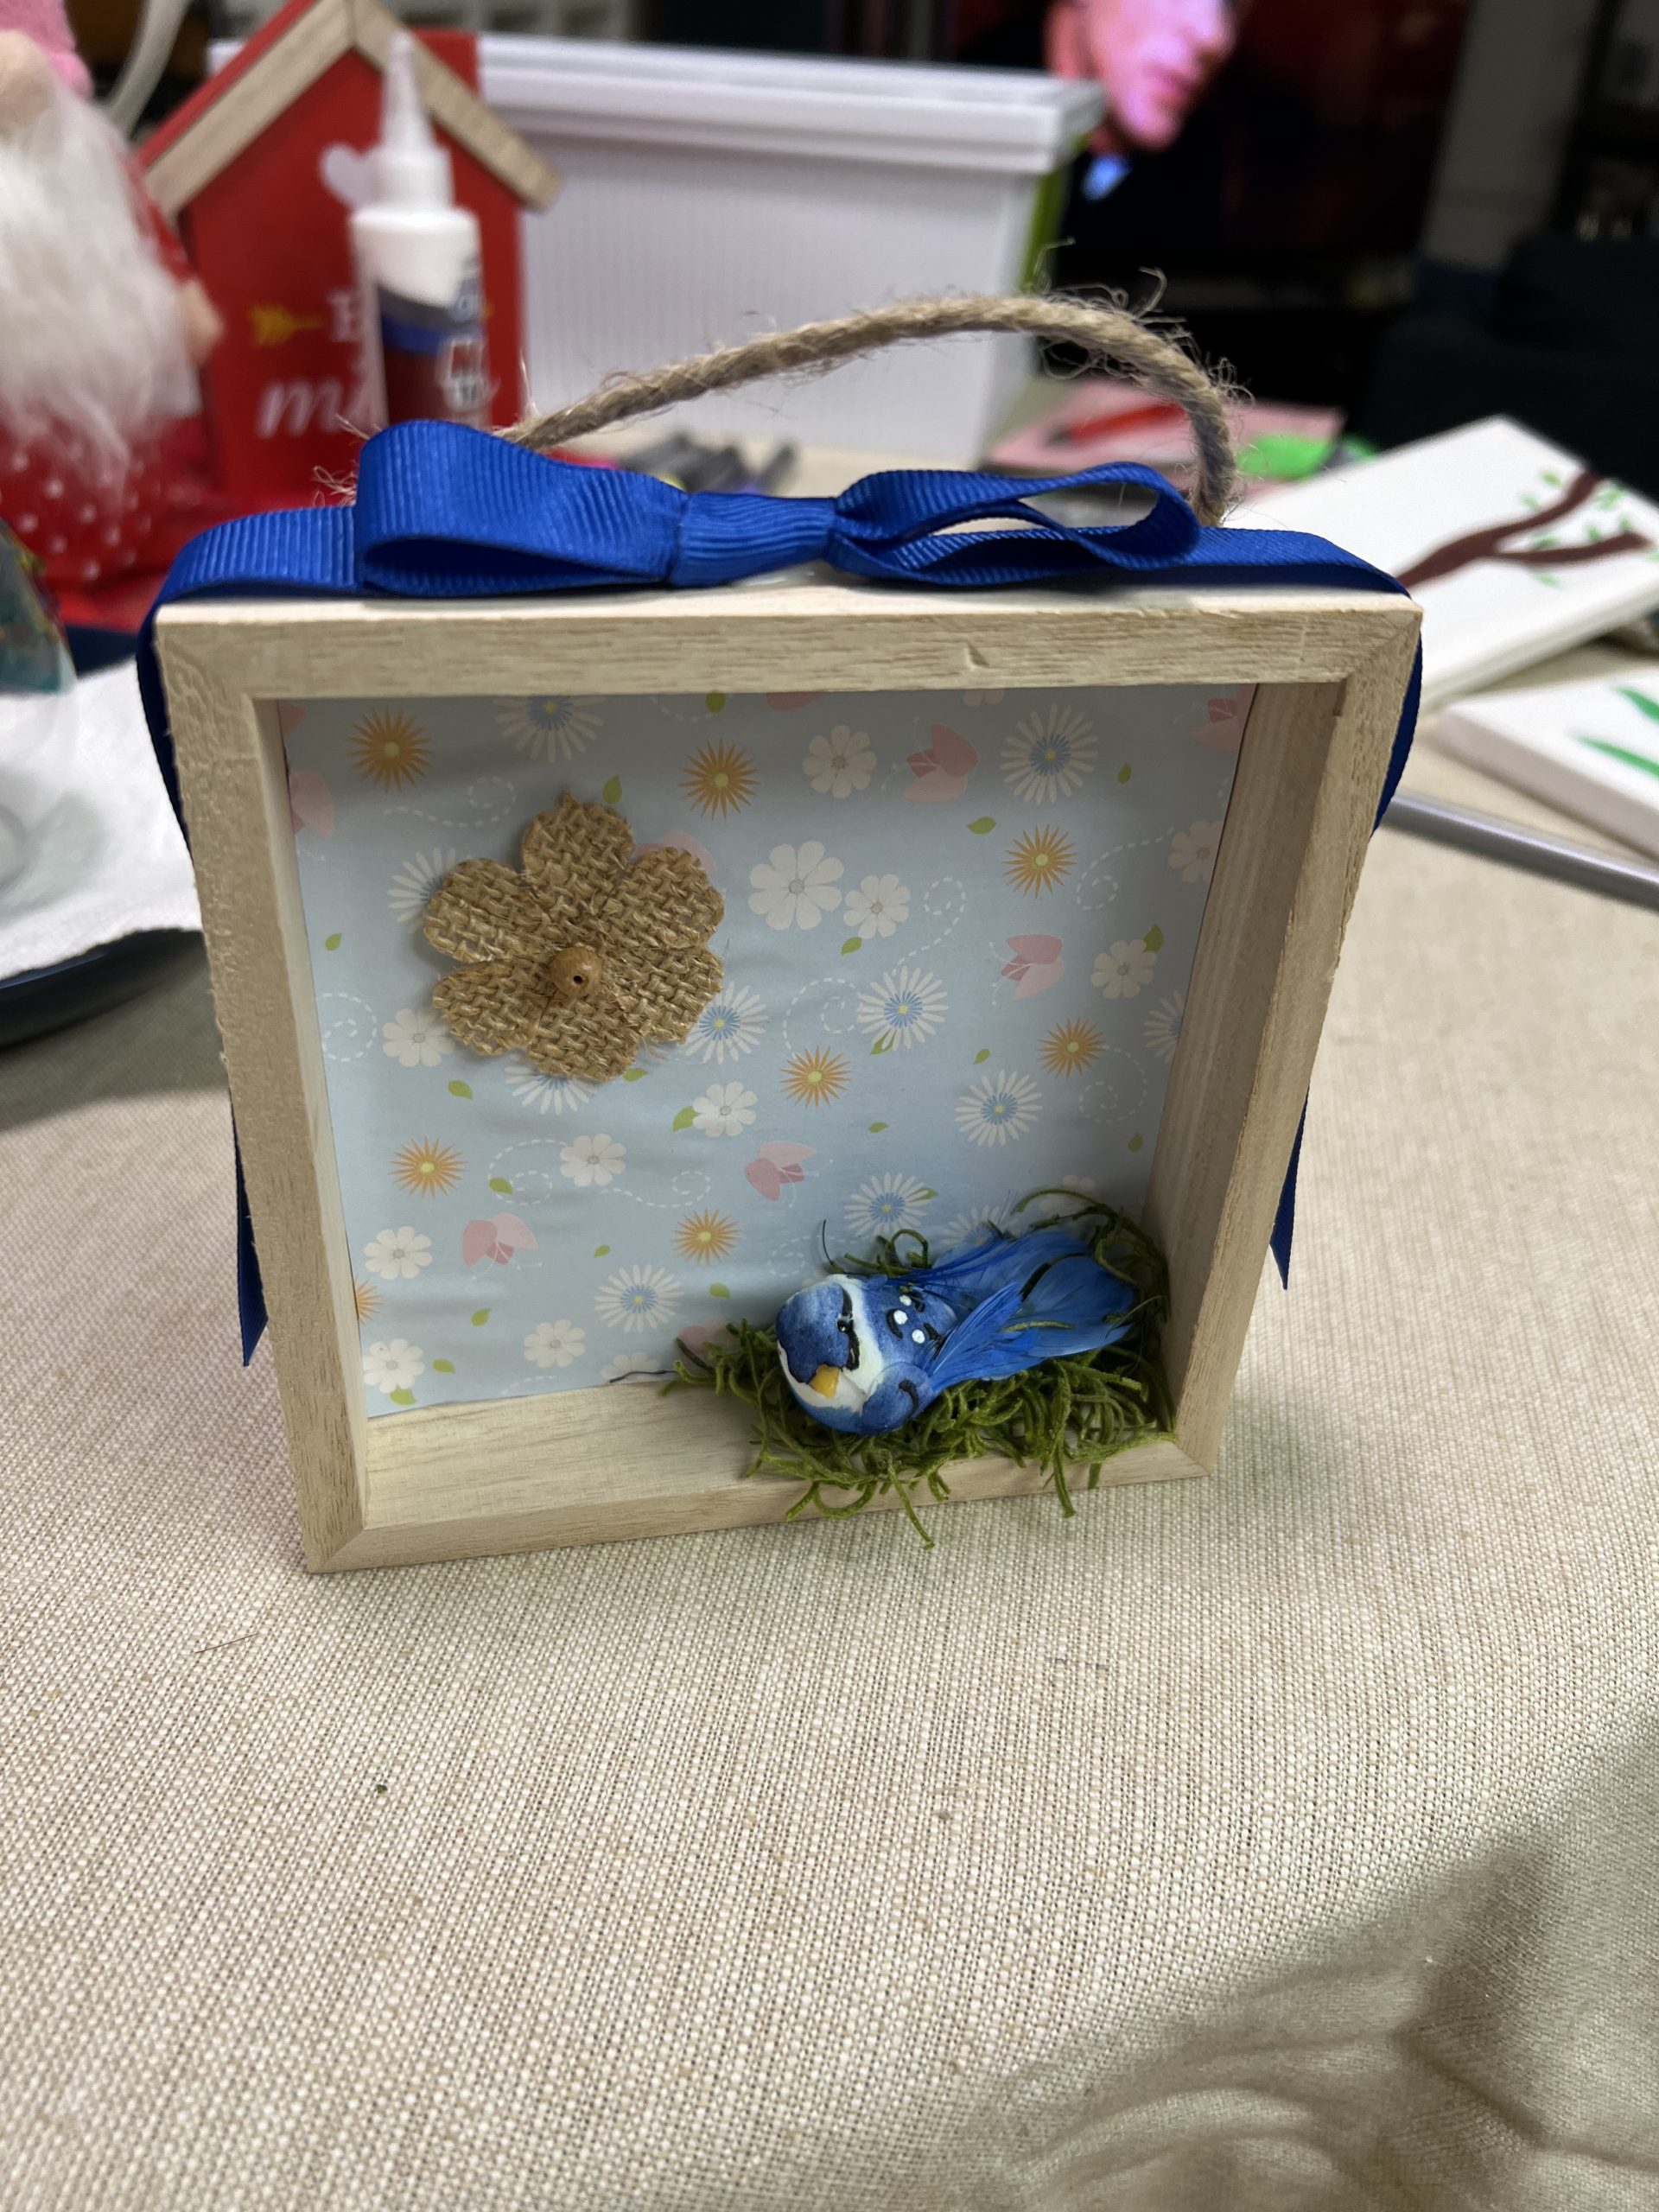
July 2025 Craft: Bird Plaque
By Major Harryette RaihlDivisional Women’s Ministries Secretary – Southern California Division Items Needed: Instructions: Cut to size and paste designed paper onto wooden inside frame (see in photo). Add flowers, …
June 2025 Newsletter
You are Priceless! You are Forgiven! That is the theme of this month’s newsletter. He does not treat us as our sins deserve or repay us according to our iniquities. …
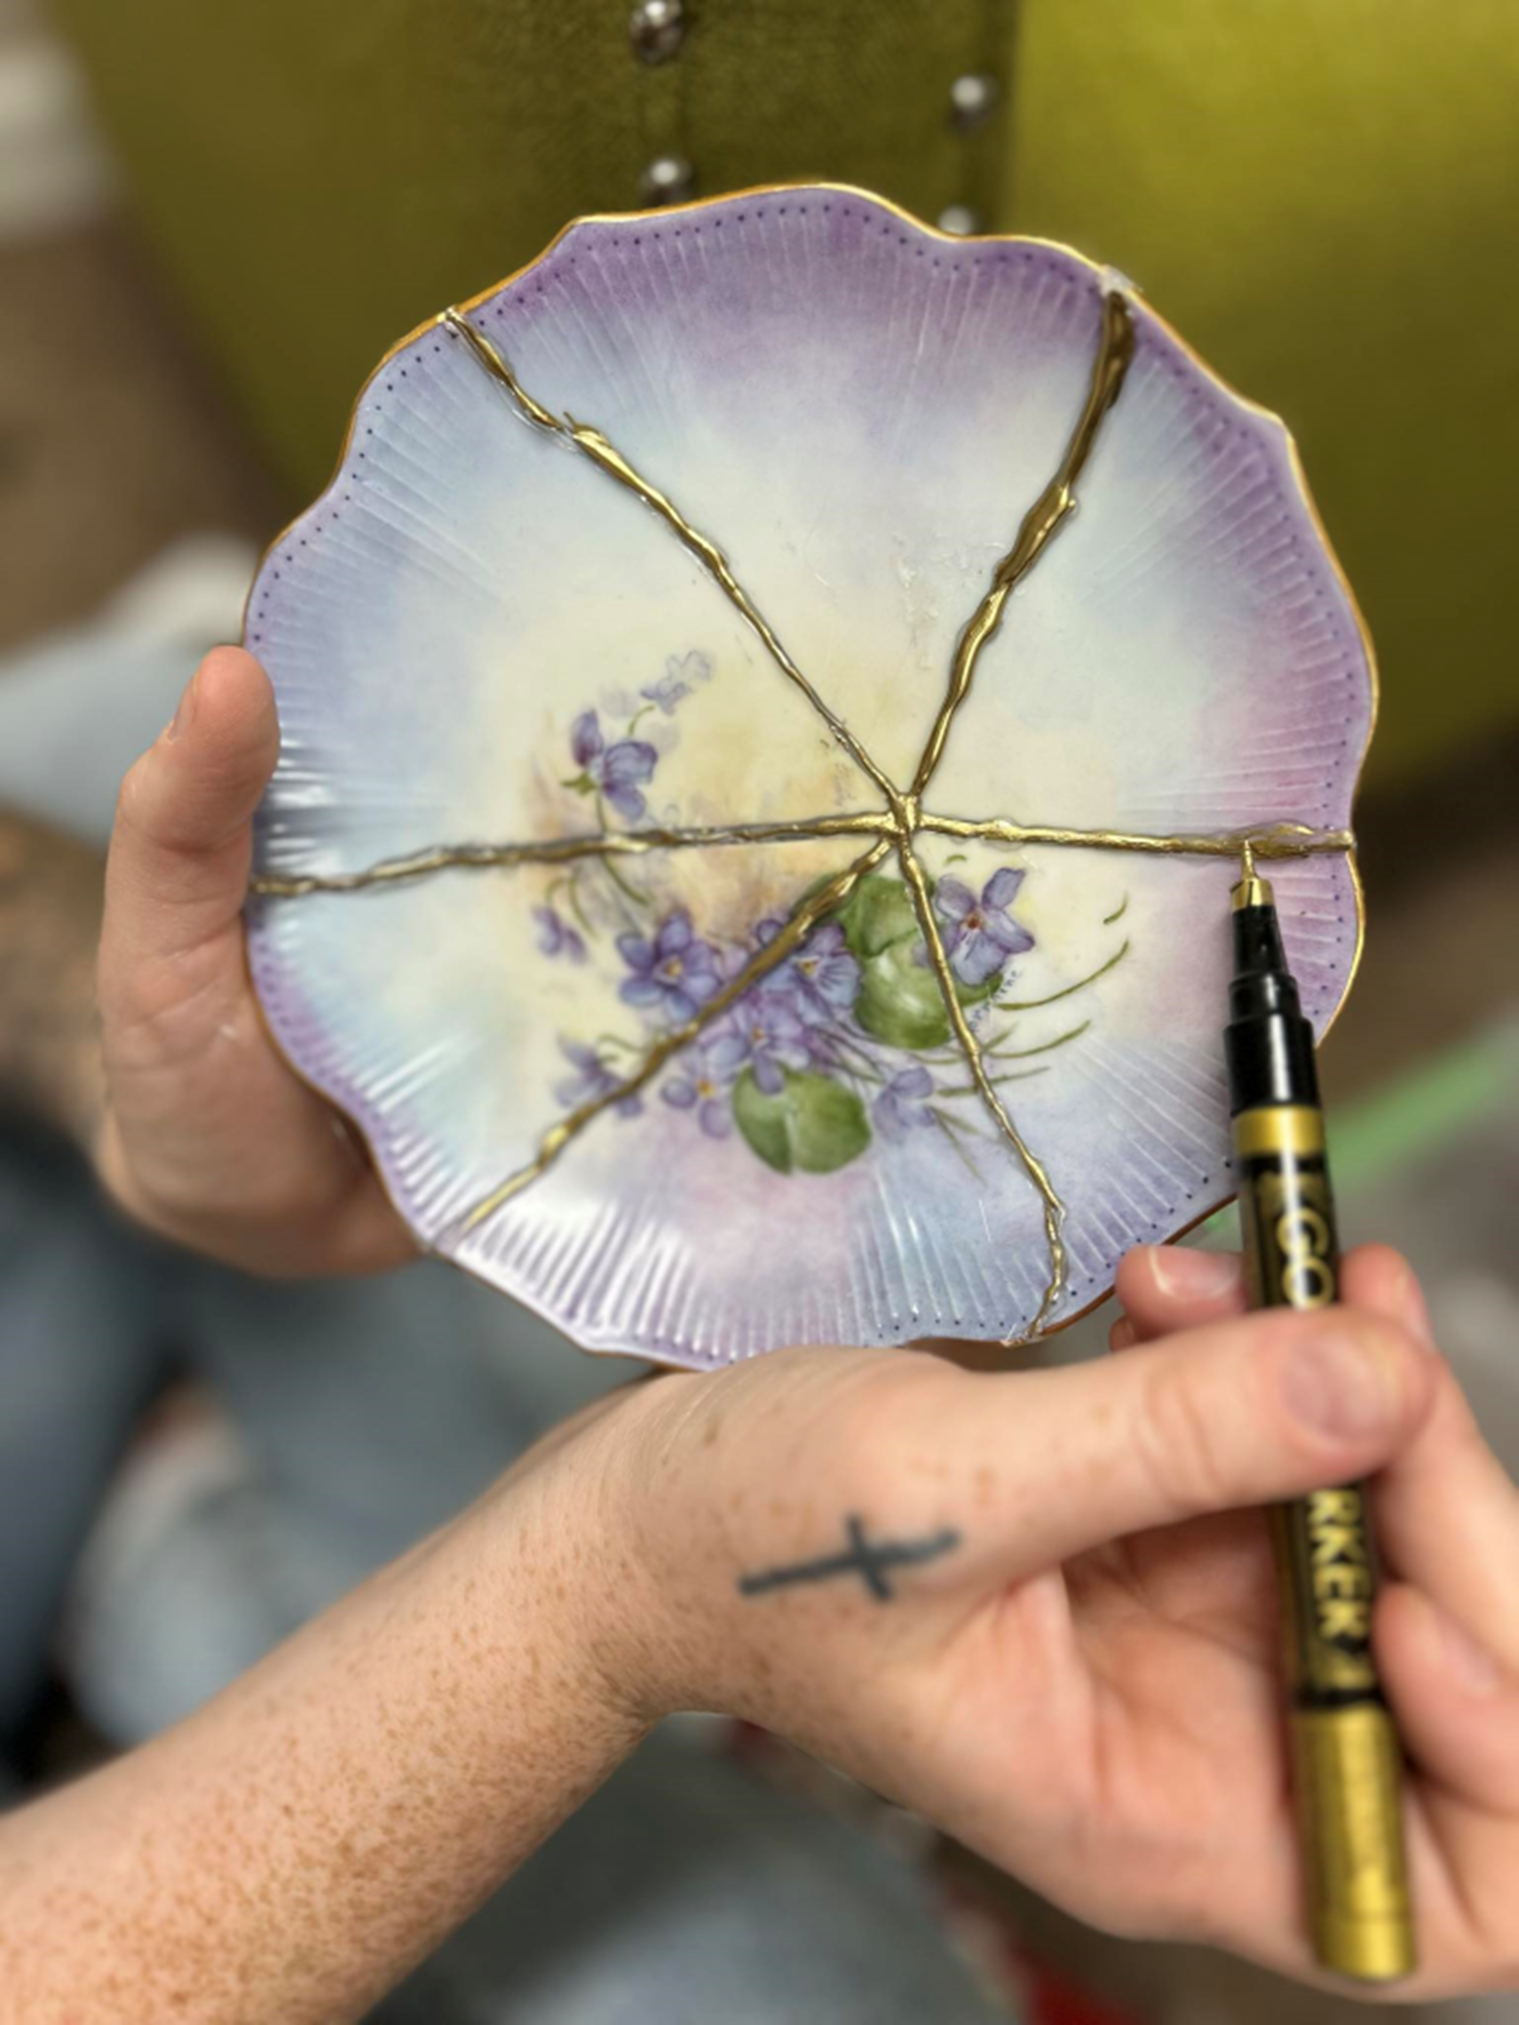
June 2025 Craft: Kintsugi
By Major Tammy Ray, Sara Ray and Carol WorldRedding, CA Corps – Del Oro Division Kintsugi is an artistic technique of repairing broken pottery in a way that enhances imperfections …
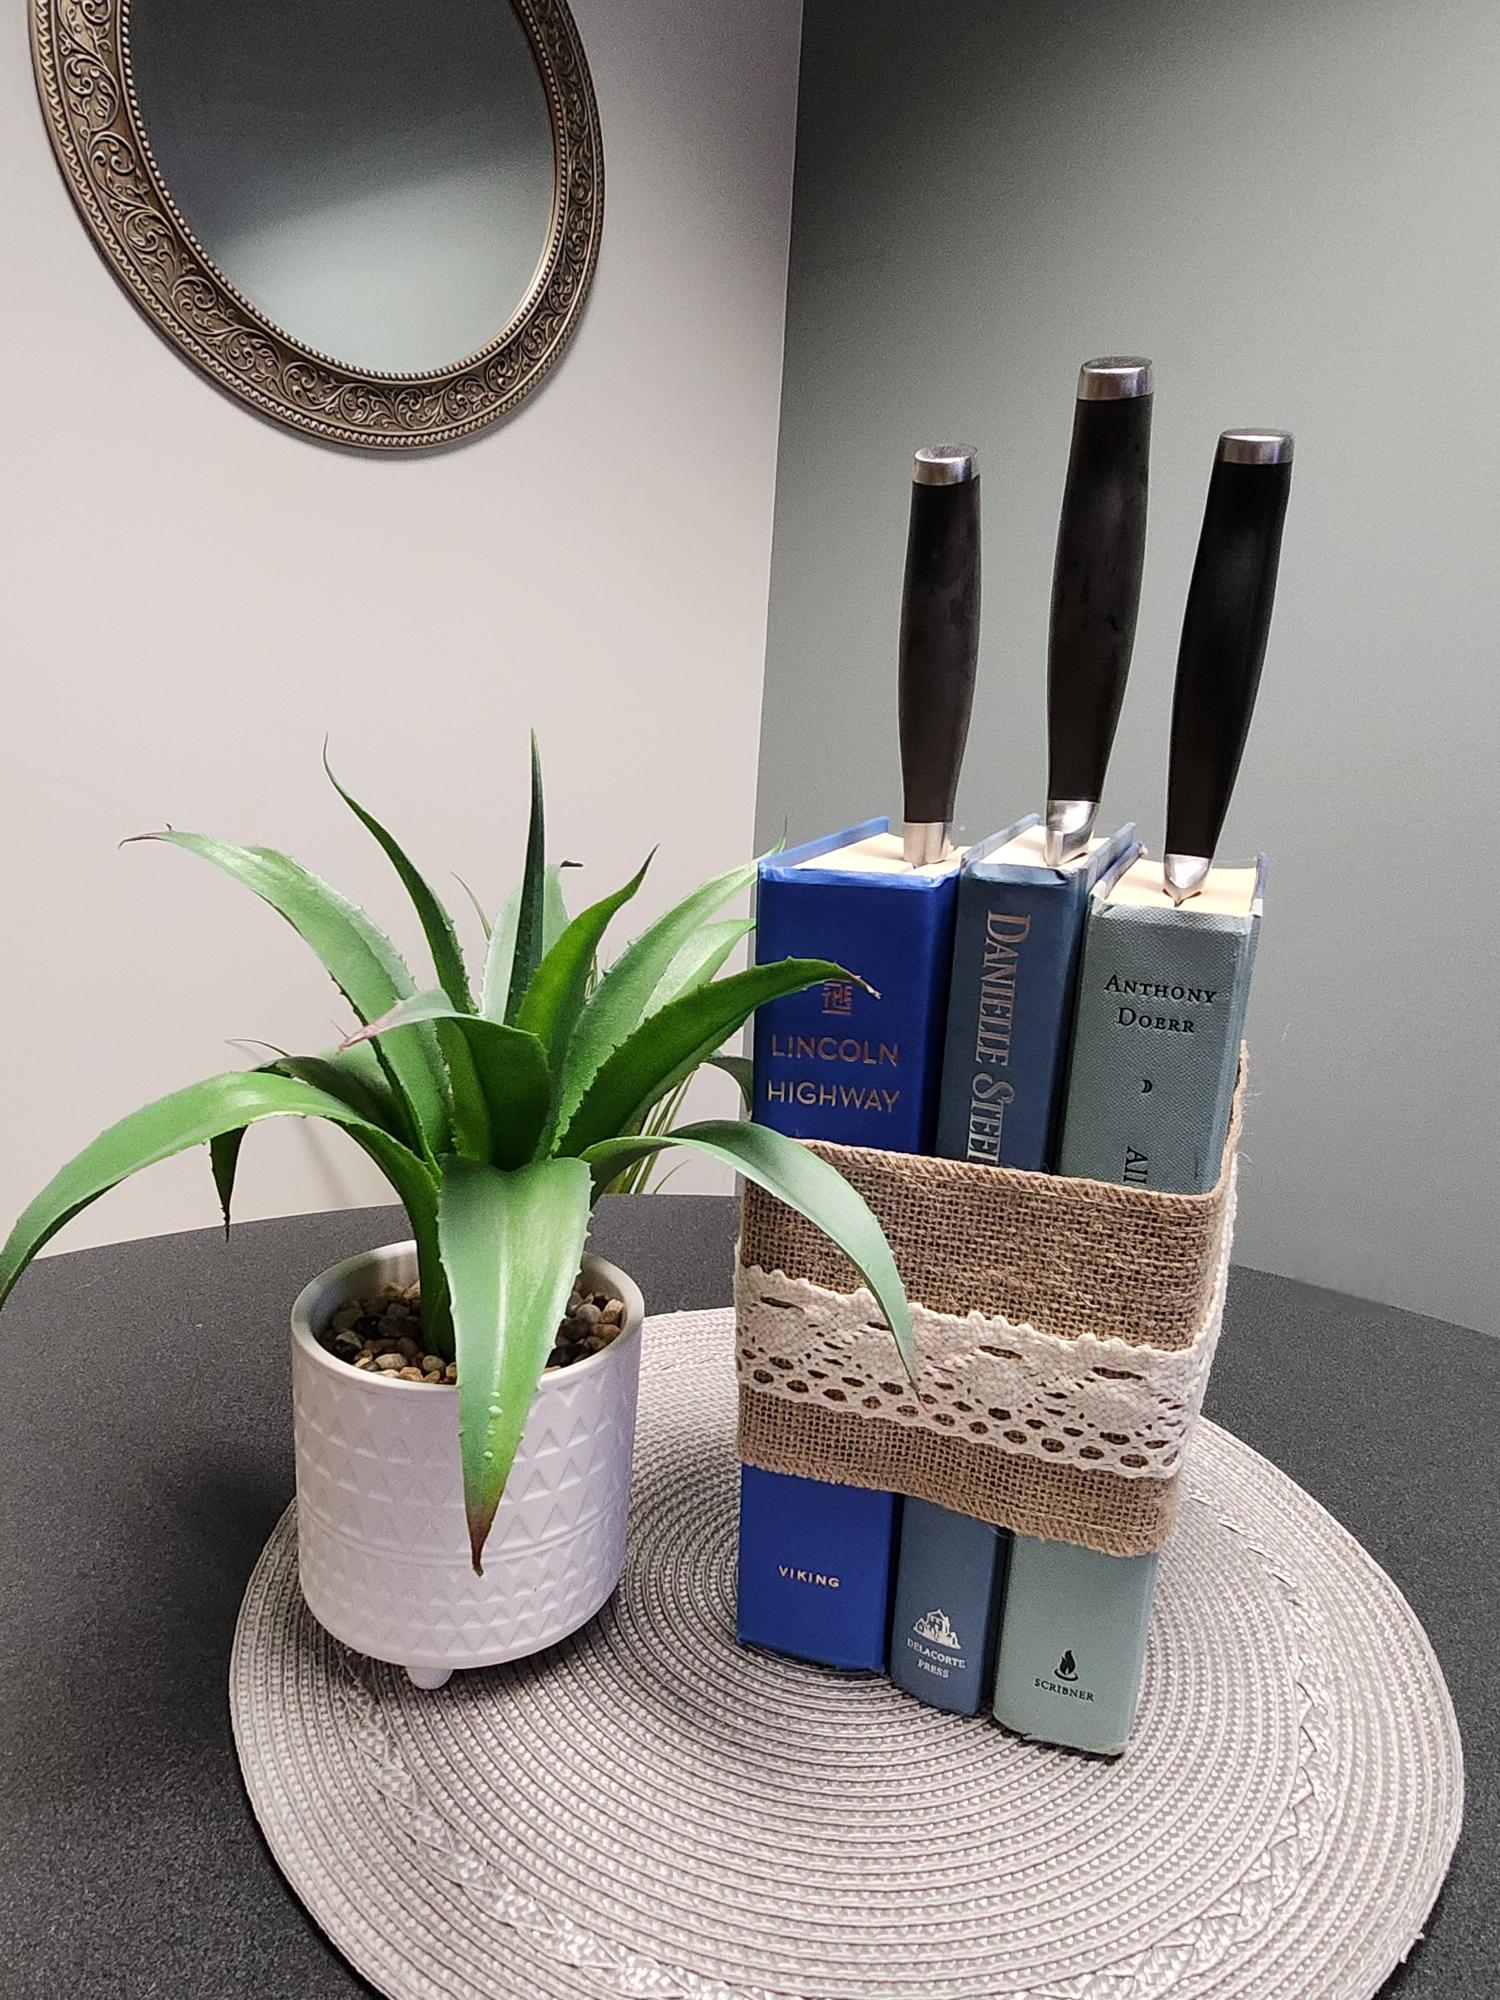
May 2025 Craft: Book Knife Block
By Lt. Colonel Noelle NelsonDirector of Special ServicesAdult Rehabilitation Centers Command Instead of throwing out your old hardback books, rescue them from the trash heap and make a knife block! …
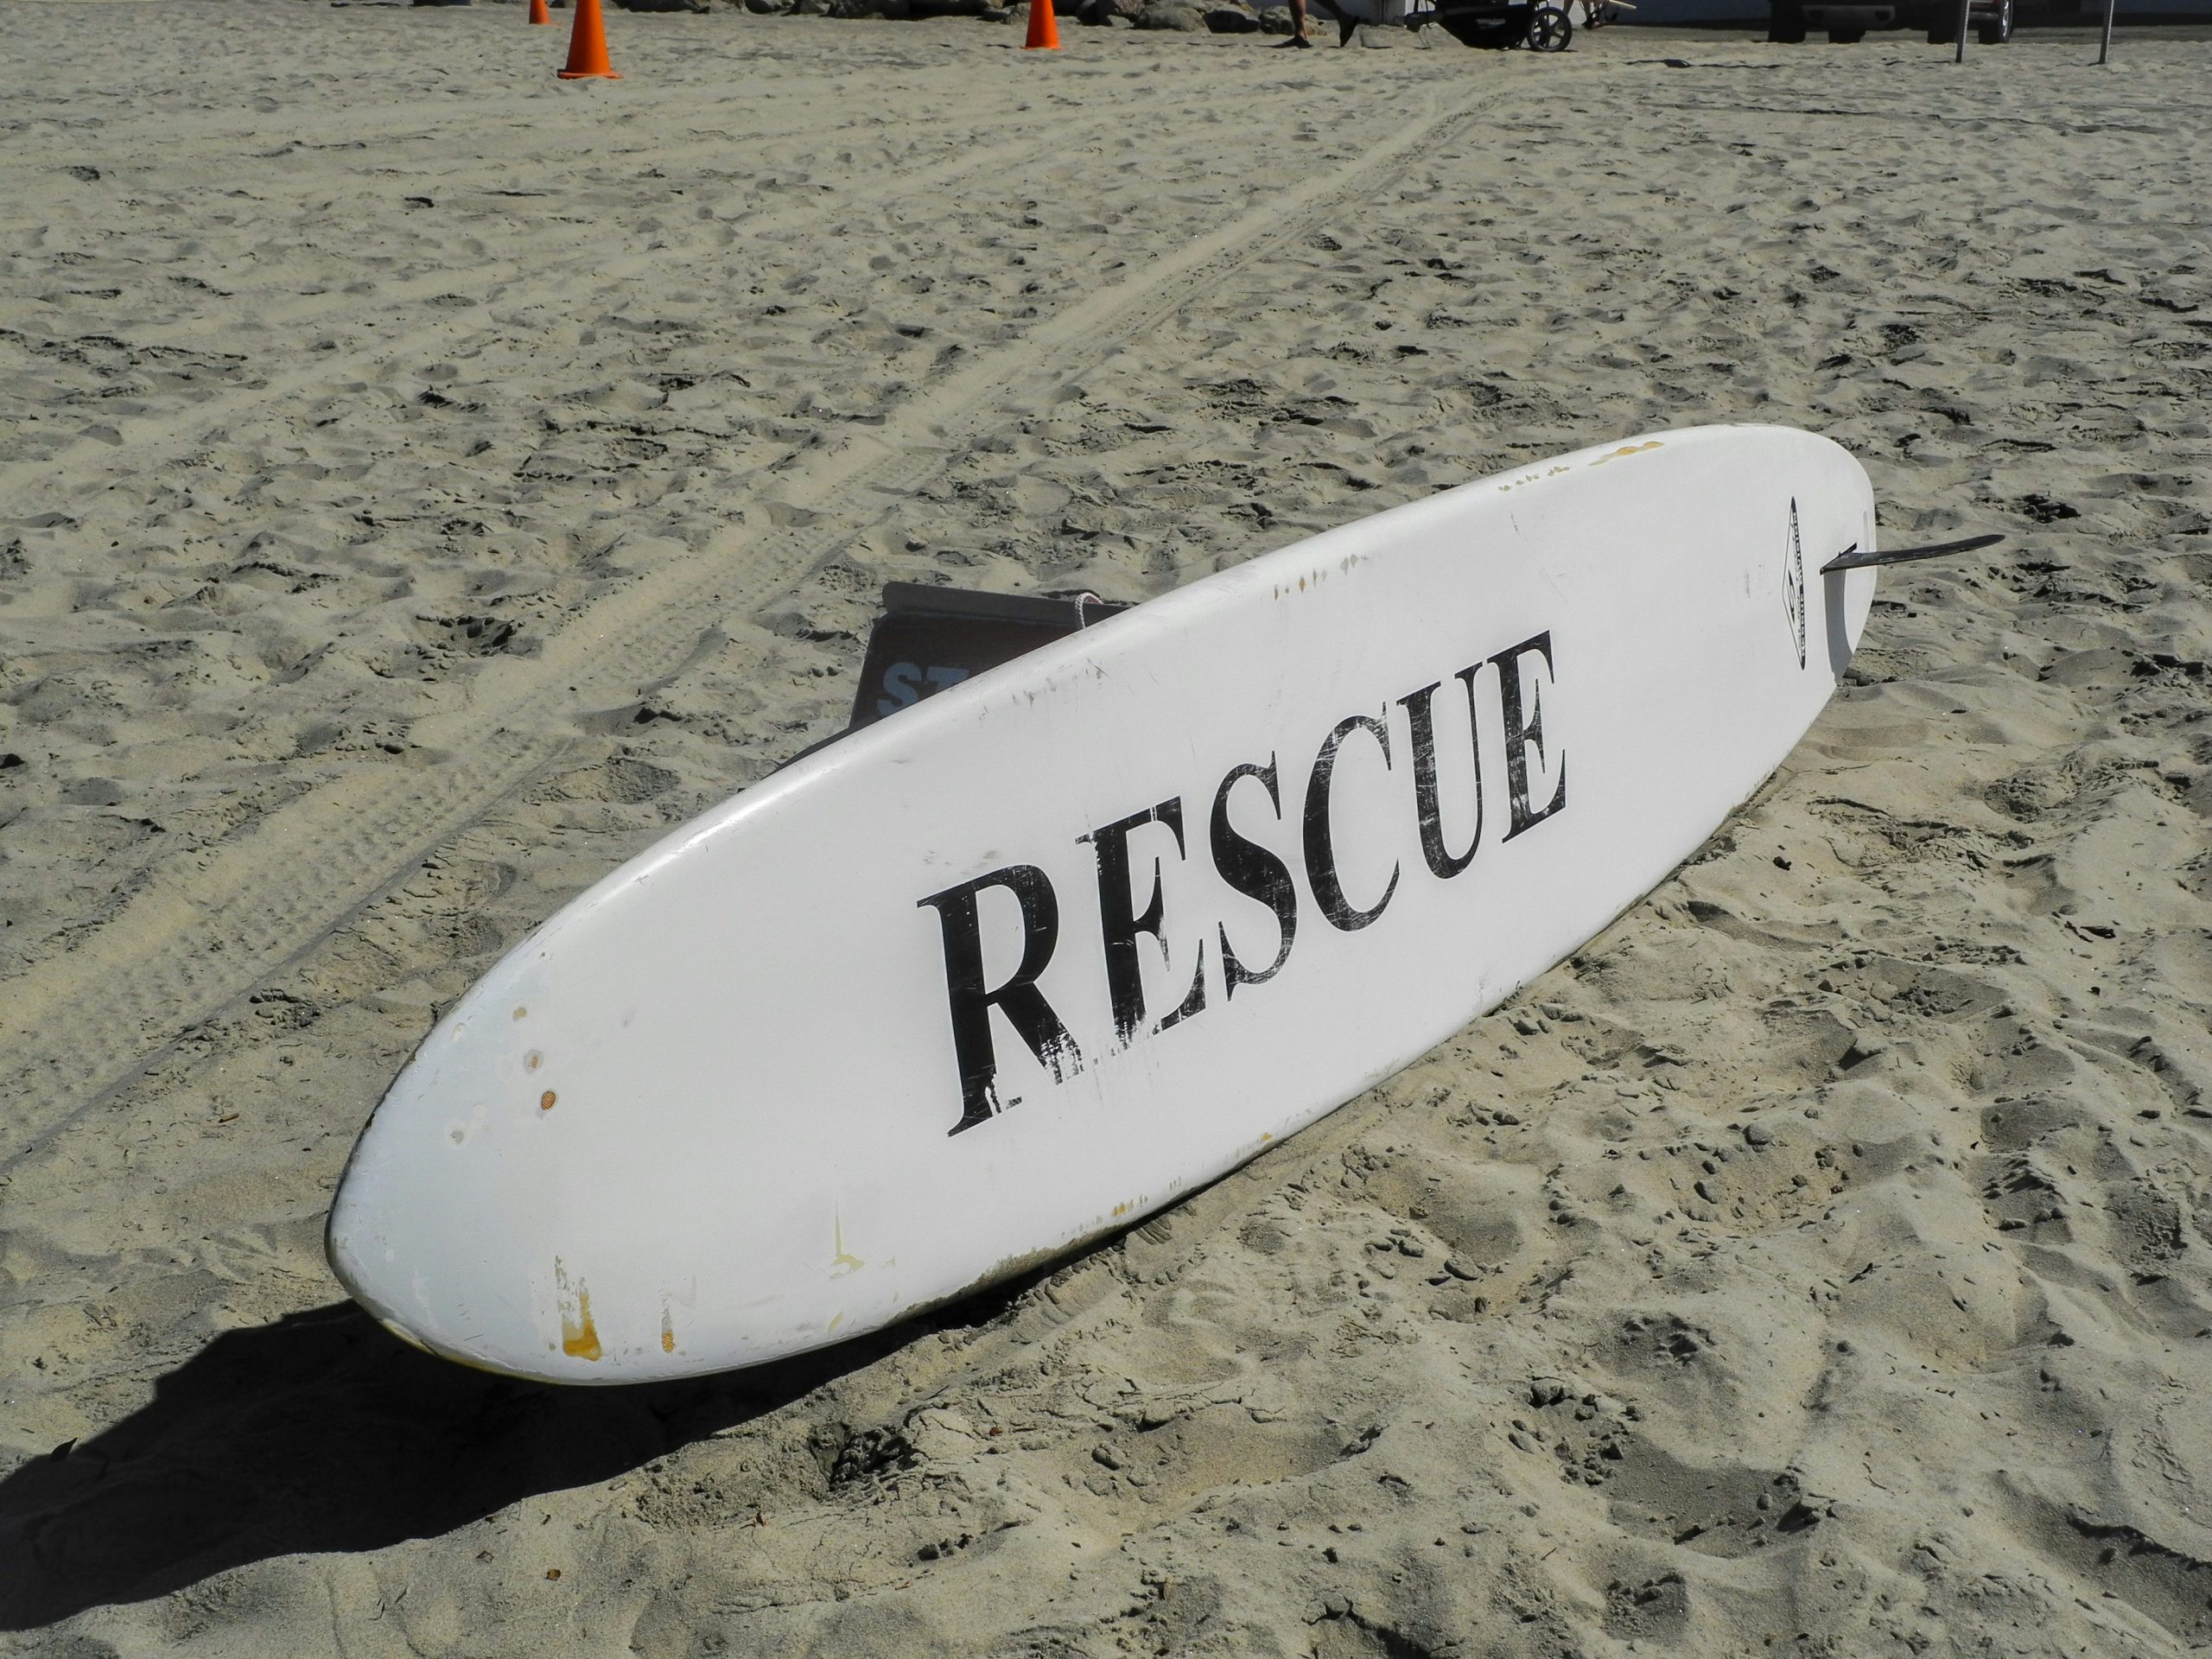
May 2025 Newsletter
You are Priceless! You are Rescued! That is the theme of this month’s newsletter. For he has rescued us from the dominion of darkness and brought us into the kingdom …

April 2025 Newsletter
You are Priceless! You are Redeemed! That is the theme of this month’s newsletter. Praise be to the Lord, the God of Israel, because he has come to his people …
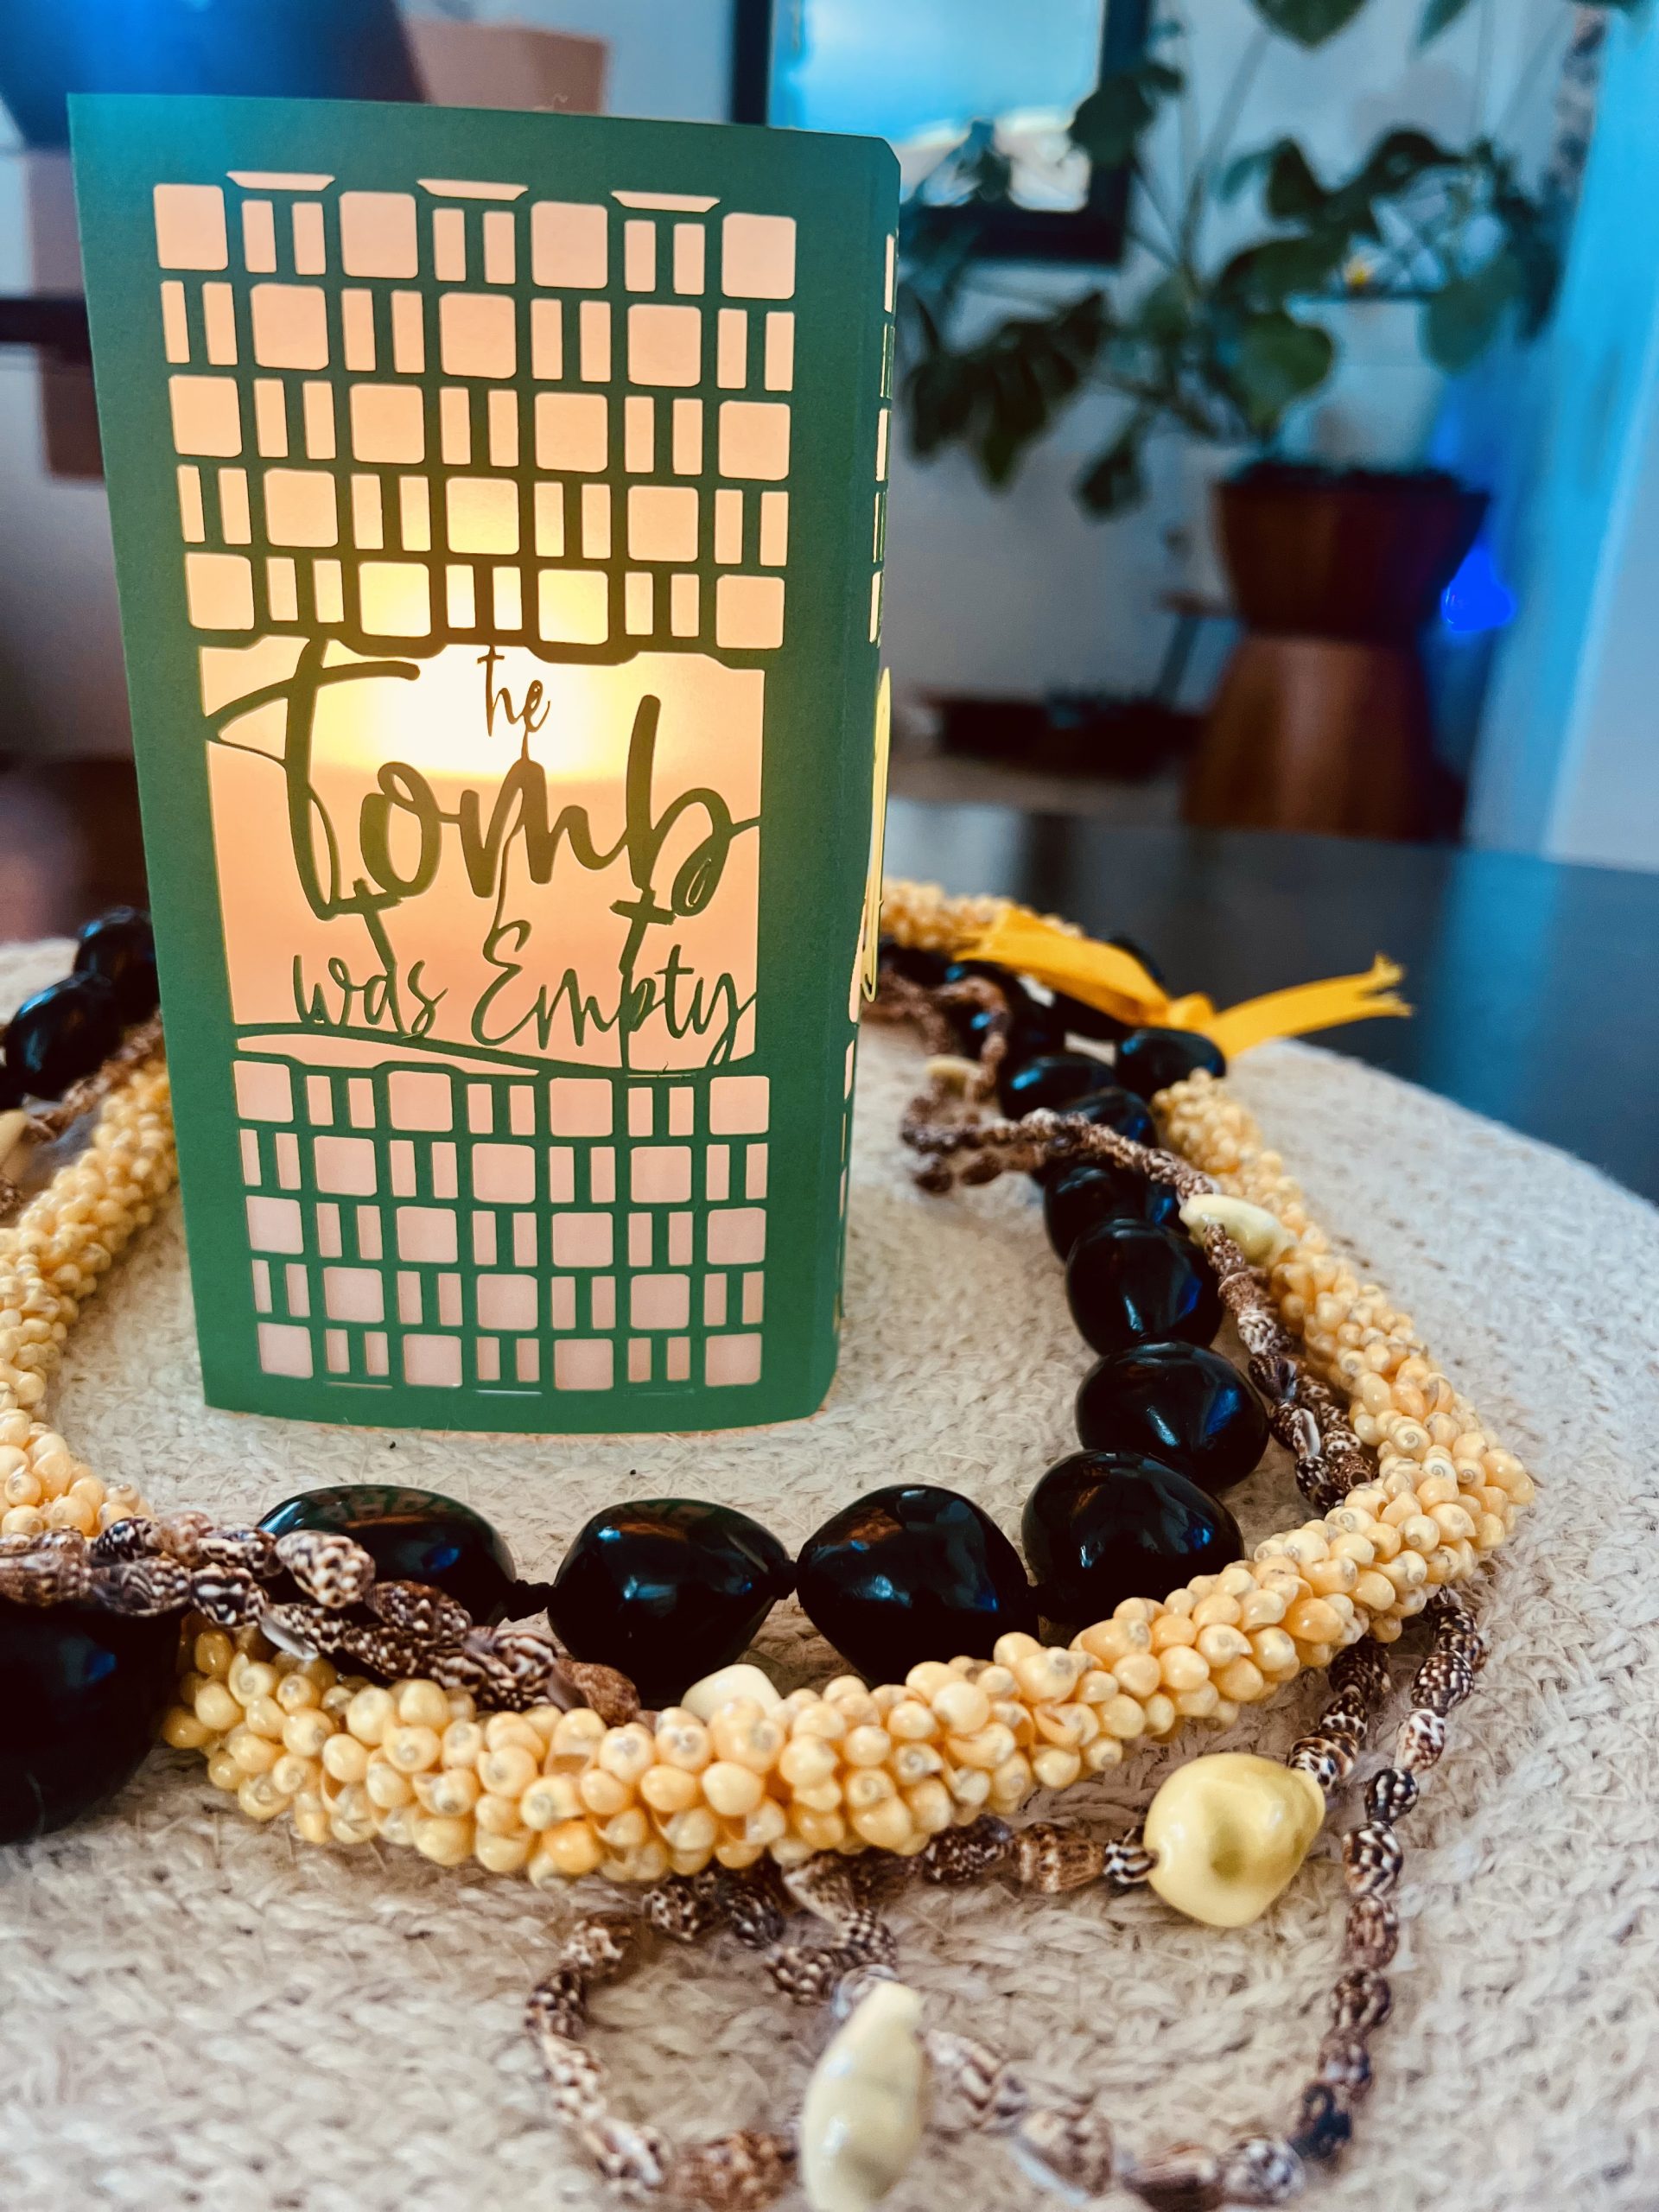
April 2025 Craft: Resurrection Easter Craft
By Major Lynn StewartKapolei Kroc, HI – Hawaiian and Pacific Islands Division This Easter craft is not only a beautiful centerpiece, but it’s also a perfect visual for devotional purposes. …
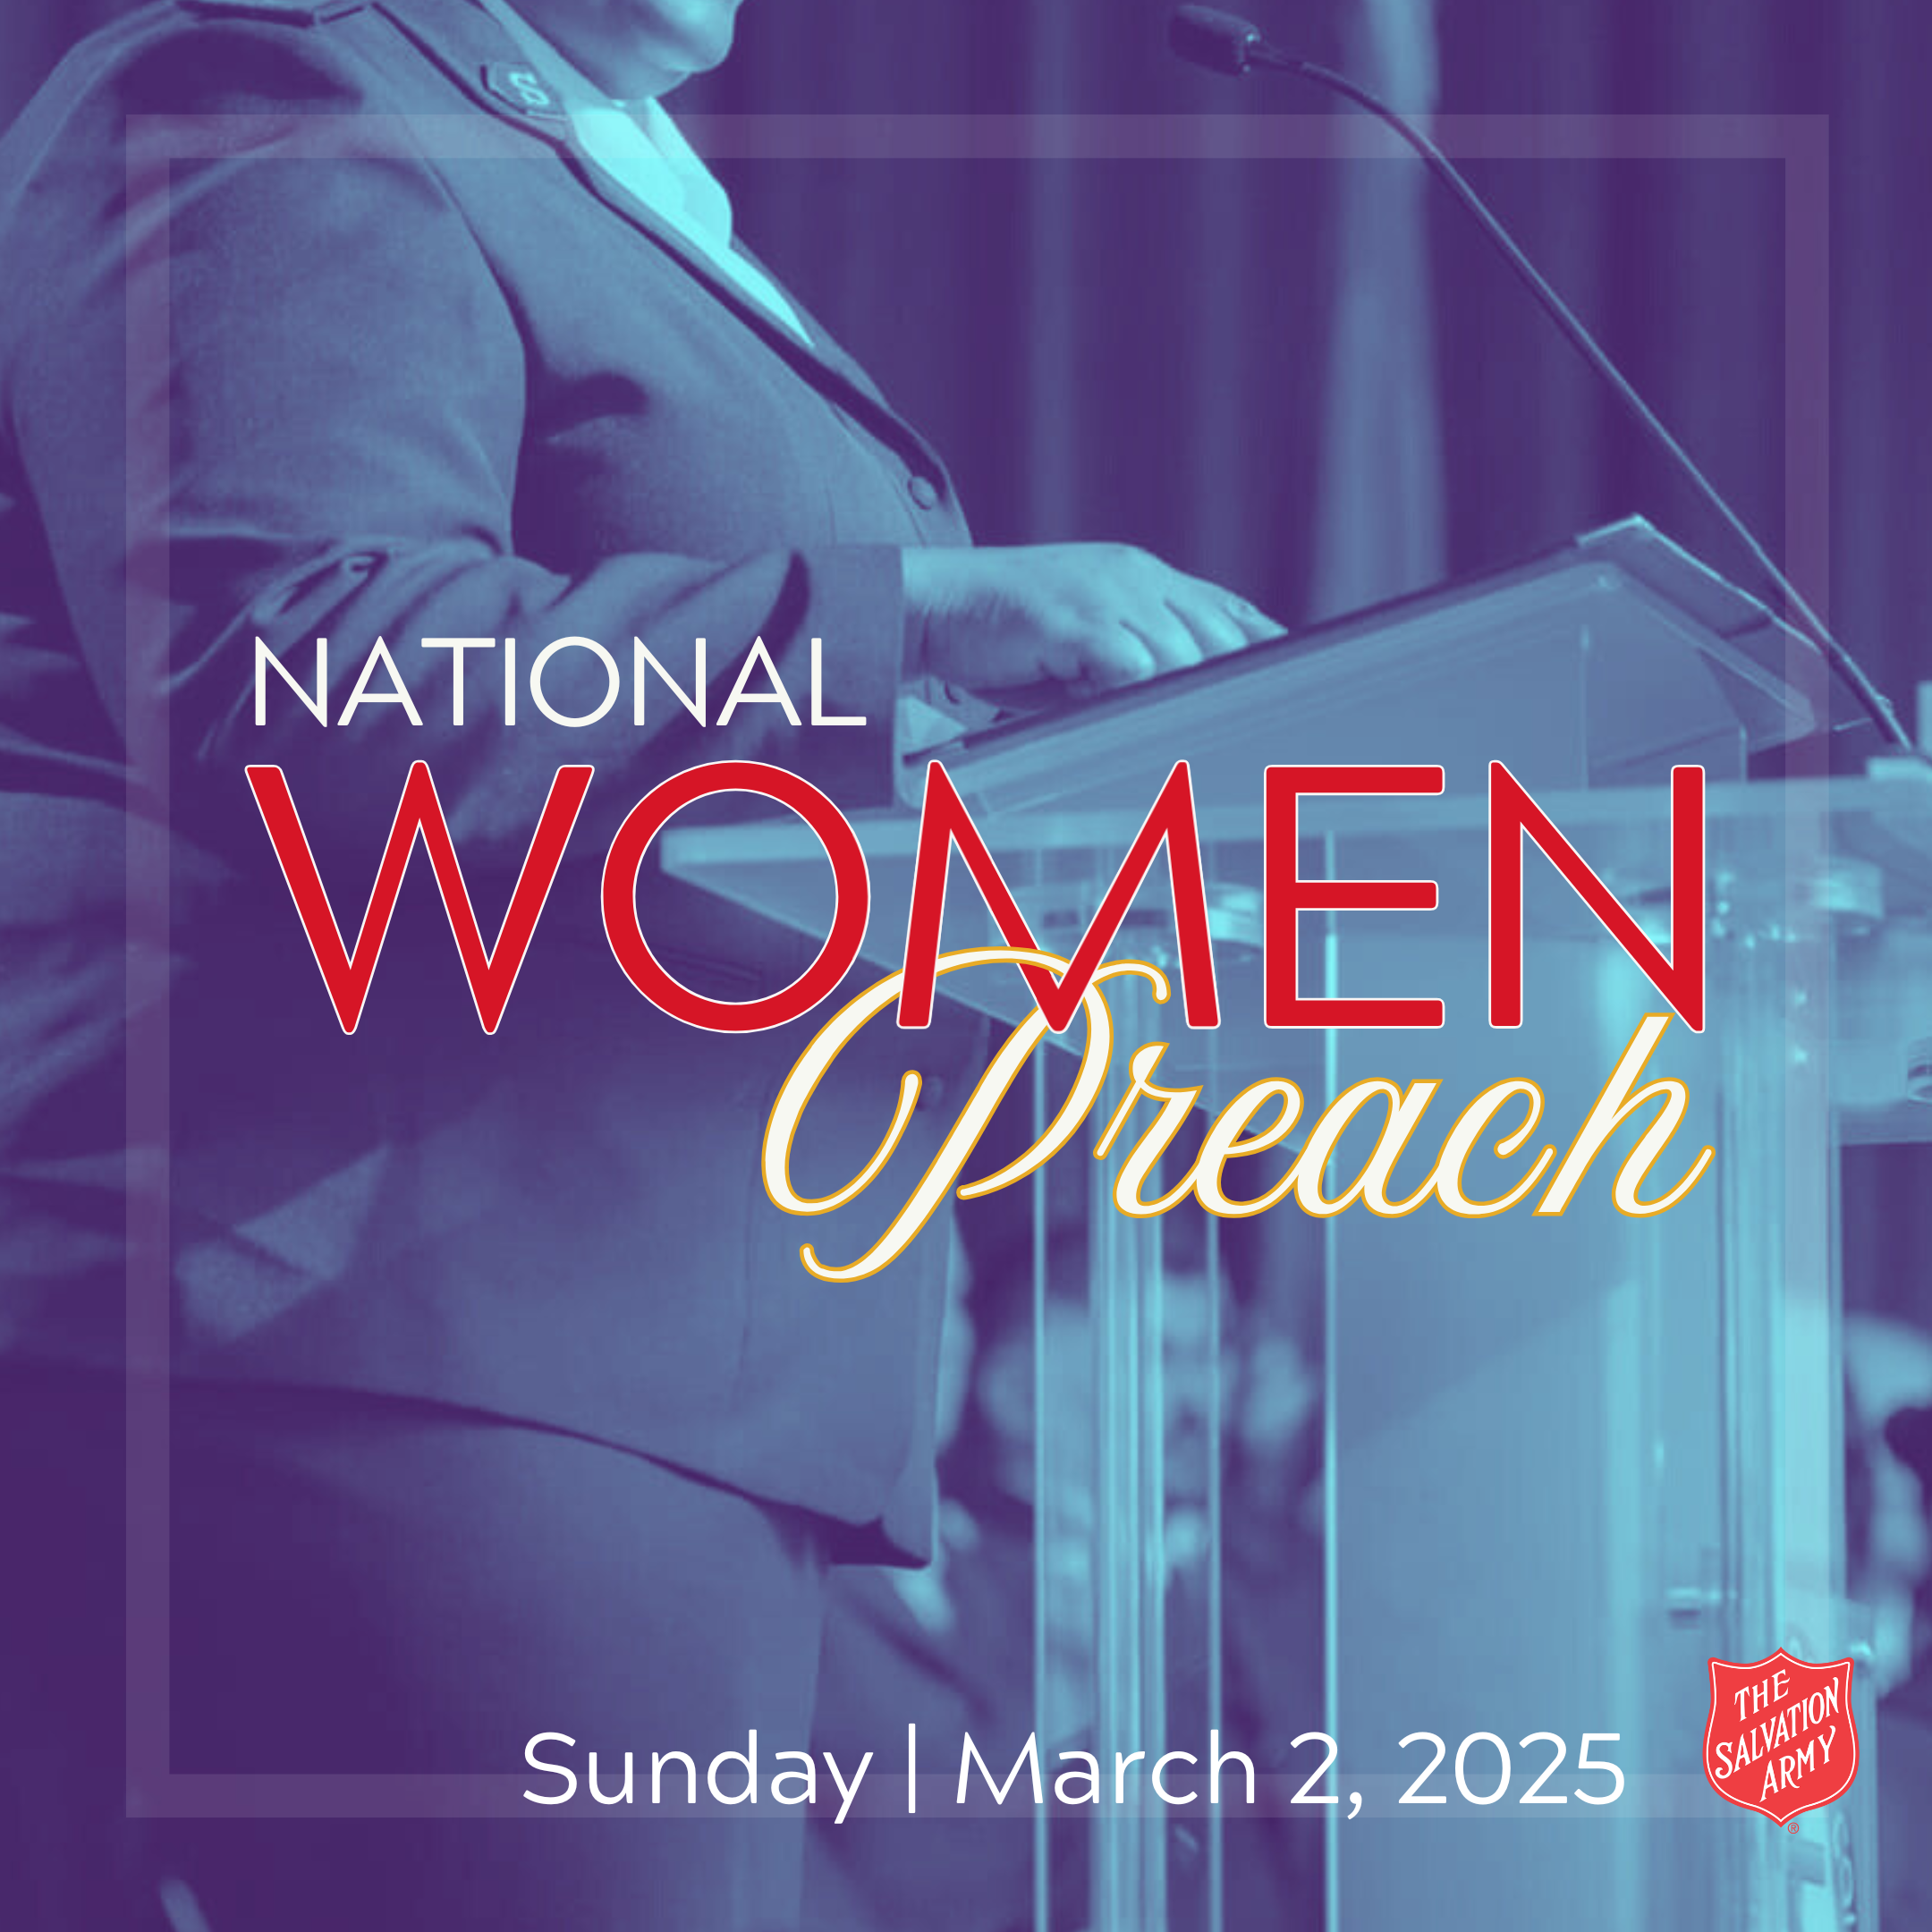
Women Preach Sunday 2025
In honor of International Women’s Day (which was March 8, 2025), the USA Western Territory held its second annual “Woman Preach Day” on Sunday, March 2. The goal was to …